Table of contents | How to add leather bracelet closures
- Introduction
- What you’ll need
- Adding snap bracelet closures
- Step 1: Punch holes in your bracelet
- Step 2: Position the button and socket
- Step 3: Secure the button and socket using a hammer or mallet
- Step 4: Check that the socket and button are installed securely
- Step 5: Position the eyelet and stud
- Step 6: Secure the eyelet and stud using a hammer or mallet
- Step 7: Check that the eyelet and stud are installed securely
- The finished result
- Conclusion and next steps
Introduction to adding bracelet closures
To finish your laser- or Cricut-cut leather bracelet, you’ll need to add bracelet closures. This is a step-by-step tutorial on how to install snap fasteners to your leather bracelet.
This should be the absolute last step in the process of making your leather bracelet. Make sure you’ve already completed these steps:
- Dying your leather bracelet if you’re going to.
- Finishing the leather by moisturizing and sealing it.

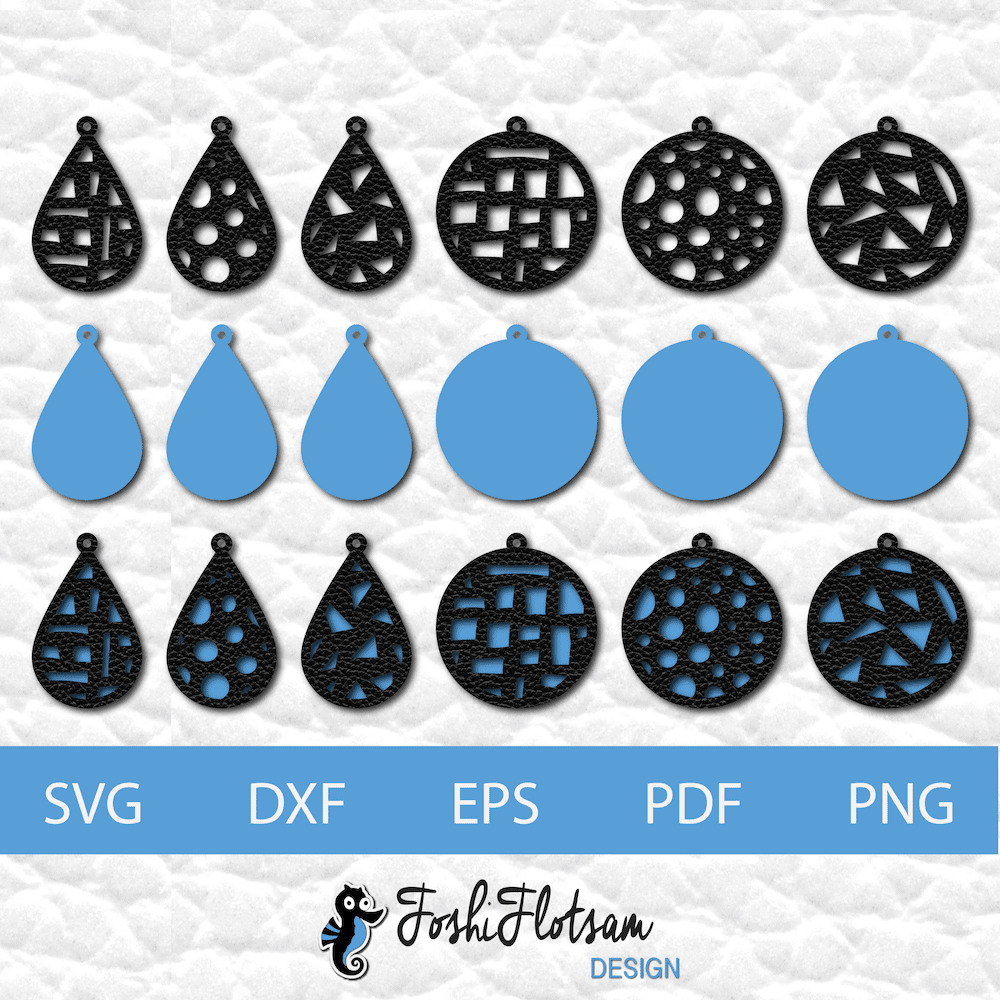
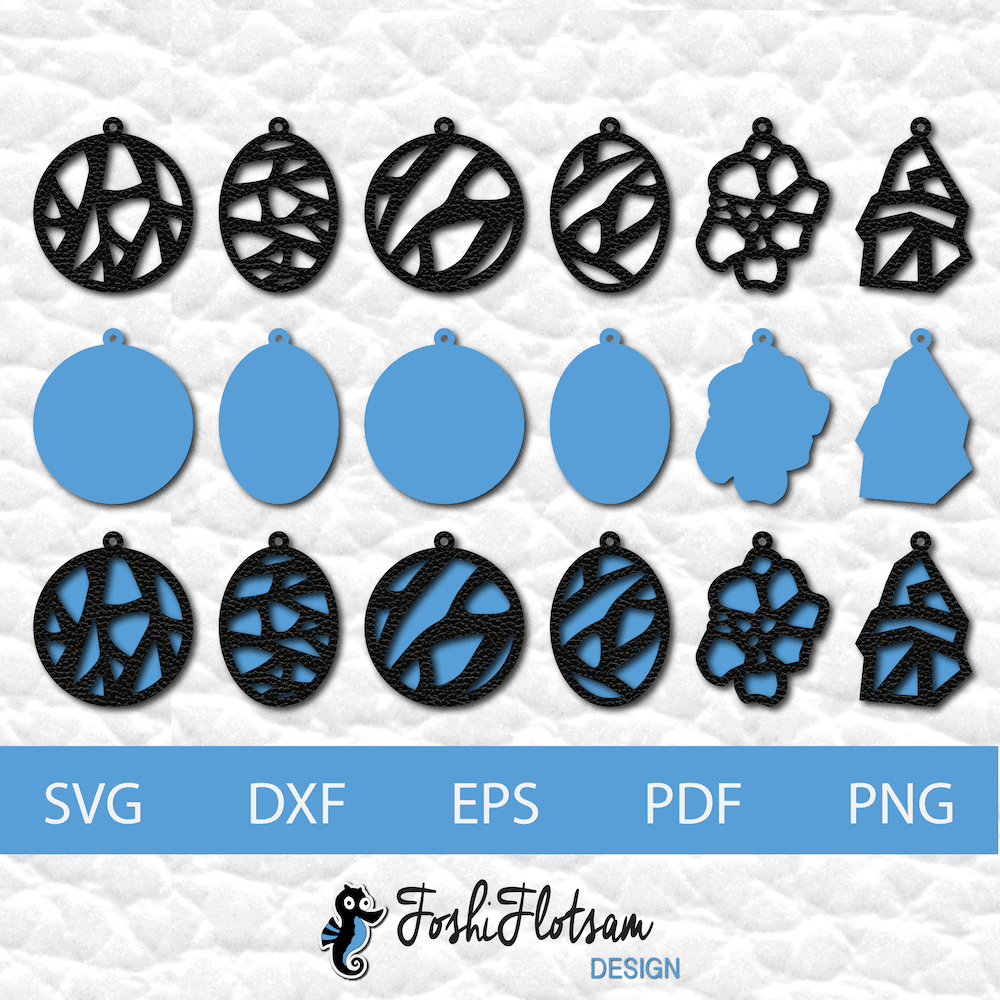
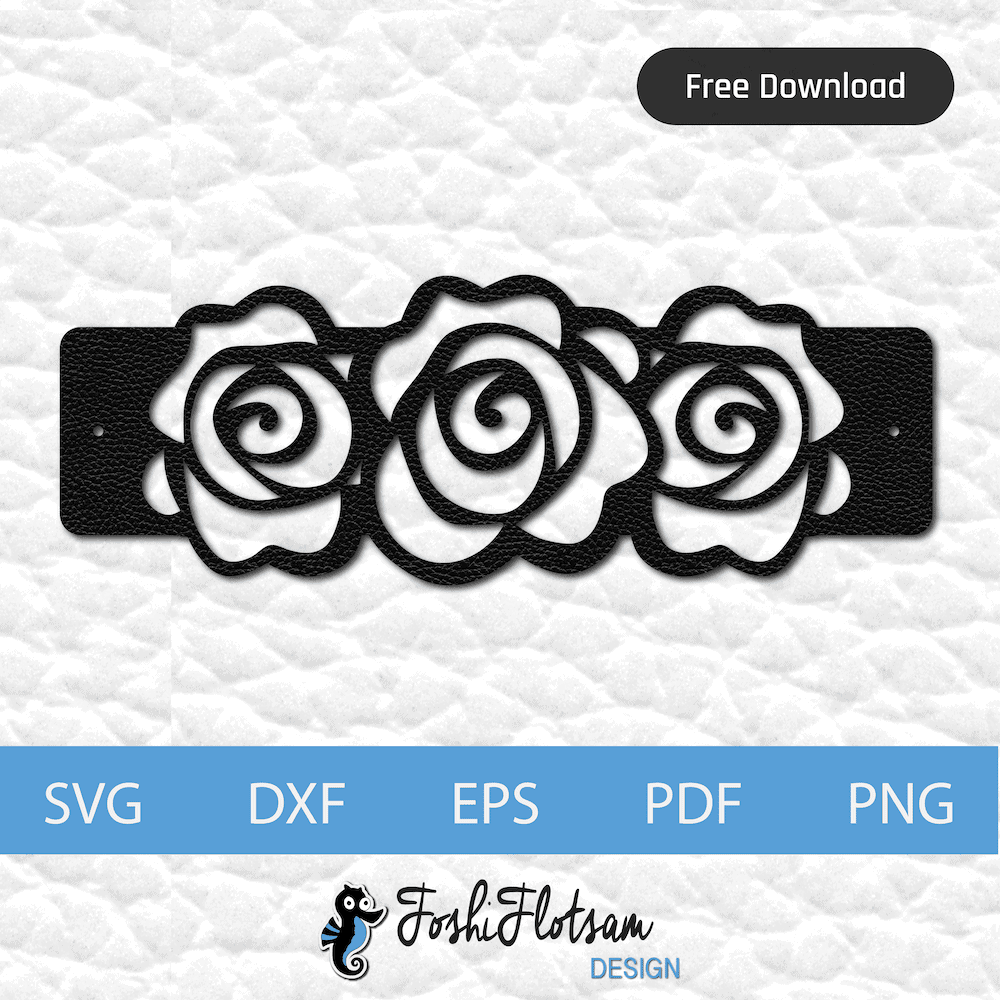
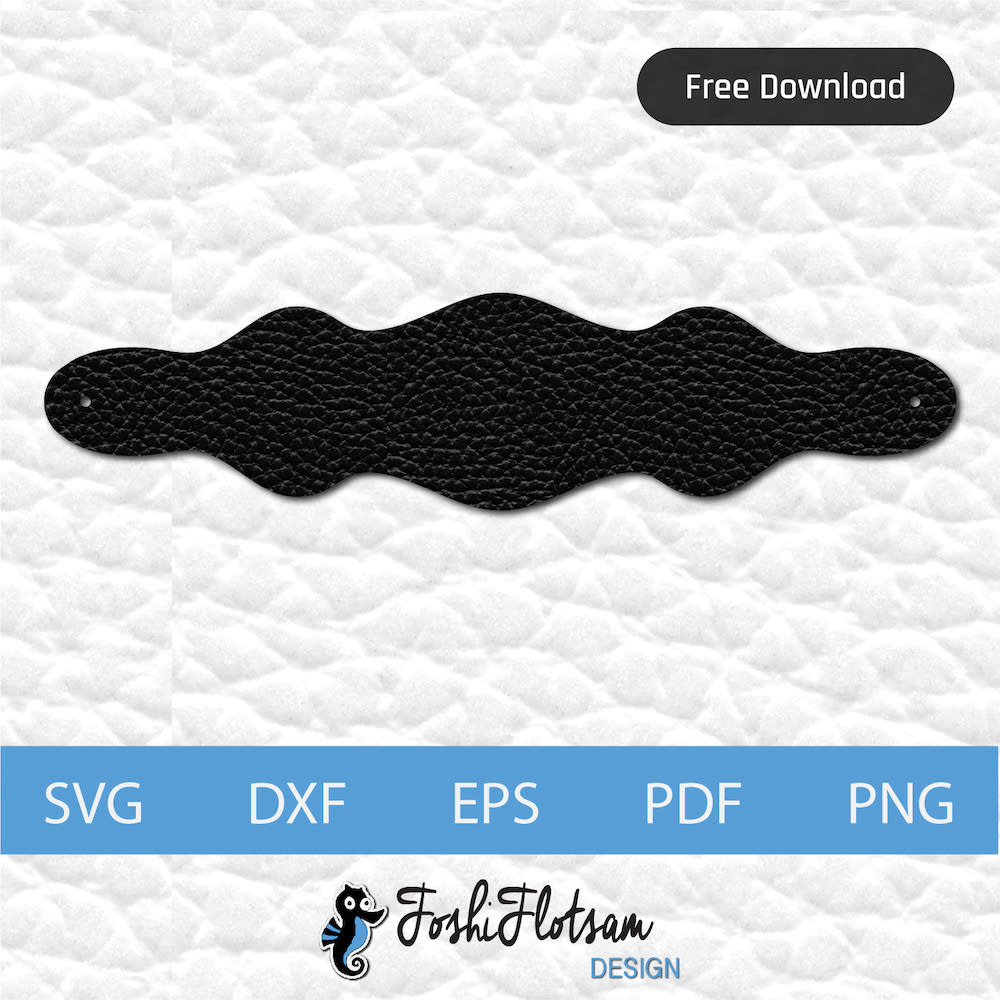
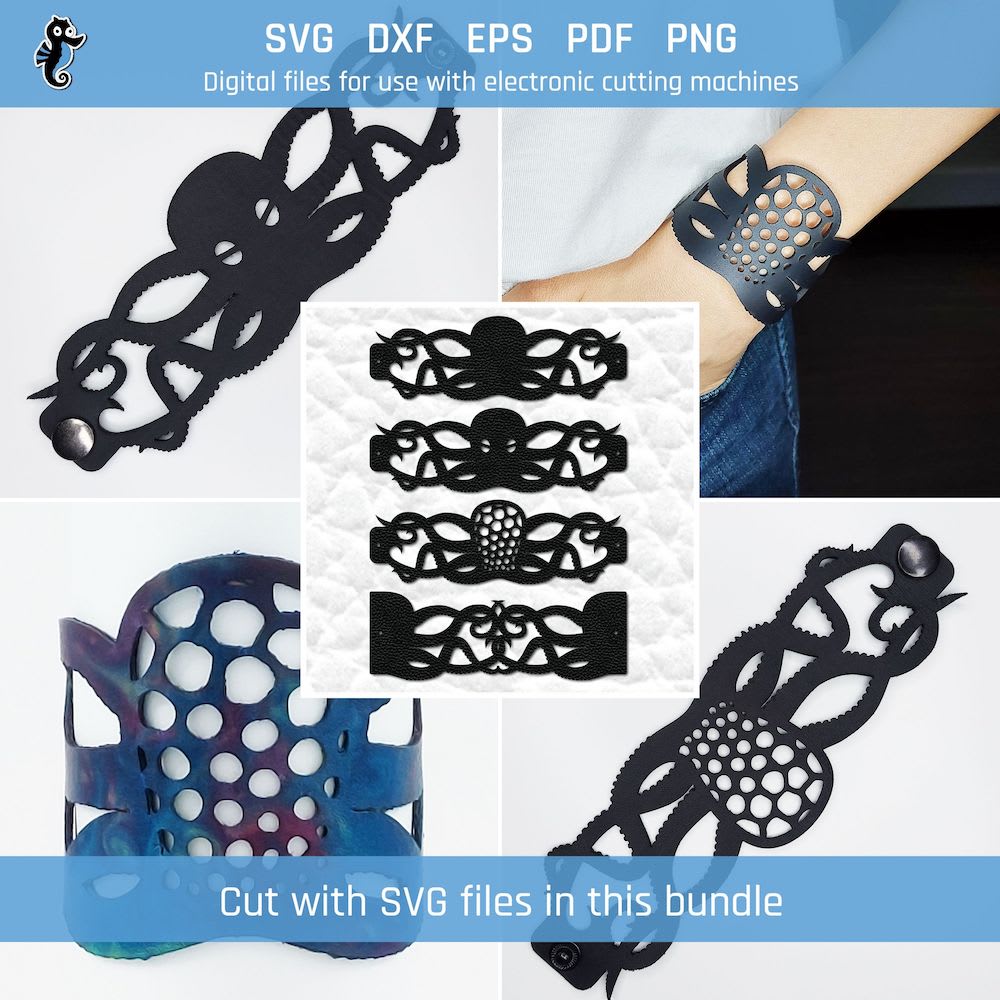
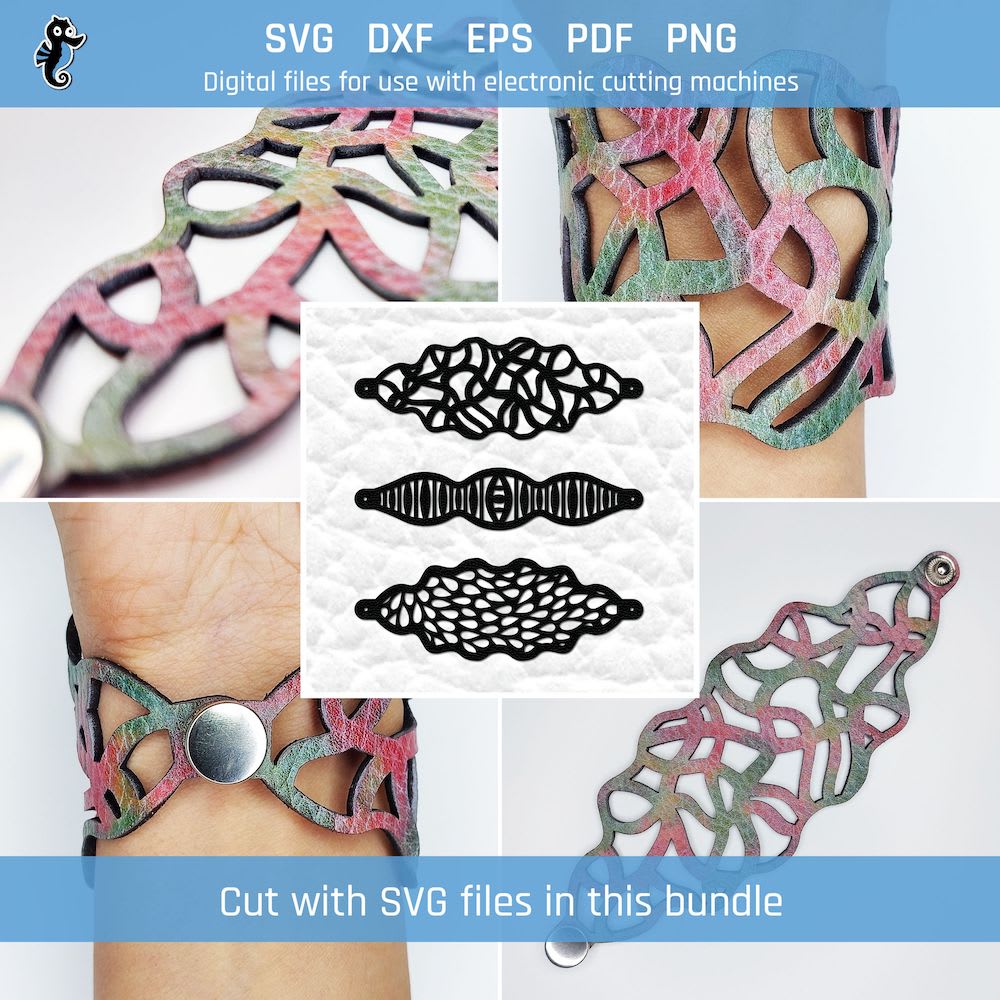
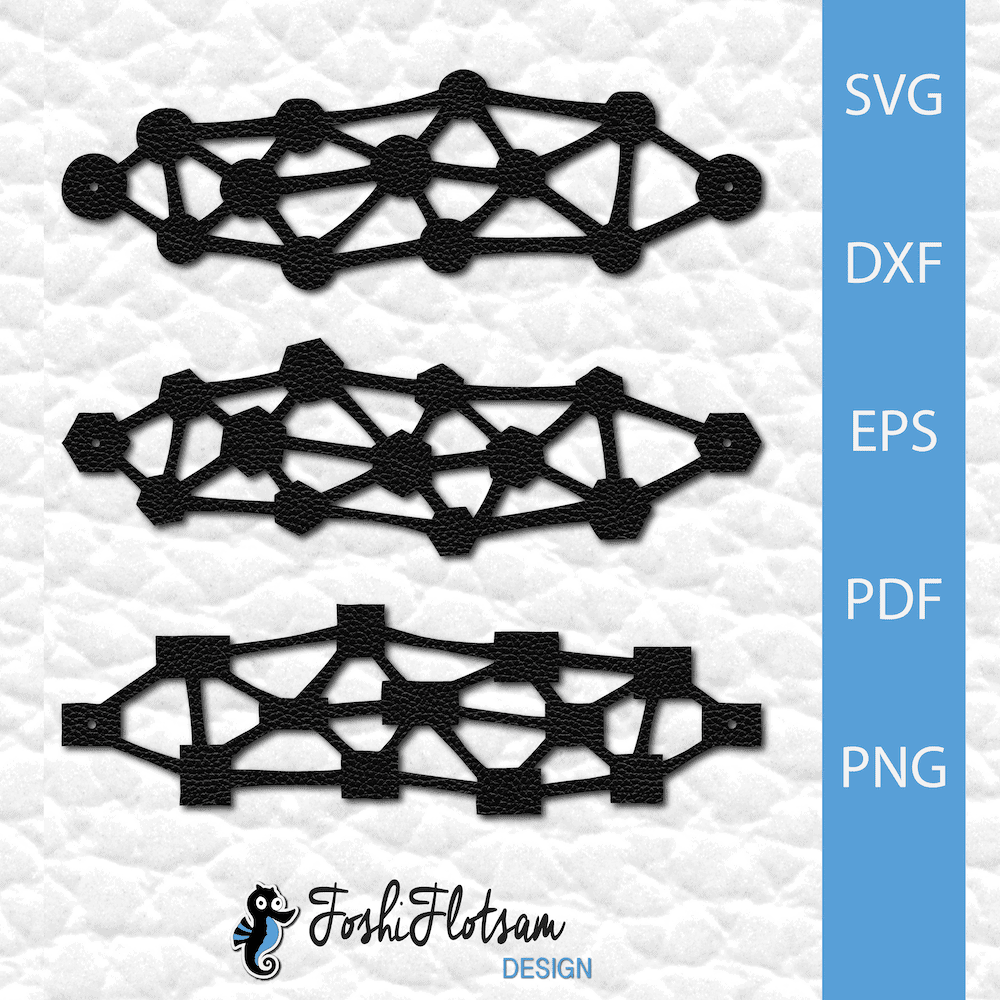
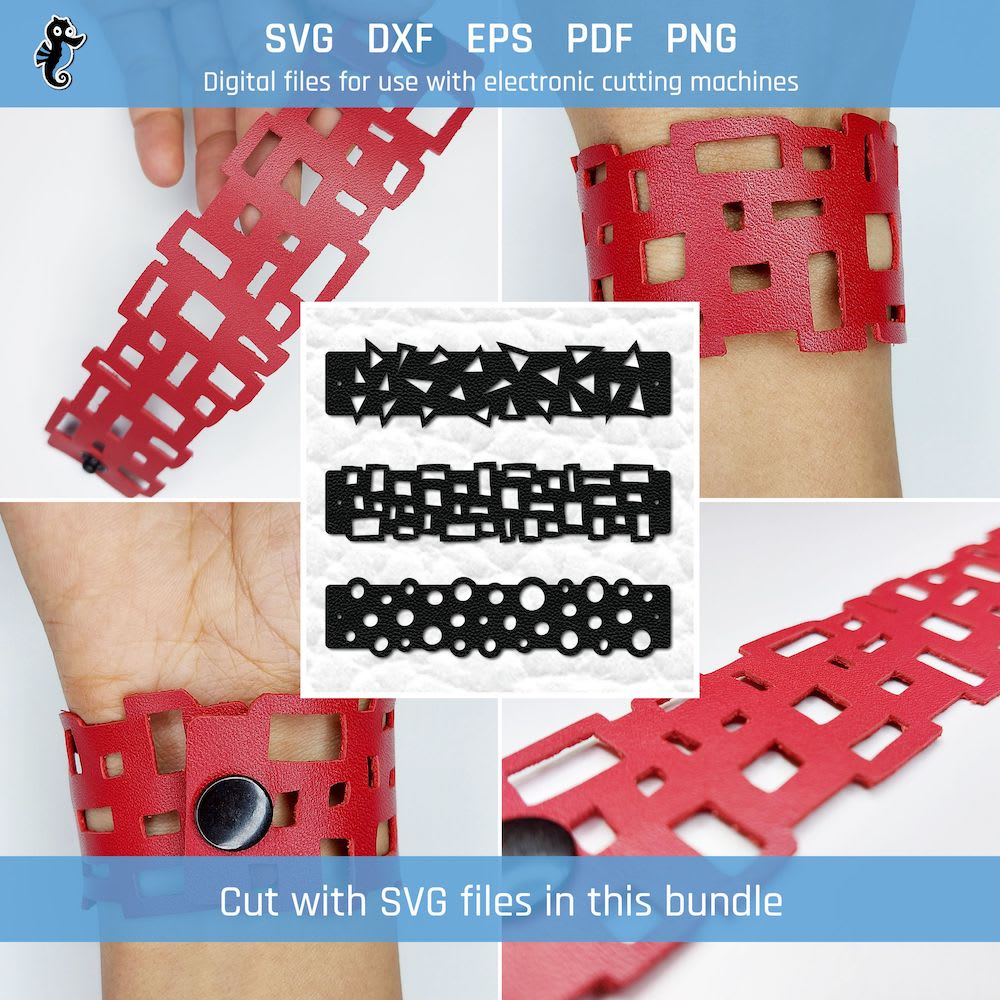
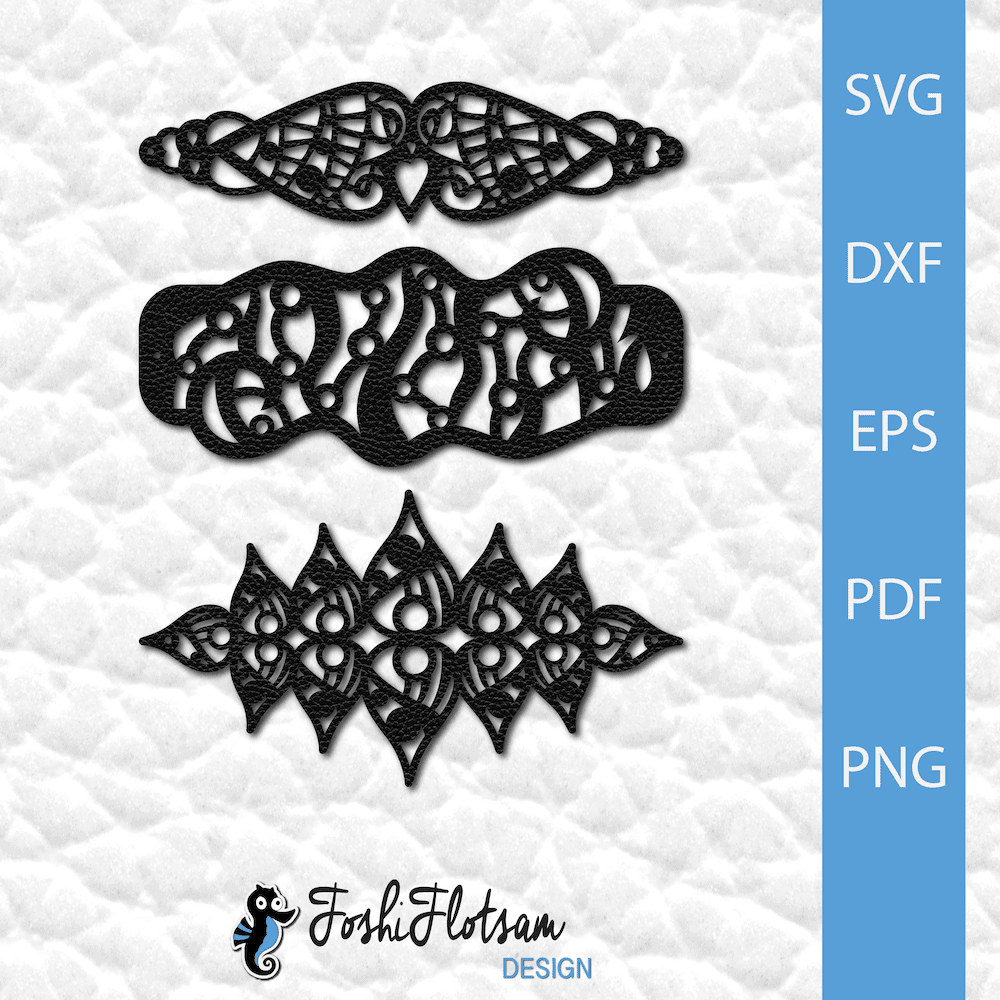
This method will work with most of the bracelet designs available for download on this site (both free and paid). See some examples below.
Free bracelet files


Premium bracelet files (in my Etsy shop)


What you’ll need
A) Bracelet closures: Snap fasteners
You can find snap fasteners online or at craft stores. There are kits that come with everything you need to install them, as well as an assortment of colours and/or sizes of snaps.
Most of the bracelets on this site are designed for snap fasteners. The ones I used were 12.5mm/0.49 inches, but you can purchase whichever size you prefer.
Each snap fastener has 4 pieces:
- Button
- Socket
- Eyelet
- Stud

Here’s an example of a kit (this is one I’ve used):

B) Fixing tools
You’ll need the right sized fixing tools for your snaps. If you buy a kit, the nice thing is that it has everything you need. But you can always purchase your fixing tools separately.
Fixing tools include:
- Hole cutter punch tool (to create the hole. You may not need this if the design already has the right sized hole for your snaps).
- Pointed installation tool
- Concave installation tool
- Double-sided base; one side is concave, one side is convex.

C) Rubber mallet or hammer
You’ll use one of these to apply pressure to secure the snap fasteners. Either will work fine.

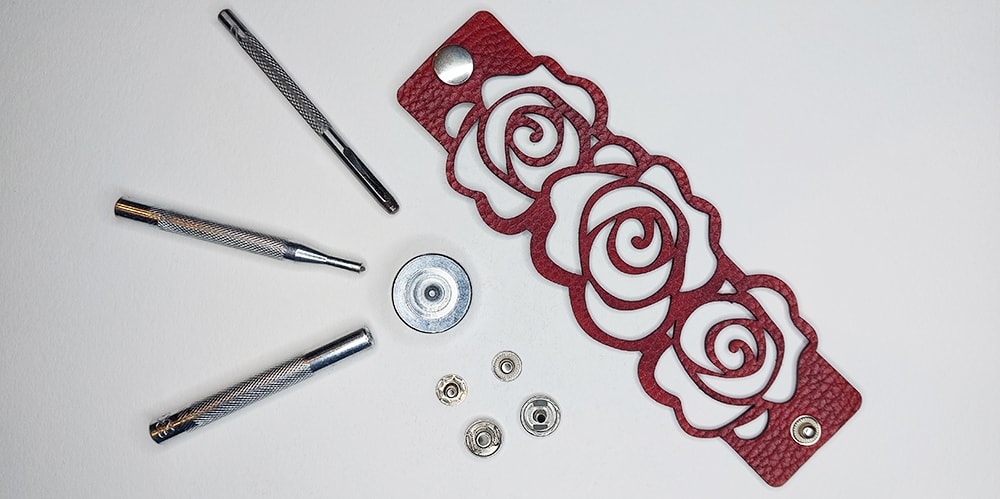
D) Your leather bracelet
The leather bracelet that you have already dyed (if you’re going to) and finished. This will be the last step of the process.
I applied snaps to the bracelet below.

Adding snap bracelet closures
Step 1: Punch holes in your bracelet
You’ll need to carry out this step if:
- Your design has holes but they aren’t large enough
- Your design doesn’t have holes at all
If your design already includes holes of the correct size, you can go to the next step.
My bracelet had holes but they were too small for my snaps, so I needed to punch larger holes.

a) Align the hole punching tool
Place the hole-punching tool on the finished side of the leather in the appropriate place.
It can help to work on a wooden block to avoid damaging any surfaces.

b) Apply pressure with a hammer or mallet
Use the mallet or hammer and give the end of the hole punching tool a few good taps. You can lift up the leather to see if the punch has cut through to the bottom.
The new holes I created were the correct size for my snaps.

Step 2: Position the button and socket
a) Confirm where the button should go
Do this by looking at how the bracelet will be worn.
Place the bracelet around your wrist in the orientation you intend to wear it. This will let you see where the button should go. Based on that, the rest of the pieces fall into place.
Here’s what I mean. In this photo, you can see how I intended to wear the bracelet.

This means that the flat round side of the button should be visible when I’m wearing the bracelet. Based on this, I can see that when the bracelet is lying fleshy-side facing up and oriented the way I plan to wear it, the button should feed up through the finished side of the bracelet on the right side.

b) Position the button
Place the button through the hole, with the flat part of it facing downwards.

c) Place the leather with the button on the base
The base should be positioned concave side up. This gives the flat round part of the button a flat surface to rest on when you apply pressure with the hammer or mallet.

d) Position the socket
Place the socket on top of the button on the side of the leather that is facing up.

e) Position the pointed installation tool into the socket

The whole arrangement should be layered like this:

Step 3: Secure the button and socket using a hammer or mallet
Hold the pointed installation tool straight and tap down on the end with the hammer or mallet.
You’ll just need a few swift taps with a good amount of pressure. I recommend practicing this a few times on some scrap leather until you get a sense of how much pressure is needed.

Step 4: Check that the socket and button are installed securely
Look closely around the edges and make sure everything is secure.
If the pieces are rattling around, or if there is a gap between the leather and the button or socket, you need to tap it a few more times with the hammer or mallet.
When nothing moves, rattles, or rotates, you’ll know it’s secure.

Step 5: Position the eyelet and stud
a) Add the eyelet
With the bracelet positioned fleshy-side facing down, feed the eyelet up through the other hole so that the flat part is facing down.

b) Place the stud on the eyelet with the leather below it

c) Check your arrangement
Check your arrangement by pretending to wear your bracelet. The stud should feed into the socket as pictured below. If everything is oriented so that you will be able to snap the bracelet around your wrist like this, you’re ready for the next step.
If not, adjust your placement until everything is positioned correctly.

Be careful not to fall into the trap below. The first image shows what happens if you position your eyelet and stud incorrectly; your bracelet will close the wrong way.

d) Position the components
Place the eyelet into the centre of the base, with the base convex side facing upwards. Position the concave installation tool into the stud.

The whole arrangement should be layered like this:

Step 6: Secure the eyelet and stud using a hammer or mallet
Hold the concave installation tool straight and tap down on the end with the hammer or mallet.
You’ll just need a few swift taps with a good amount of pressure. Again, I recommend practicing this a few times on some scrap leather until you get a sense of how much pressure is needed.

Step 7: Check that the eyelet and stud are installed securely
Look closely around the edges and make sure everything is secure.
Once again, if the pieces are rattling around, or if there is a gap between the leather and the eyelet or stud, you need to tap it a few more times with the hammer or mallet.
When nothing moves, rattles, or rotates, you’ll know it’s secure.

Step 8: Test your snap bracelet closure
a) Snap your bracelet closed to test it
Make sure everything lines up the way it’s supposed to, and that everything is secure when you open and close it.

The finished result: Installed bracelet closures

Conclusion and next steps
That’s the final step in creating a leather cuff bracelet. You’re ready to wear it out in all its glory!
You may also want to learn how to properly care for your new leather bracelet.