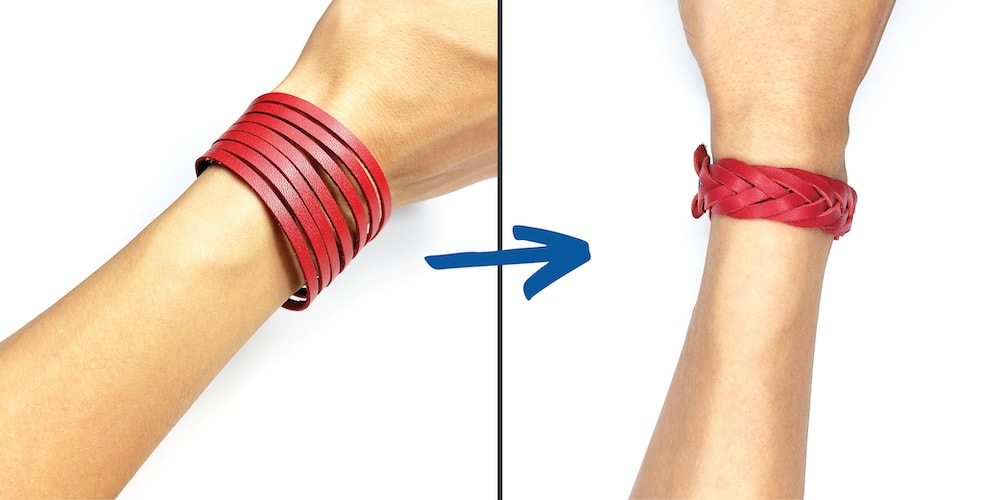
About the leather cuff bracelet
I’ve been experimenting with dyeing and painting techniques for leather. Specifically, I love bright colours and interesting colour combinations, but most of the stuff I see online is just one solid colour. So I figured I’d try out some of the techniques I’ve come across on YouTube for dyeing and painting leather in weird and wonderful ways.
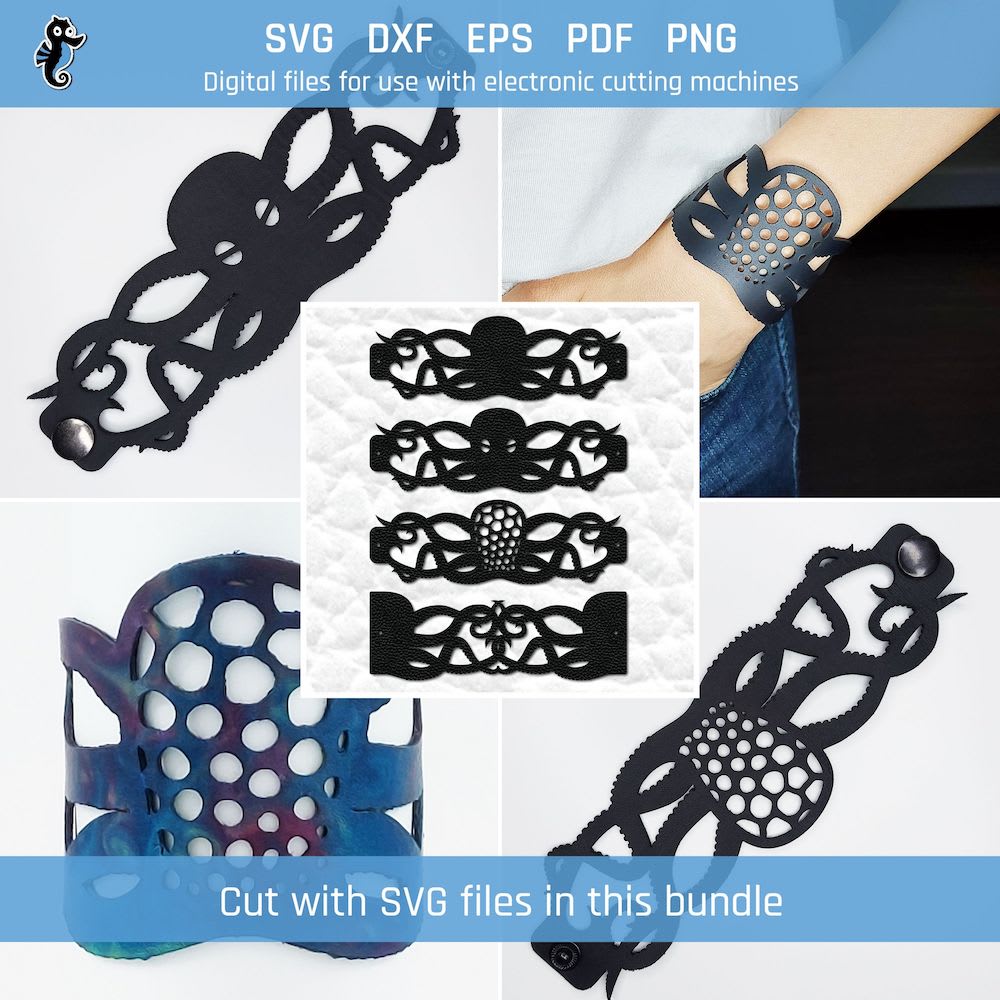
The one I used for this bracelet involved shaving cream. I may write a post about that at some point, but for now here are some high-level photos of the process of making the bracelet, as well as the finished result.
If you’d like to make your own, I’ve written a post with step-by-step instructions on how to create these kinds of Cricut leather bracelets. If you’d rather just buy one, I sometimes sell similarly-styled laser-cut leather bracelets in my Etsy shop. See if there are any you like!
The making process
At a high level, the process involved:
- Finding/purchasing a piece of scrap vegtan leather at a local leather supply shop.
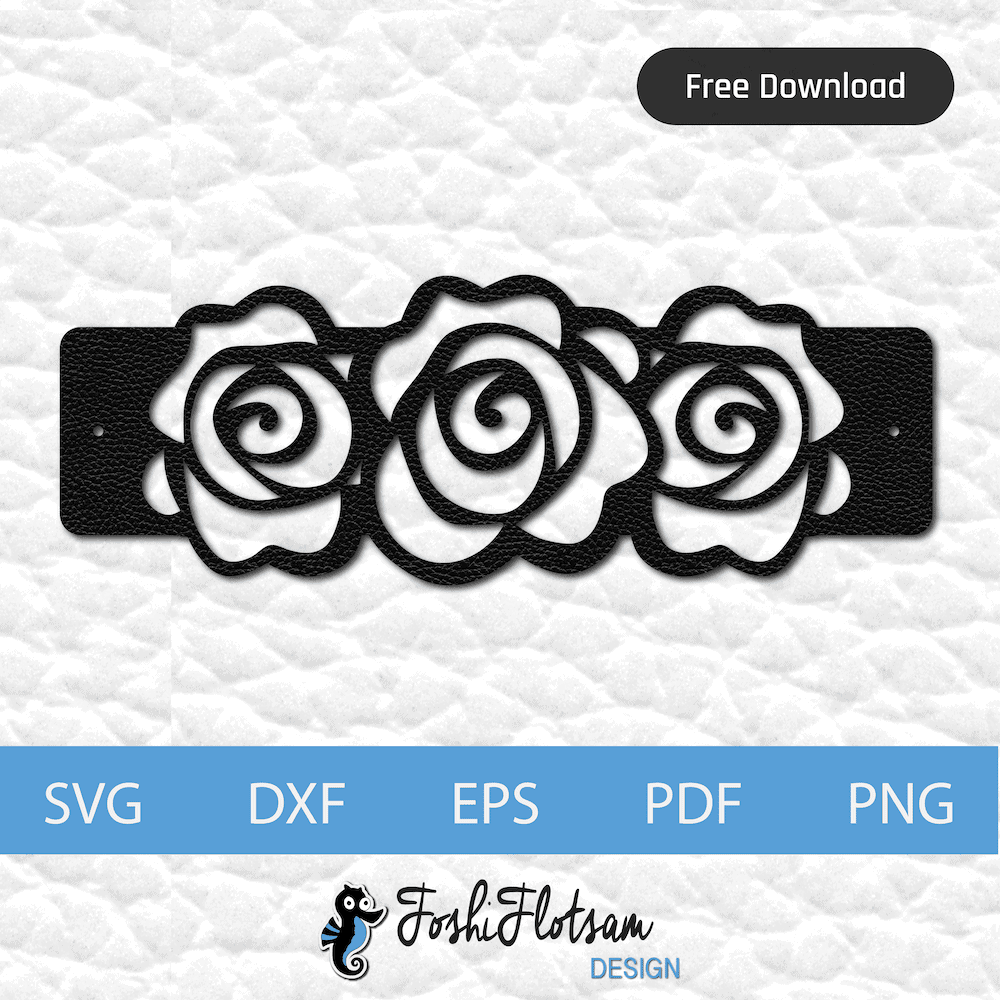
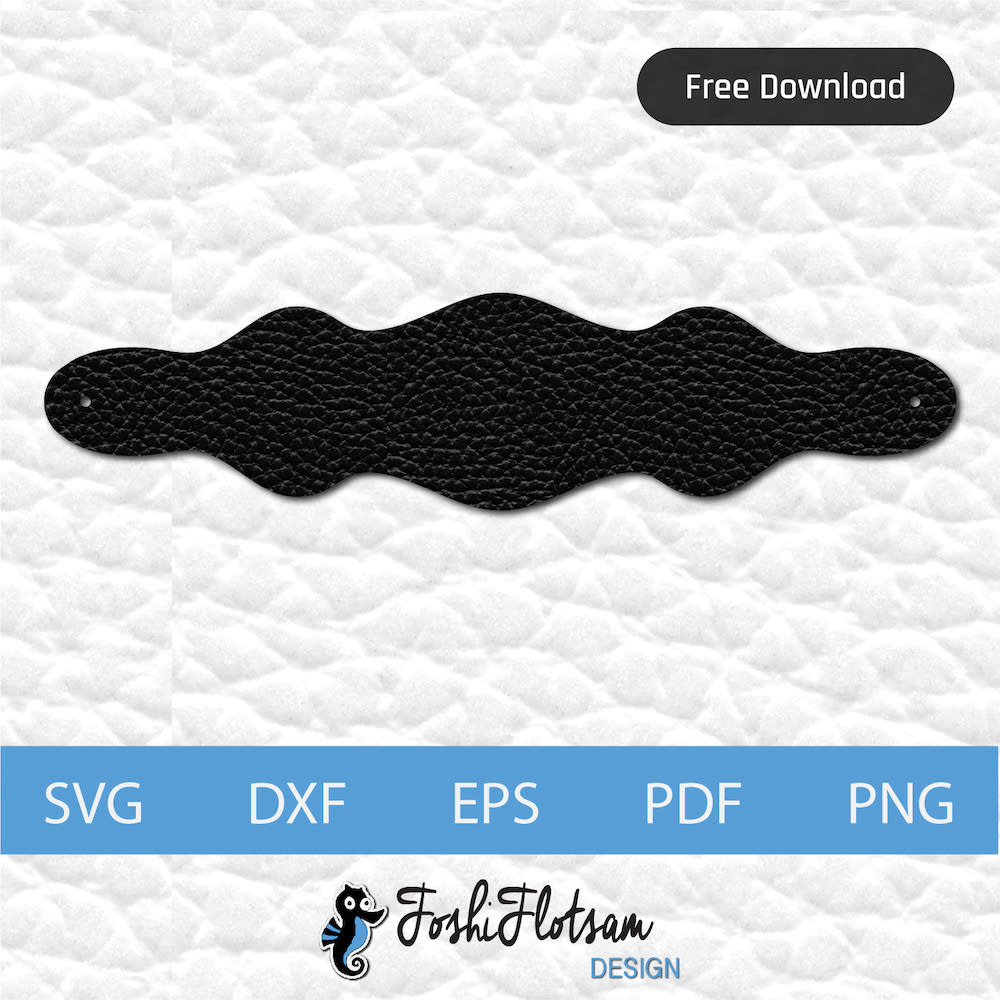
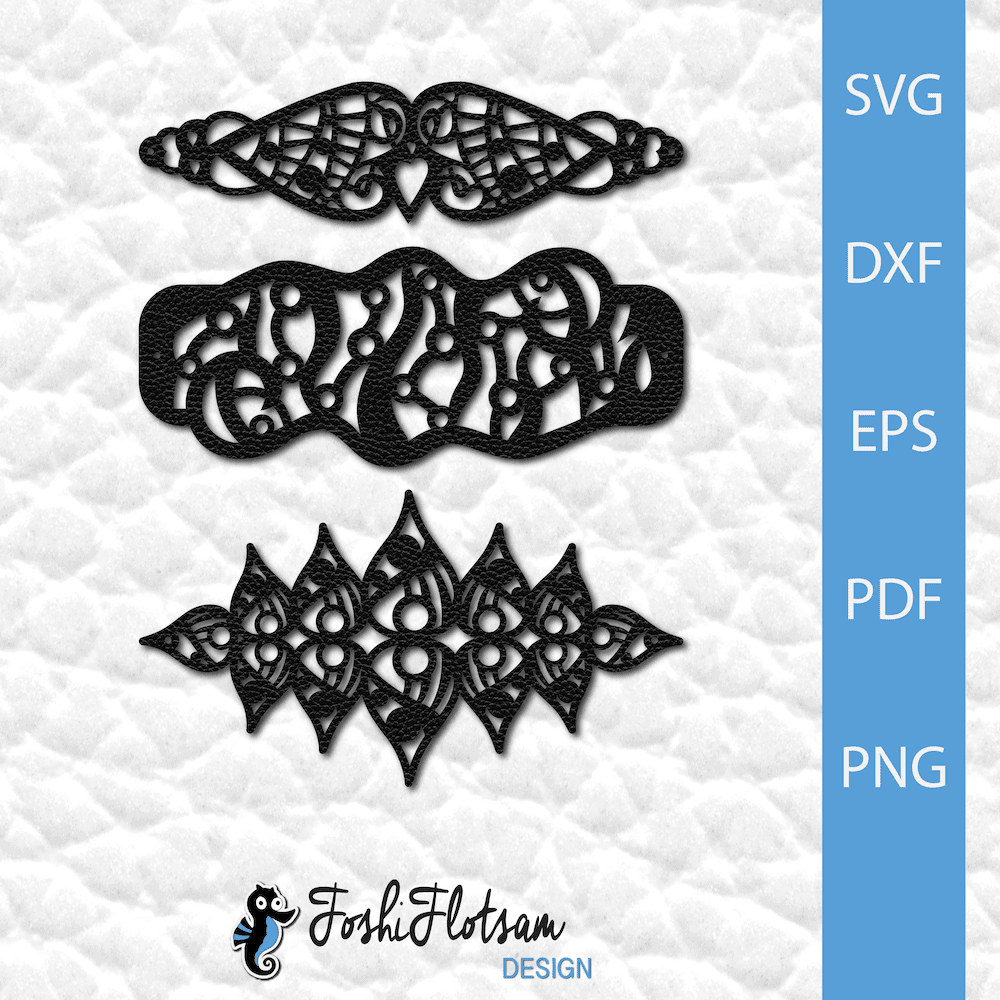
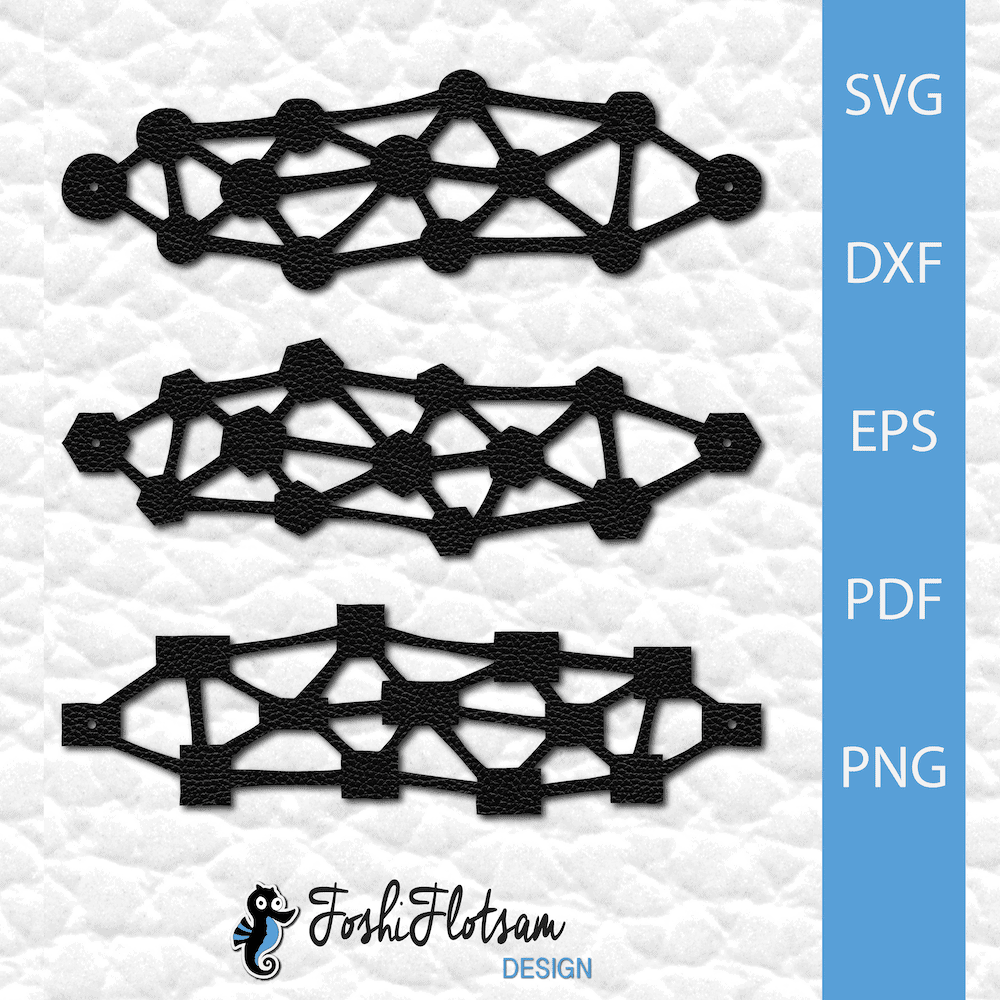
- Uploading the design file into Cricut Design Space.
- FYI, you can purchase this design (along with three other floral designs that come in the same bundle) in my Etsy shop for a few dollars if you’d like to make it! I also have free bracelet patterns available on this site (just filter for bracelet files).

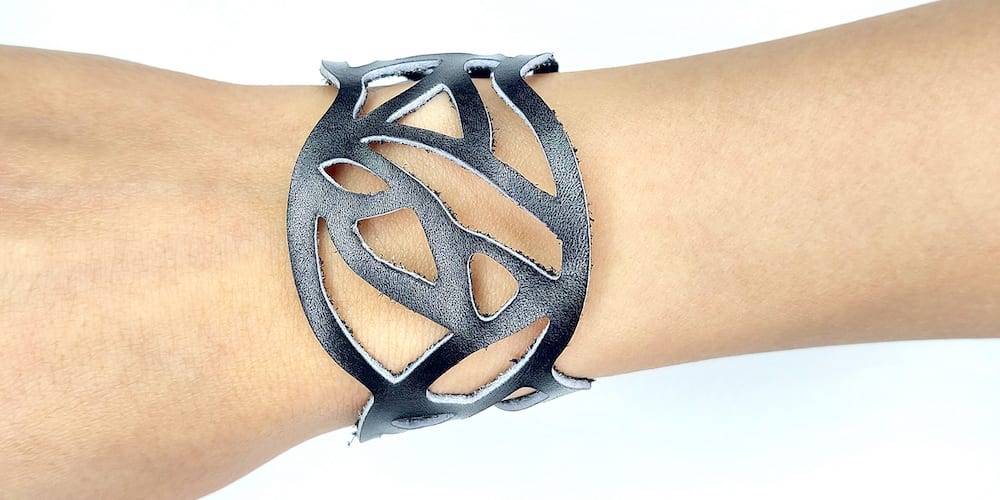
- Cutting the pattern using my Cricut Maker.
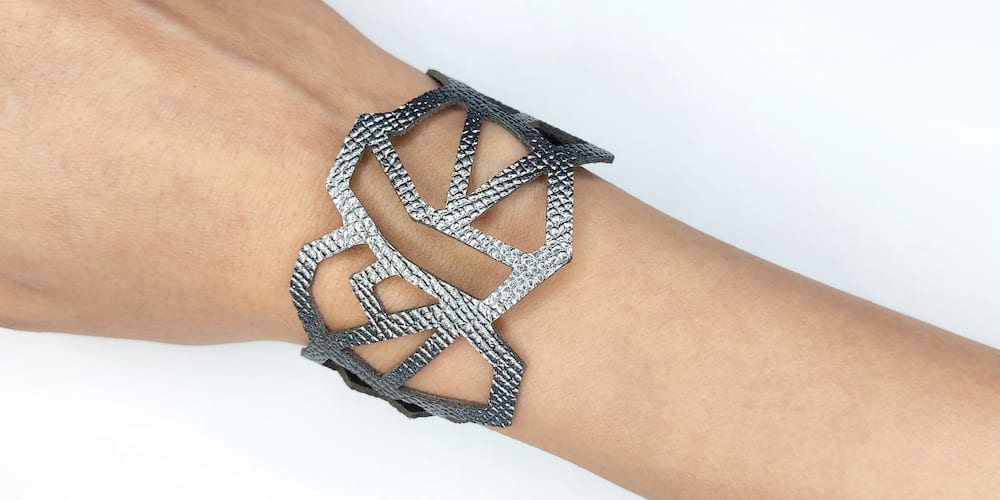
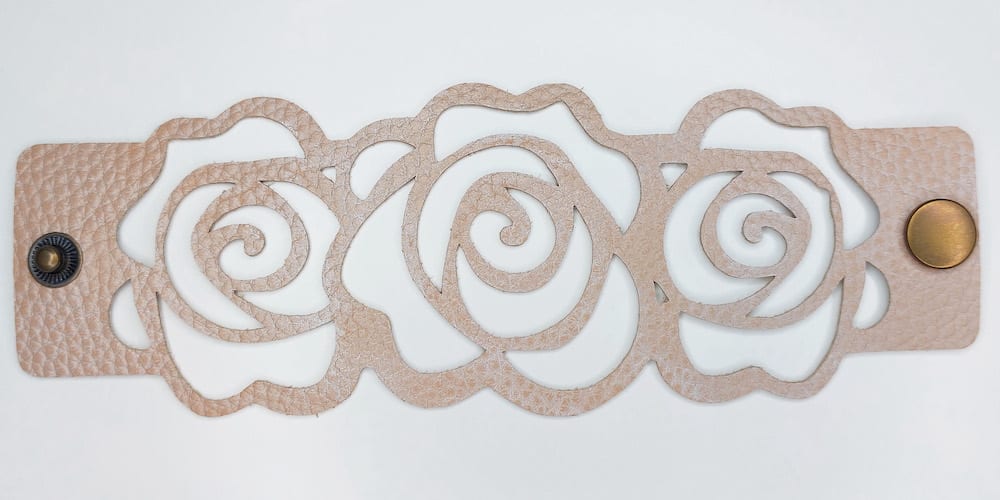
- Dyeing the bracelet, and then adding some shimmery gold paint.
- Buffing out the extra dye, applying a conditioning oil, and then sealing the leather with a finishing product.
- Adding snap fastener closures.
And that’s it! Here are some images of the process.
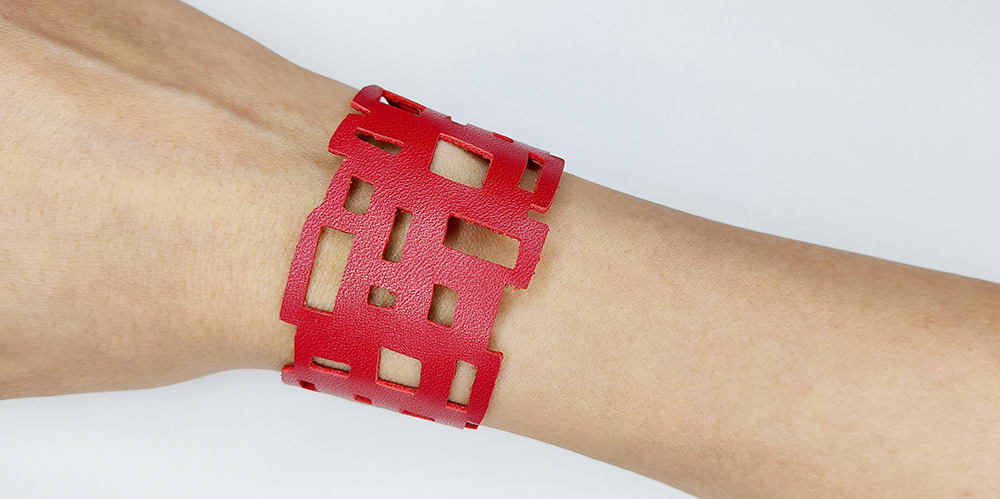
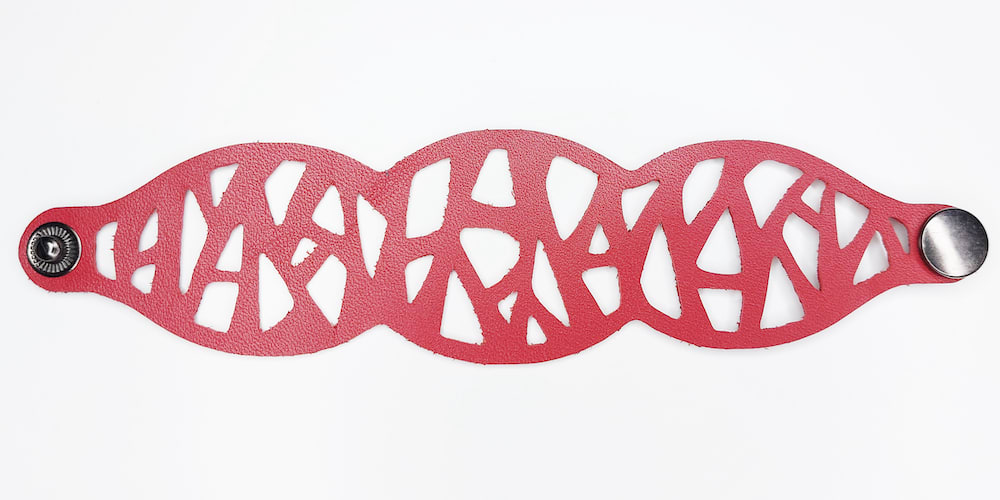
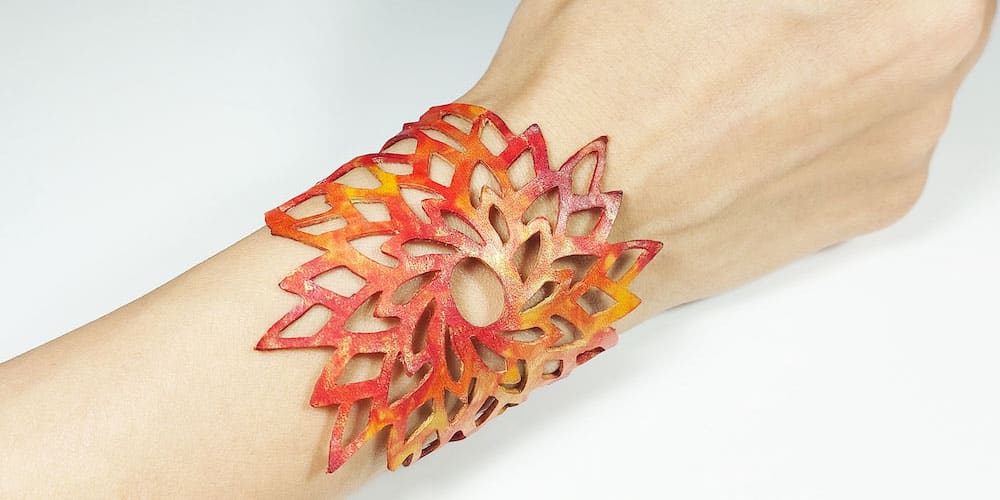
The finished result
I love this dyeing technique, and was thrilled with how vibrant the colours came out. The dye also stayed on the bracelet; after buffing and sealing it, there was no rub-off.
I’ll definitely be experimenting more with this technique!