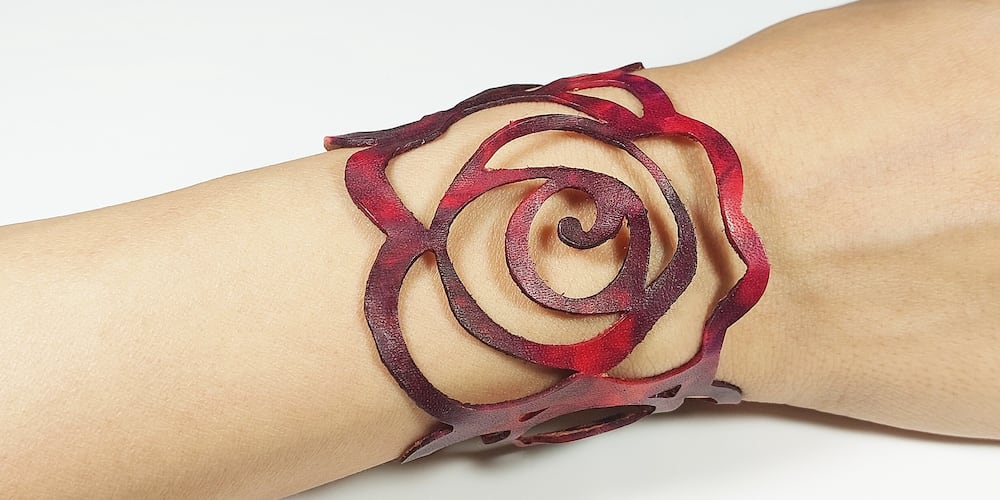
About the leather cuff bracelet
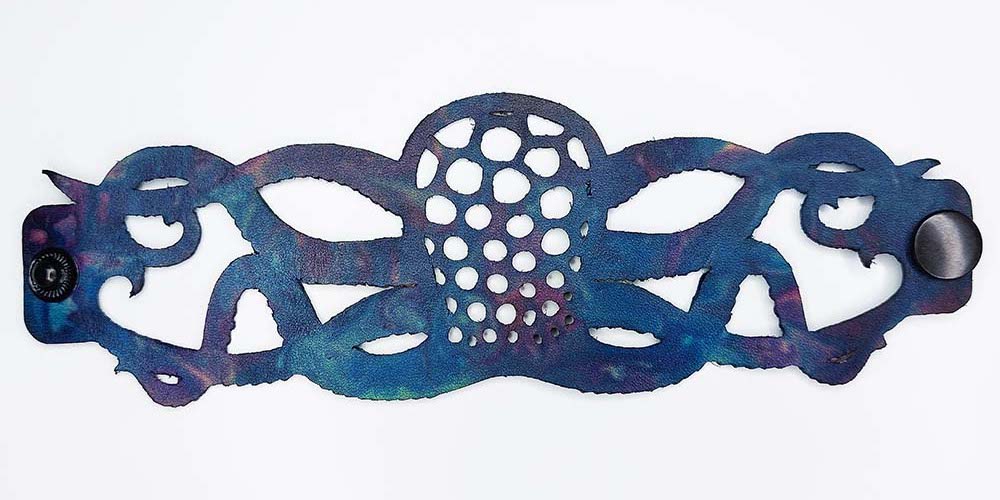
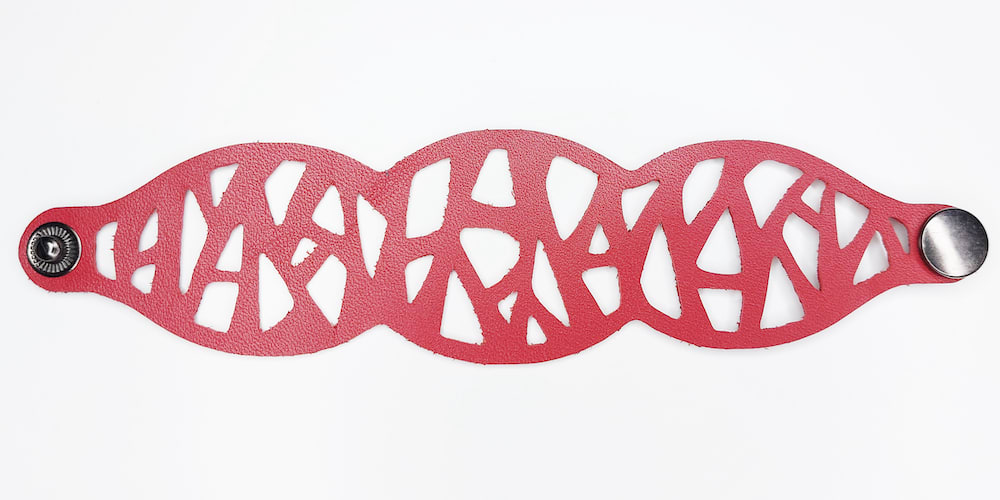
I love how the colours turned out on this one, but the cut was a bit of a struggle. I started the cut (unknowingly) using a dull Cricut blade, and I could hear that the blade was struggling within the first few cuts. So I paused it and swapped out the blades, and the rest of it cut cleanly.
But there is a section in the centre of one of the roses where I had to do a bit of damage control after the cut, and it doesn’t look as clean as it could.
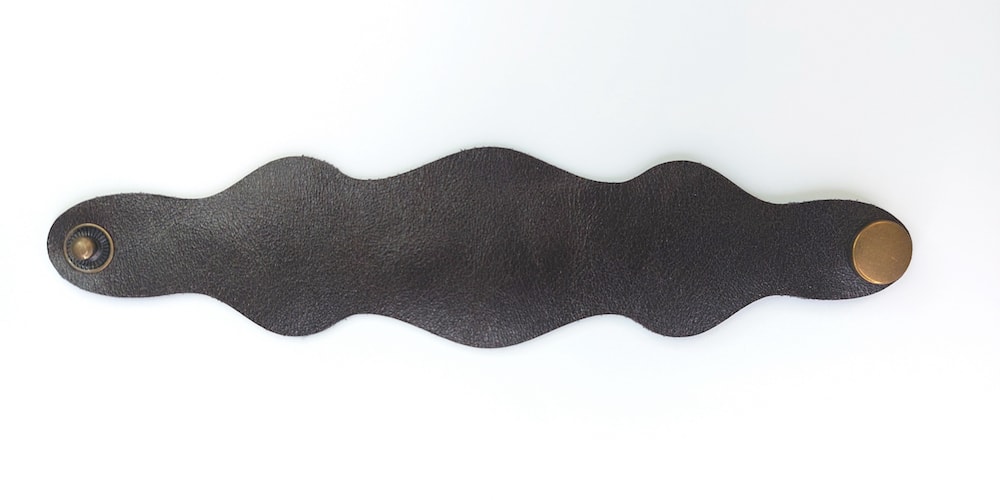
I’m also a bit new to the dyeing technique I used, and so I took my time with it and I think this resulted in the leather getting really saturated with moisture. When it dried, it was really dry and a bit crispy, which I think you can see in the pictures. Conditioning it with oil helped, but that can only do so much. So overall, this bracelet turned out okay, but not great.
Below are some high-level photos of the process, and also the finished result.
If you’d like to make your own, I’ve written a post with step-by-step instructions on how to create these kinds of Cricut leather bracelets. If you’d rather just buy one, I sometimes sell similarly-styled laser-cut leather bracelets in my Etsy shop. See if there are any you like!
The making process
At a high level, the process involved:
- Finding/purchasing a piece of scrap vegtan leather at a local leather supply shop.
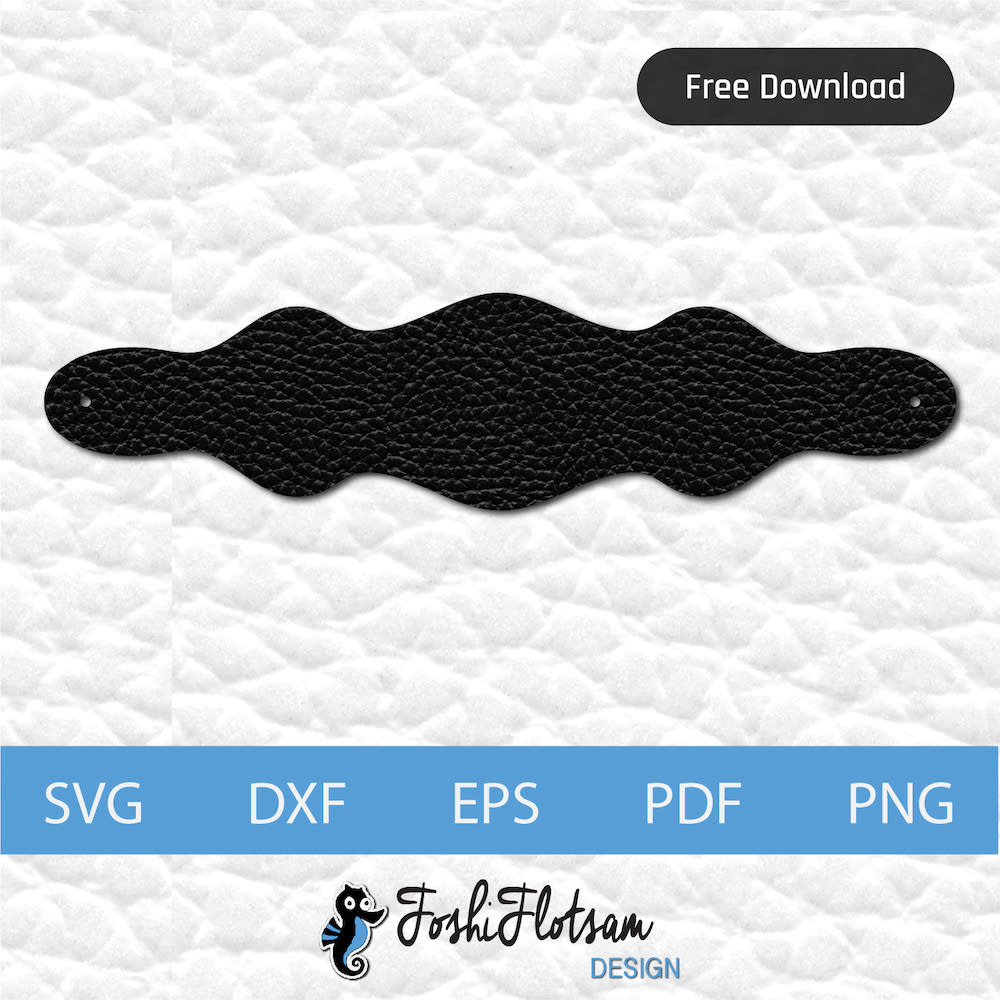
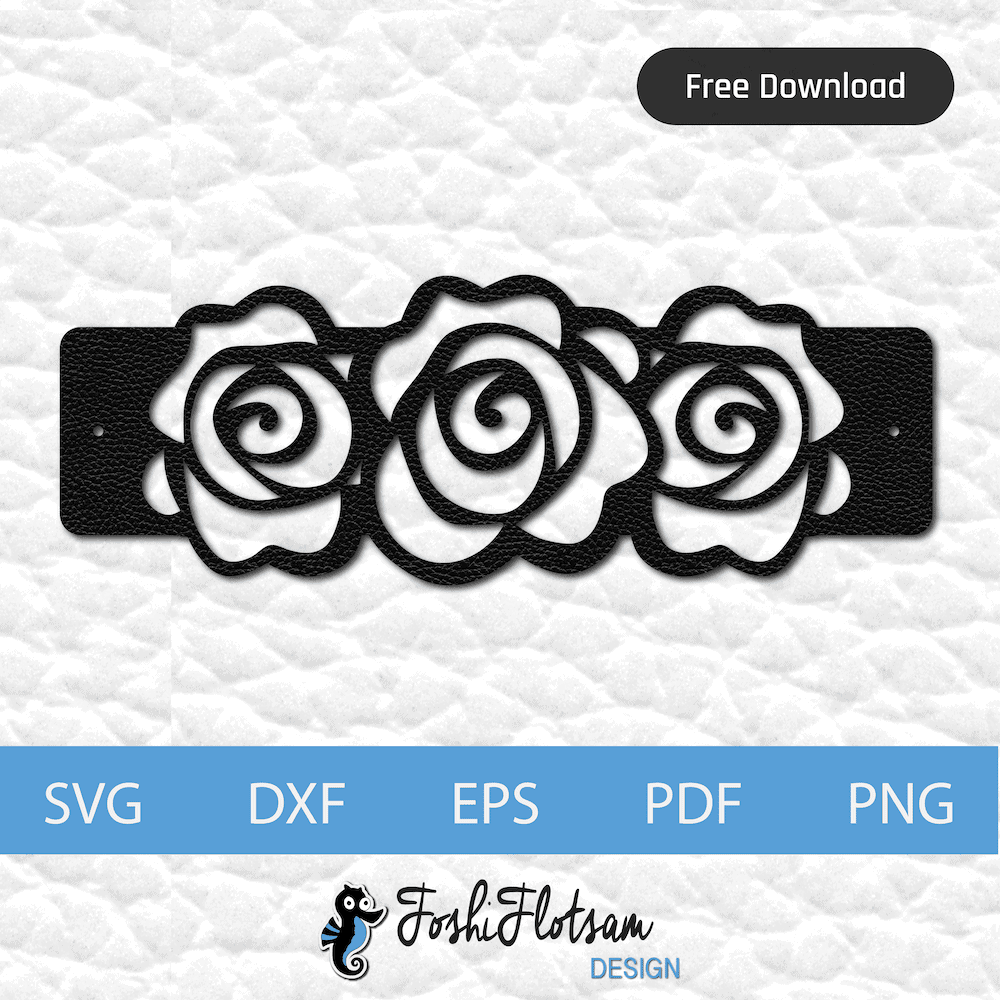
- Uploading this design file into Cricut Design Space.
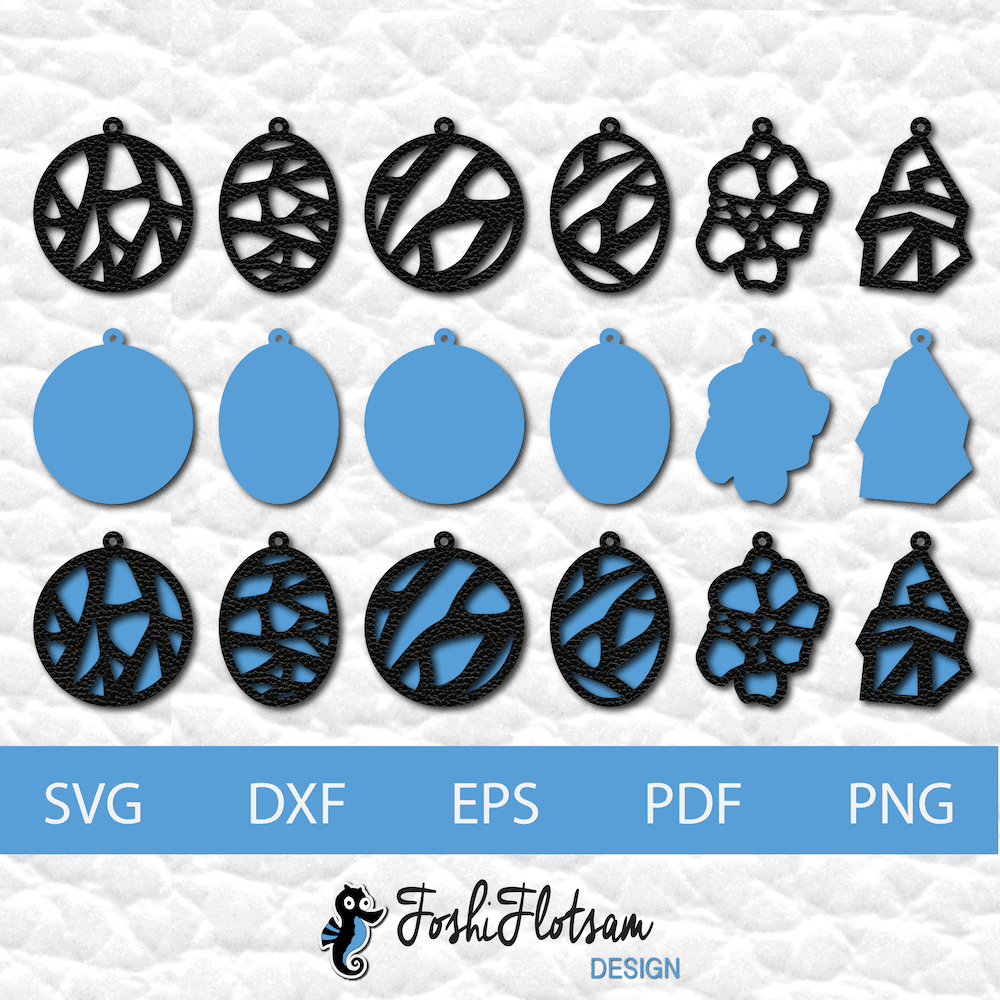
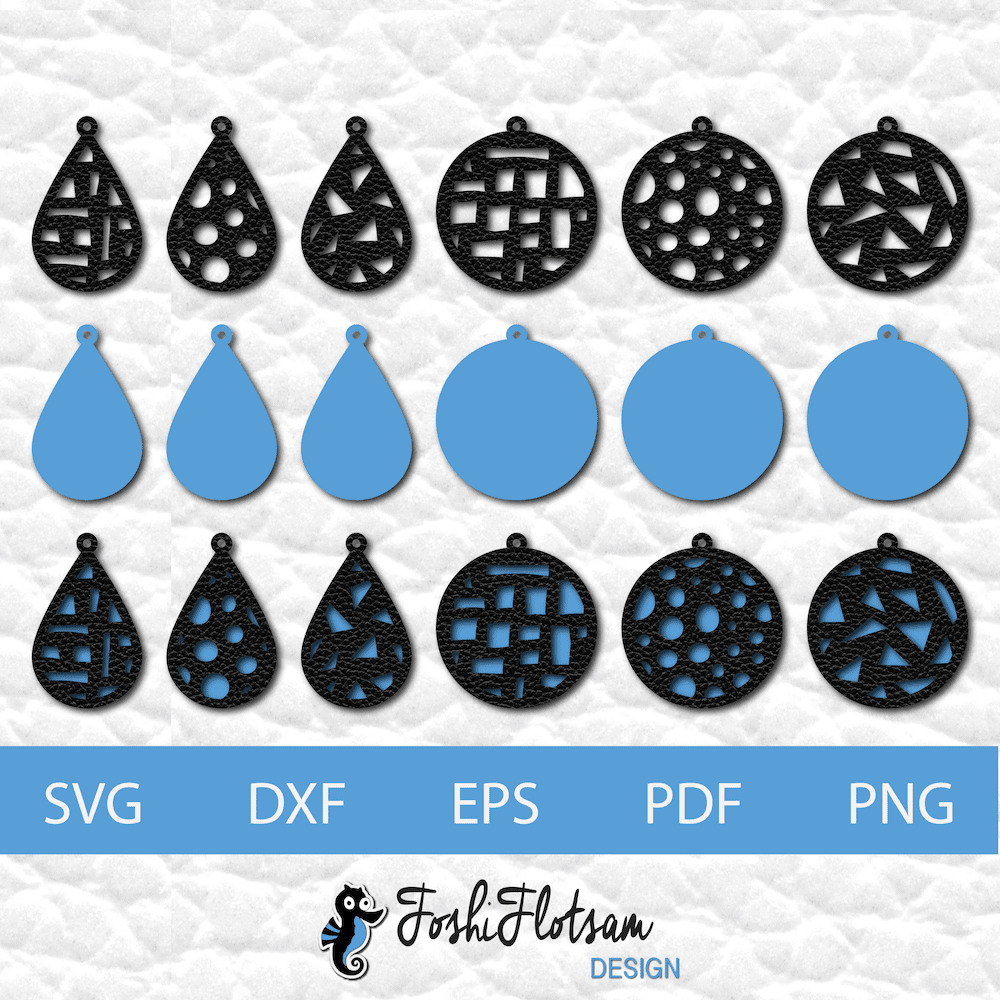
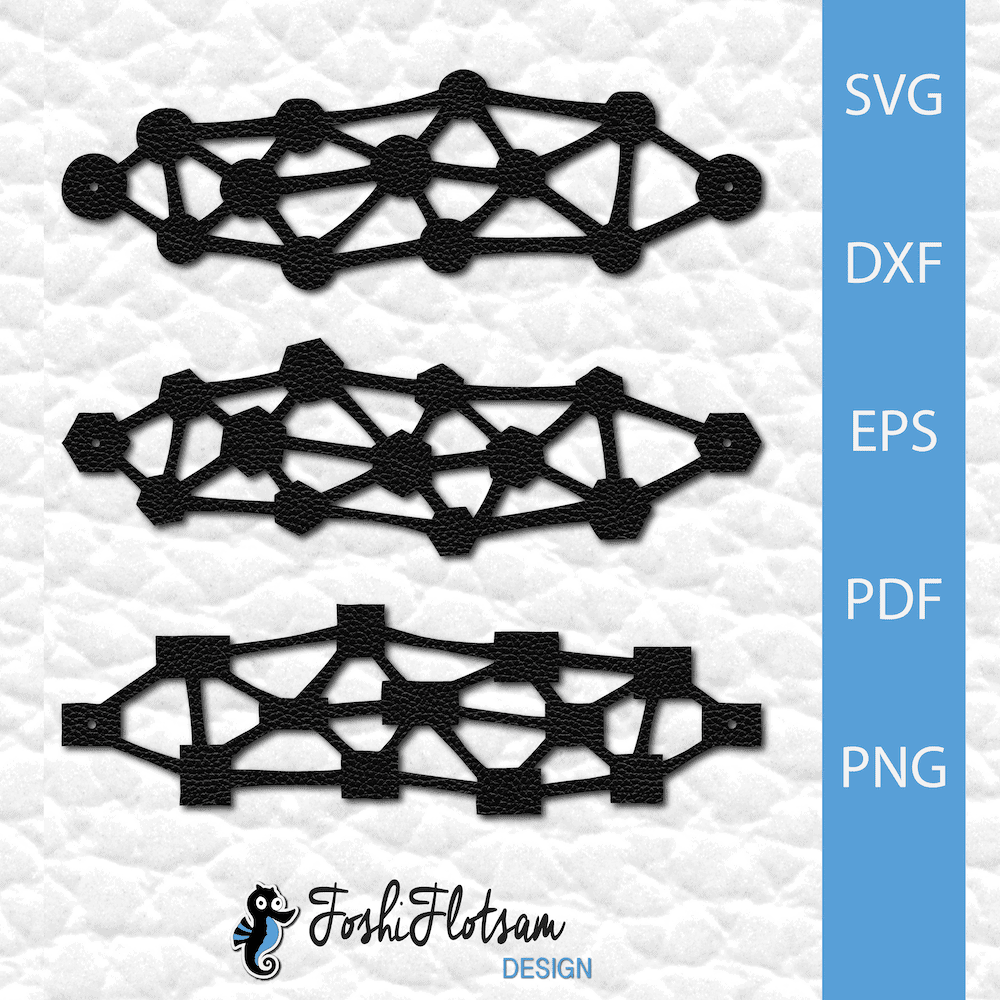
- FYI, you can download this free design if you’d like to make it! I also have other free bracelet patterns available on this site (just filter for bracelet files).

- Cutting the pattern using my Cricut Maker.
- Dyeing the bracelet using the shaving cream technique.
- Buffing out the extra dye, applying a conditioning oil, and then sealing the leather with a finishing product.
- Adding snap fastener closures.
And that’s it! Here are some images of the process.
The finished result
As I mentioned, there were definitely some challenges with this bracelet, but the colours turned out fantastic. Next time I’ll be sure to start with a fresh blade, and as I get faster at dyeing using the shaving cream technique, I should have less issues with the leather becoming saturated with water from the shaving cream (which causes the leather to dry out).