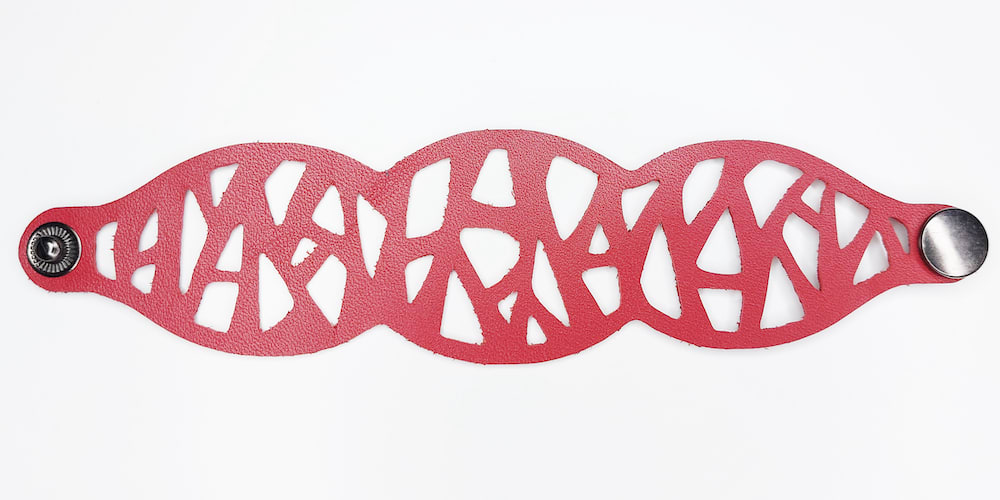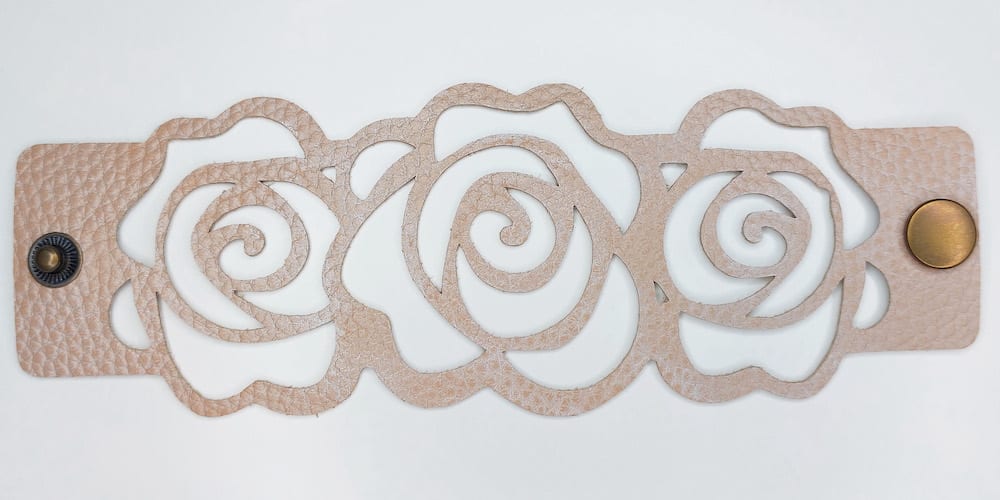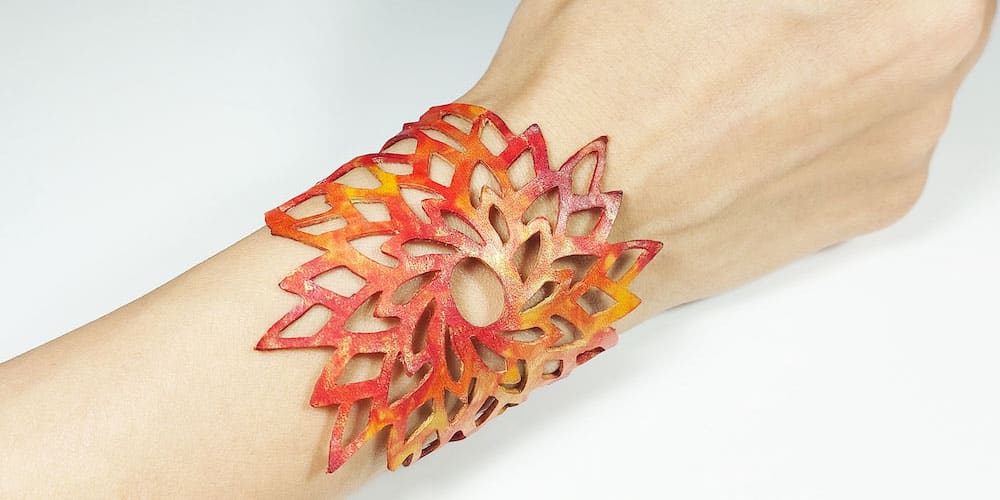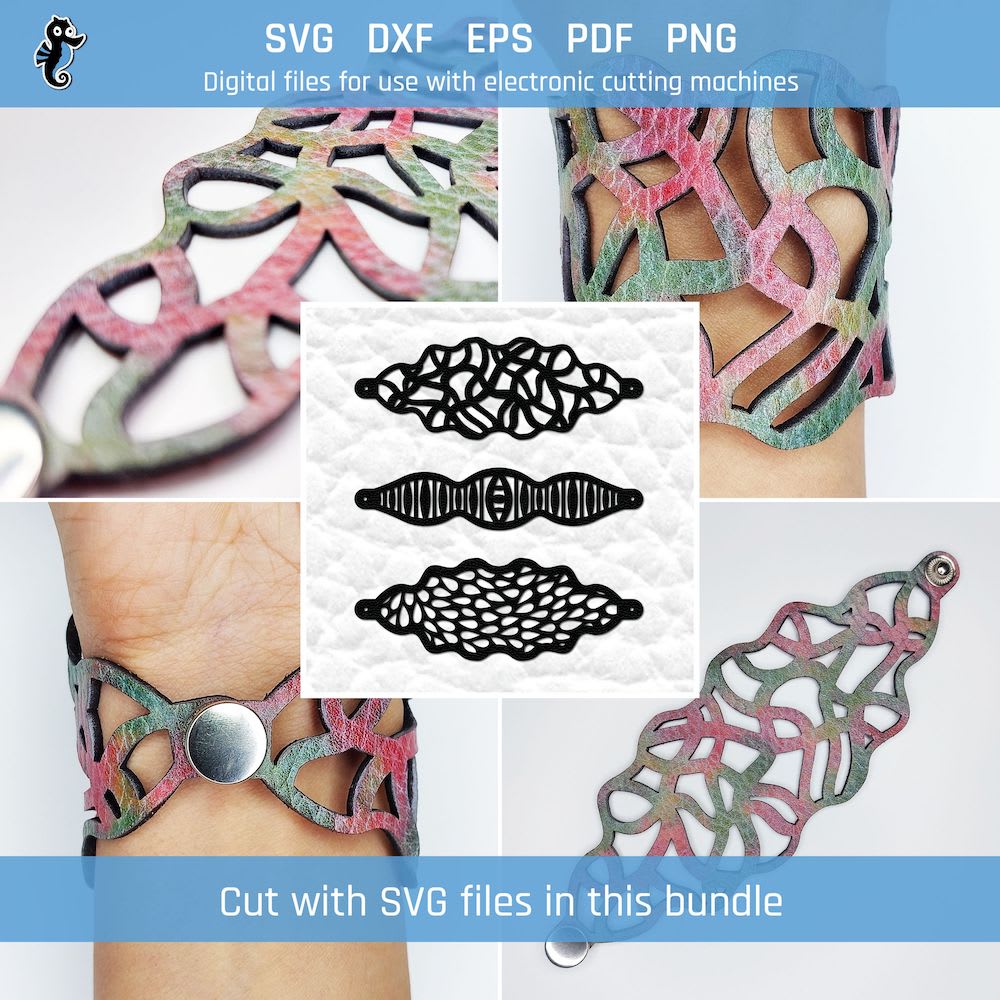
About the leather cuff bracelet
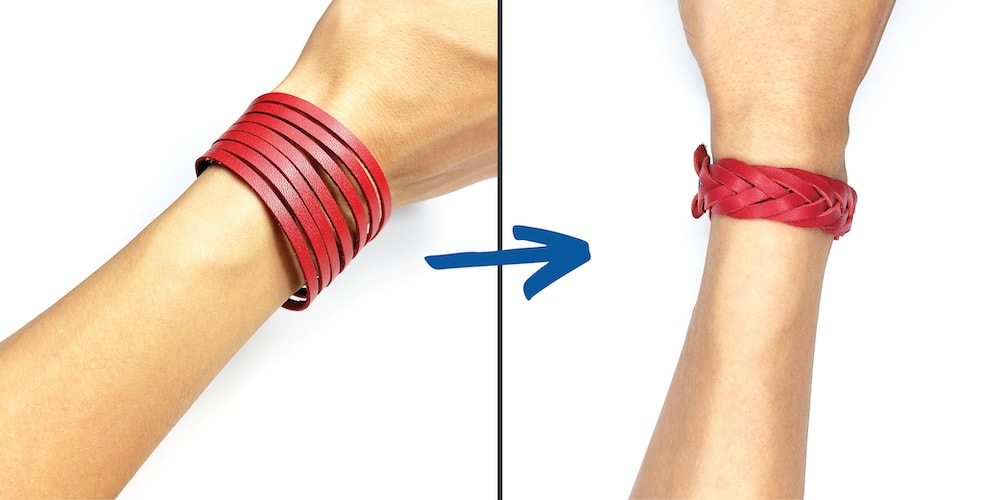
I’ve been seeing these mystery braid bracelets for a while, and was always curious about the braiding process. I decided to design one and try braiding it myself, and it turned out to be surprisingly easy!
It’s also very simple to cut and could even be done by hand if you don’t have access to an electronic cutting machine, like a Cricut, Silhouette, or Glowforge (or other laser cutter).
Below are some high-level photos of the process of making it, and also the finished result.
If you’d like to make your own leather cuff bracelet, I’ve written a post with step-by-step instructions on how to create these kinds of Cricut leather bracelets. If you’d rather just buy one, I sometimes sell similarly-styled laser-cut leather bracelets in my Etsy shop. See if there are any you like!
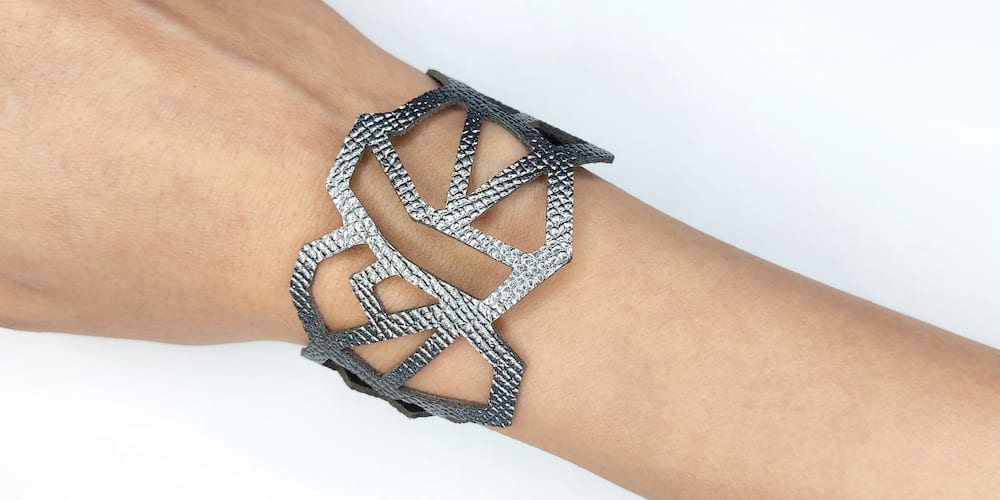
What inspired the design
I kept seeing them pop up on Pinterest and was curious about how to make them.
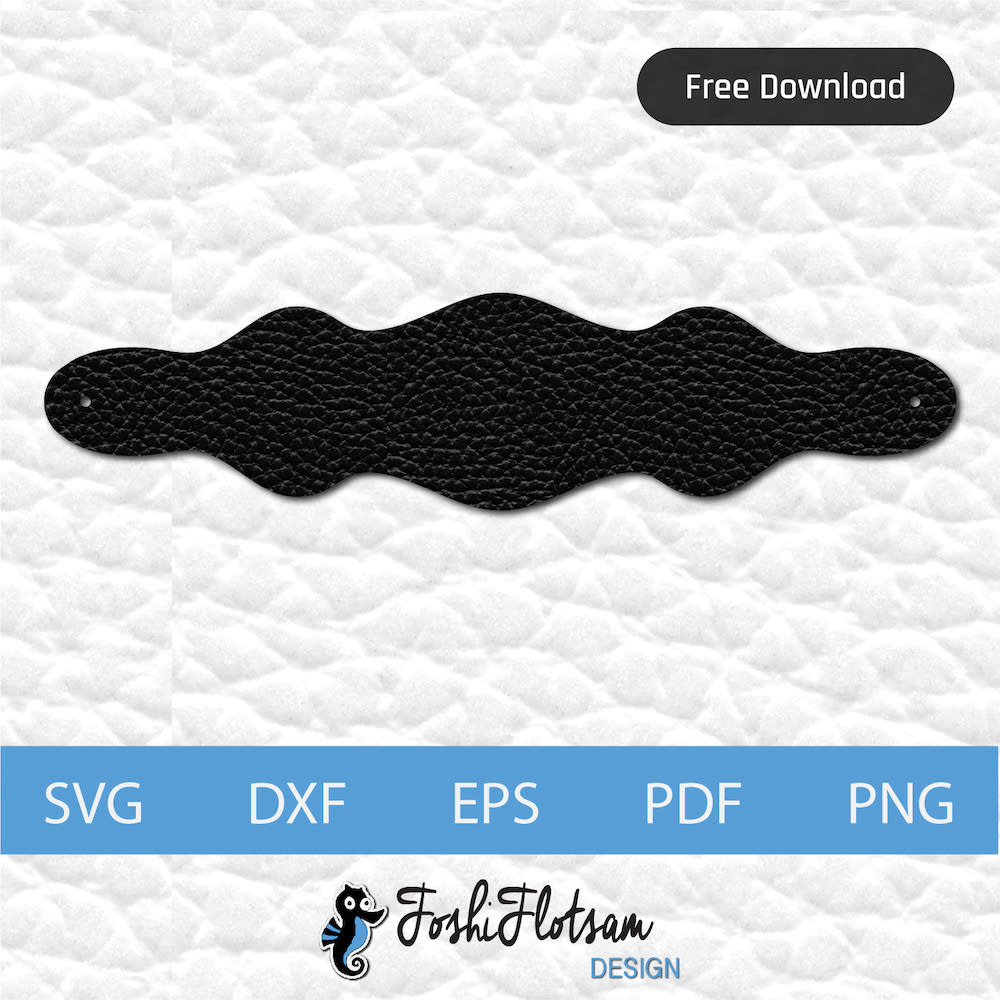
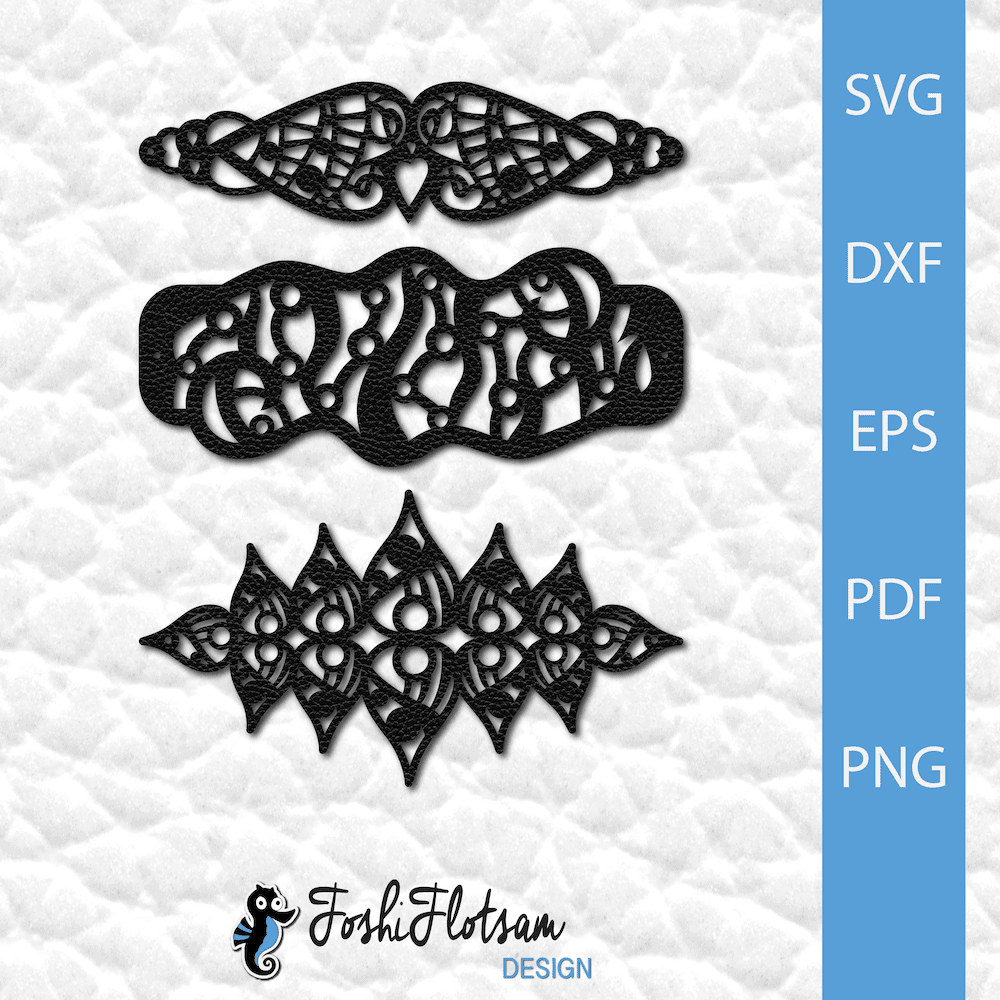
So I played around and designed a few versions with different numbers of strands. I included them as part of a larger bundle that you can buy in my shop, but this 7-strand one is free if you’d like to download and try it out yourself.
The making process
For a detailed step-by-step, see this video tutorial:
At a high level, the process involved:
- Finding/purchasing a piece of scrap leather at a local leather supply shop. I chose a finished leather so that I wouldn’t have to dye it myself.
- Uploading this design file into Cricut Design Space.
- FYI, you can download this design for free if you’d like to make it. I also have other free bracelet patterns available on this site (just filter for bracelet files).

- Cutting the pattern using my Cricut Maker.
- This design is simple enough that you could probably cut it with a craft knife or scissors.
- Sealing the back of the leather for a smooth, professional finish, and to avoid shedding of the fibres.
- Adding snap fastener closures.
- Braiding it. I could have left it unbraided, but I wanted to learn the technique. You could skip this step if you prefer the unbraided look.
And that’s it! Here are some images of the process.
The finished result
It took a few tries to get the hang of it, but braiding the bracelet was easy once it clicked. It can be a bit tricky if you have to undo it and start again (the more strands there are, the easier it is to get the whole thing tangled up into a mess if you’re not careful).
But with a bit of patience, I prevailed! And so can you. 🙂
I like both the unbraided and braided looks, but now that it’s braided I’ll probably leave it this way. I do like how it turned out though!