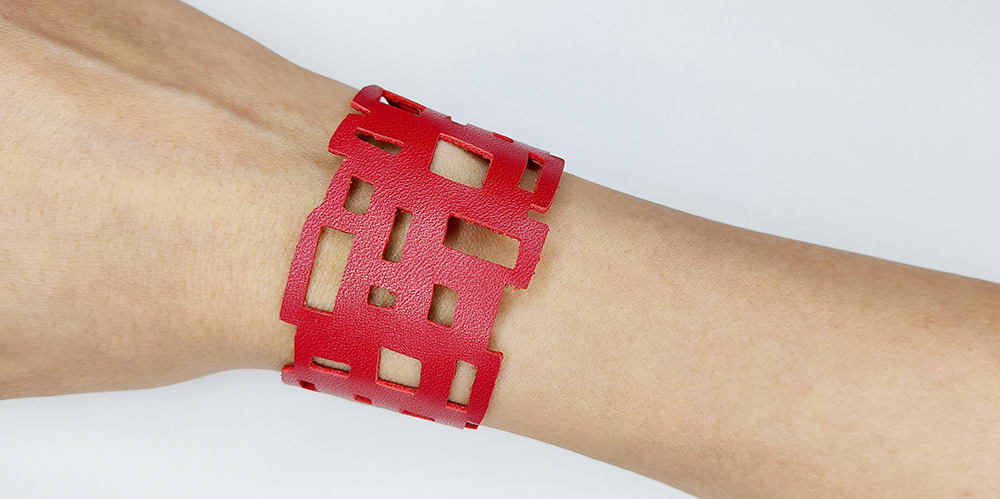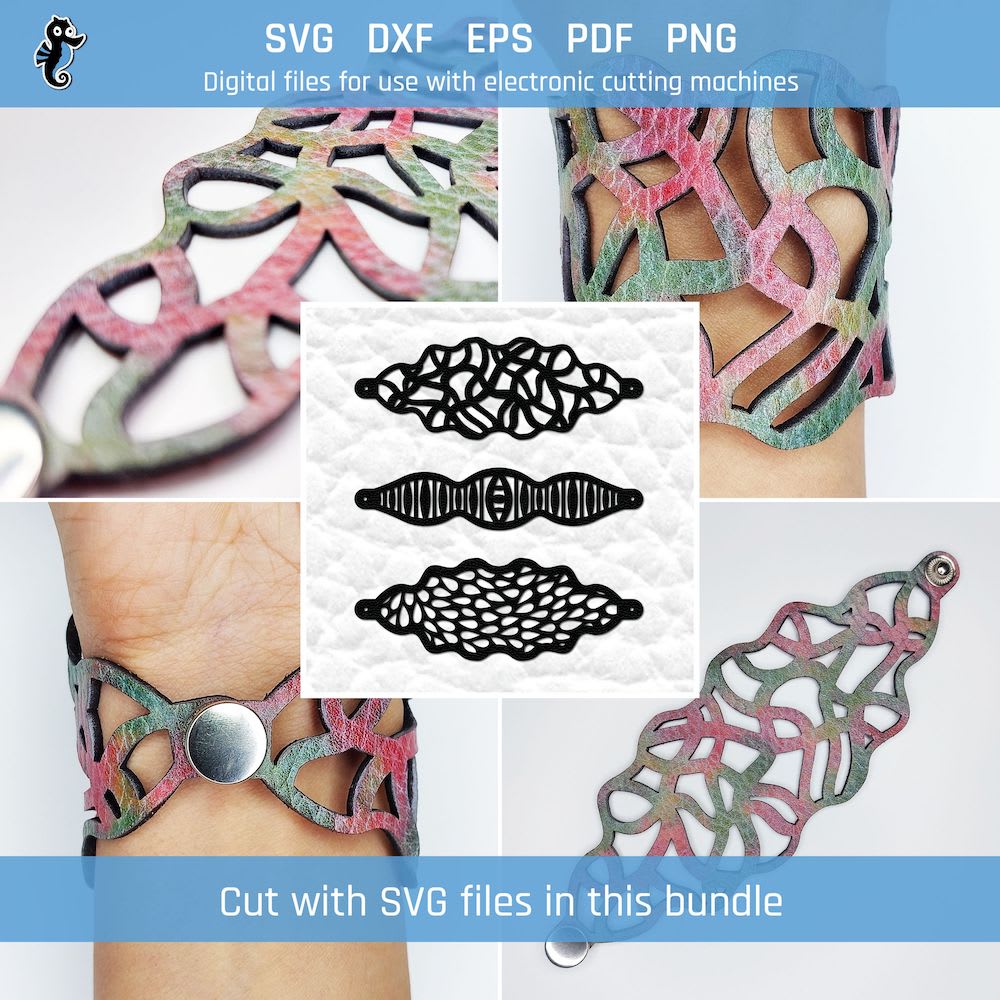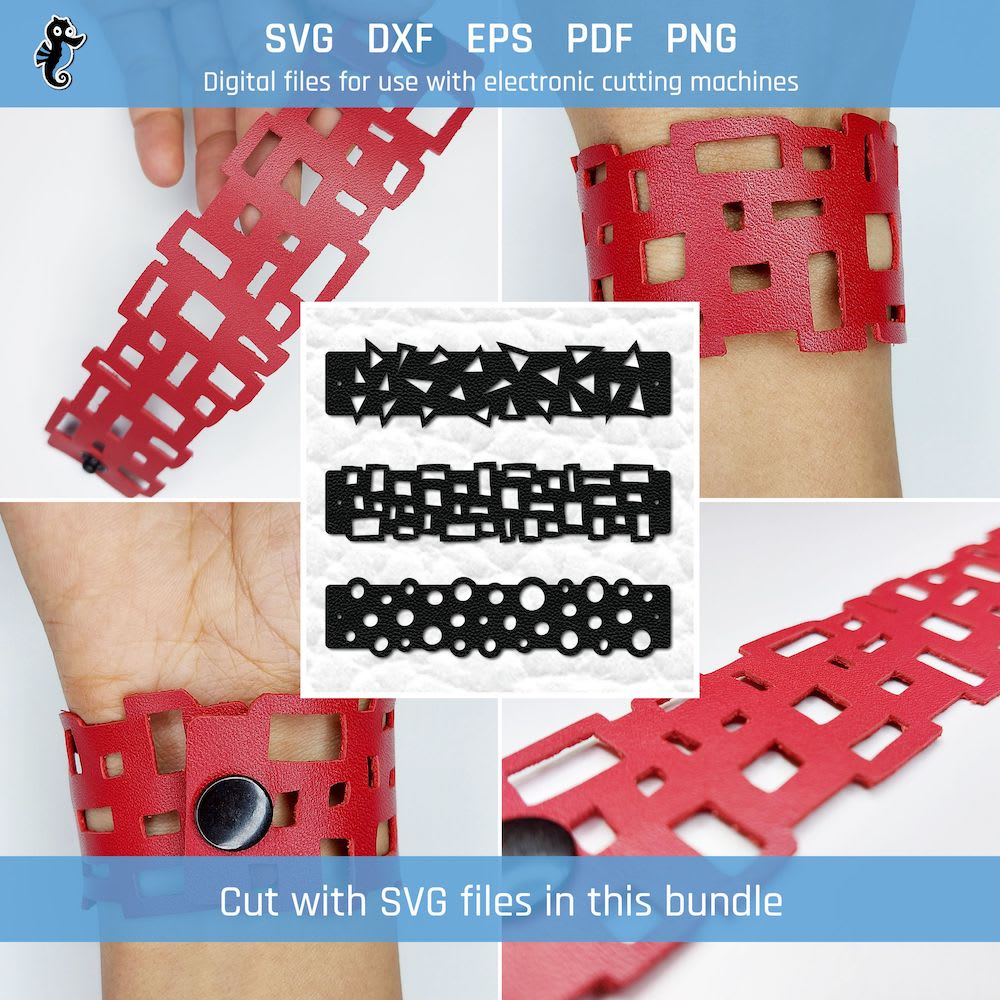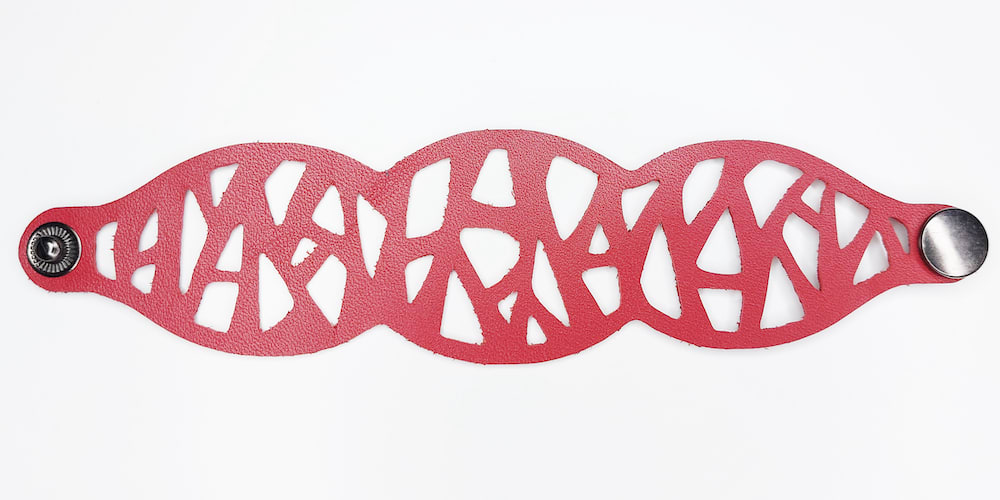
About the leather cuff bracelet
This bracelet was a fairly quick project since the red leather I used is already finished. I did smooth out the back fibres using a leather sheen, but that was all the work I needed to do on the leather. I also added snap fasteners.
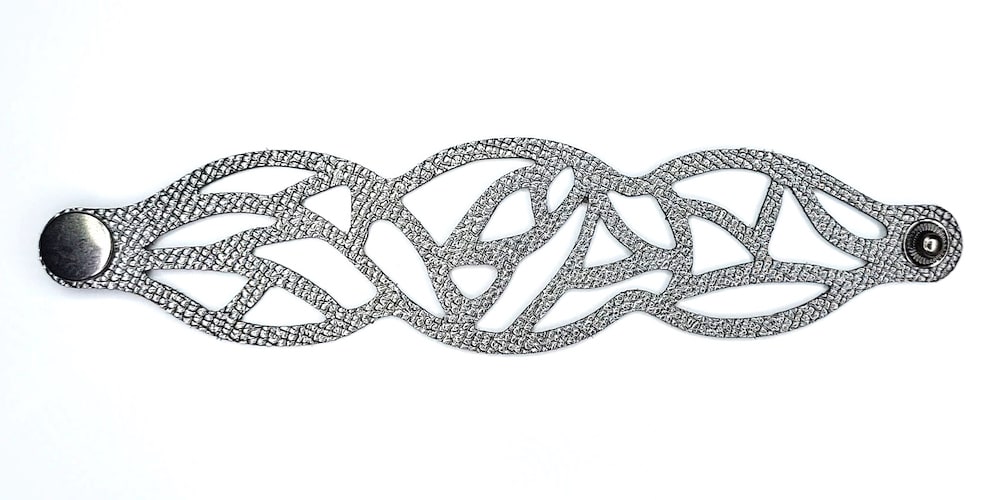
I love this pattern, and how the bracelet turned out. Below are some high-level photos of the process, and also the finished result.
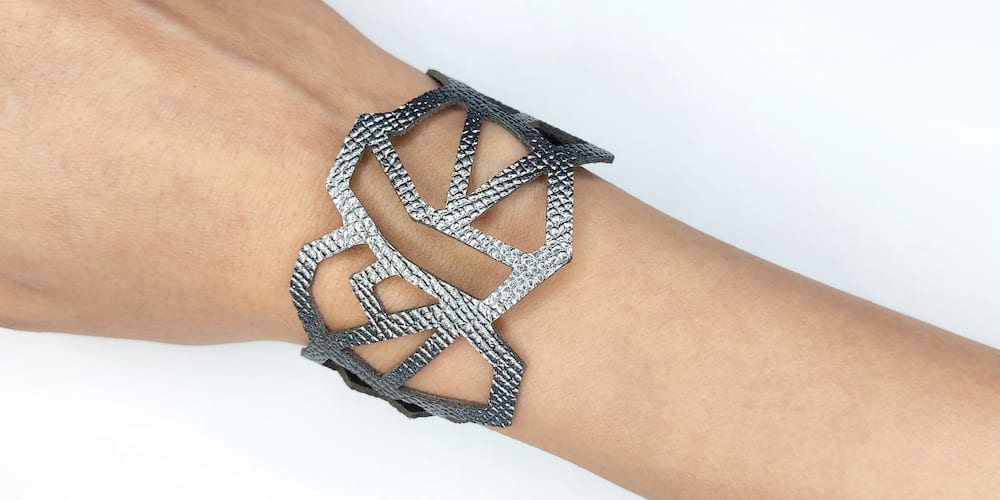
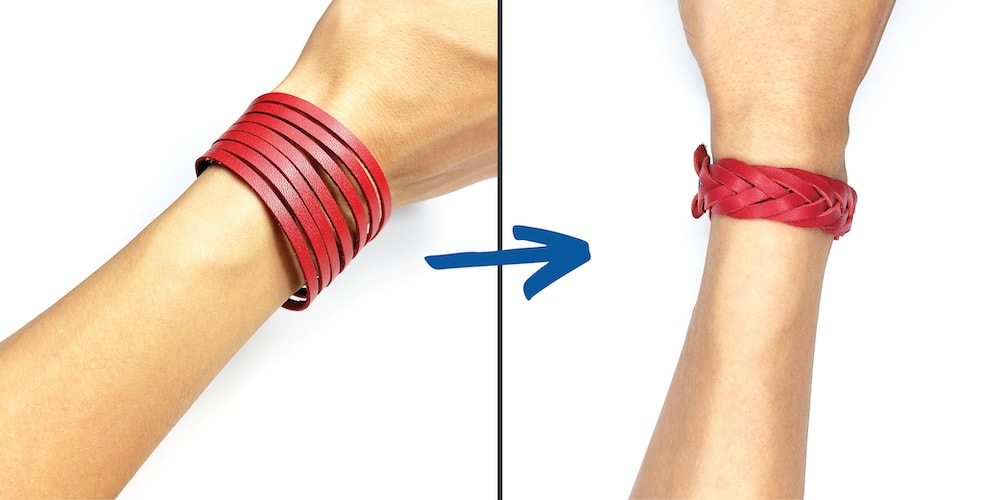
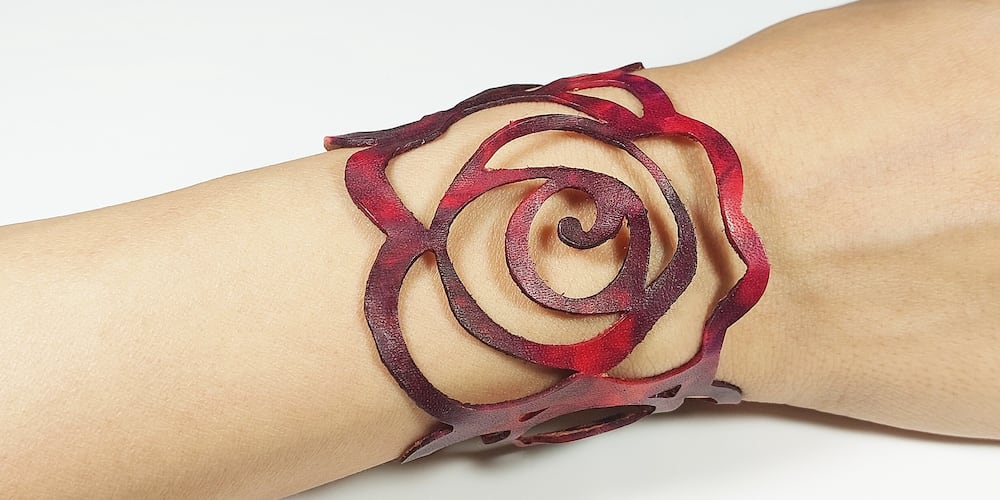
If you’d like to make your own, I’ve written a post with step-by-step instructions on how to create these kinds of Cricut leather bracelets. If you’d rather just buy one, I sometimes sell similarly-styled laser-cut leather bracelets in my Etsy shop. See if there are any you like!
The making process
At a high level, the process involved:
- Finding/purchasing the leather I used at a local leather supply shop. This piece was cheap, about $3.
- Uploading this design file into Cricut Design Space.
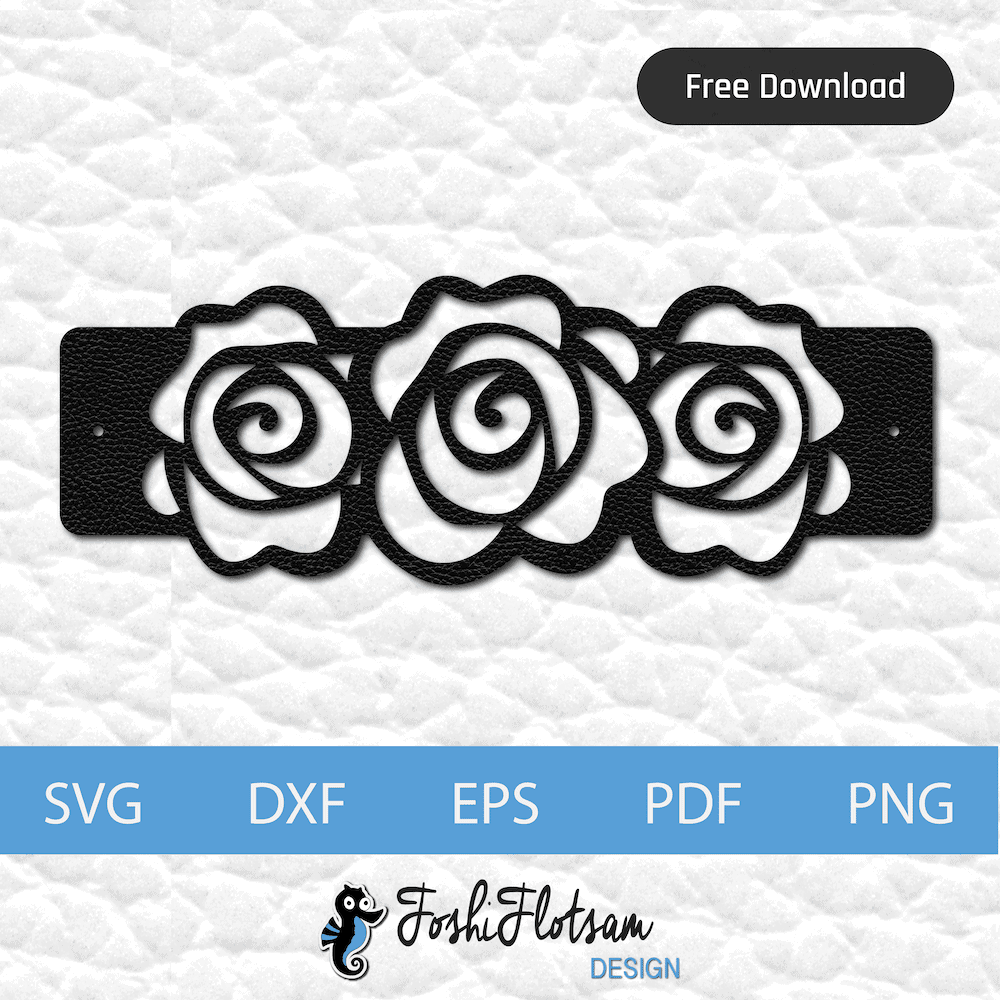
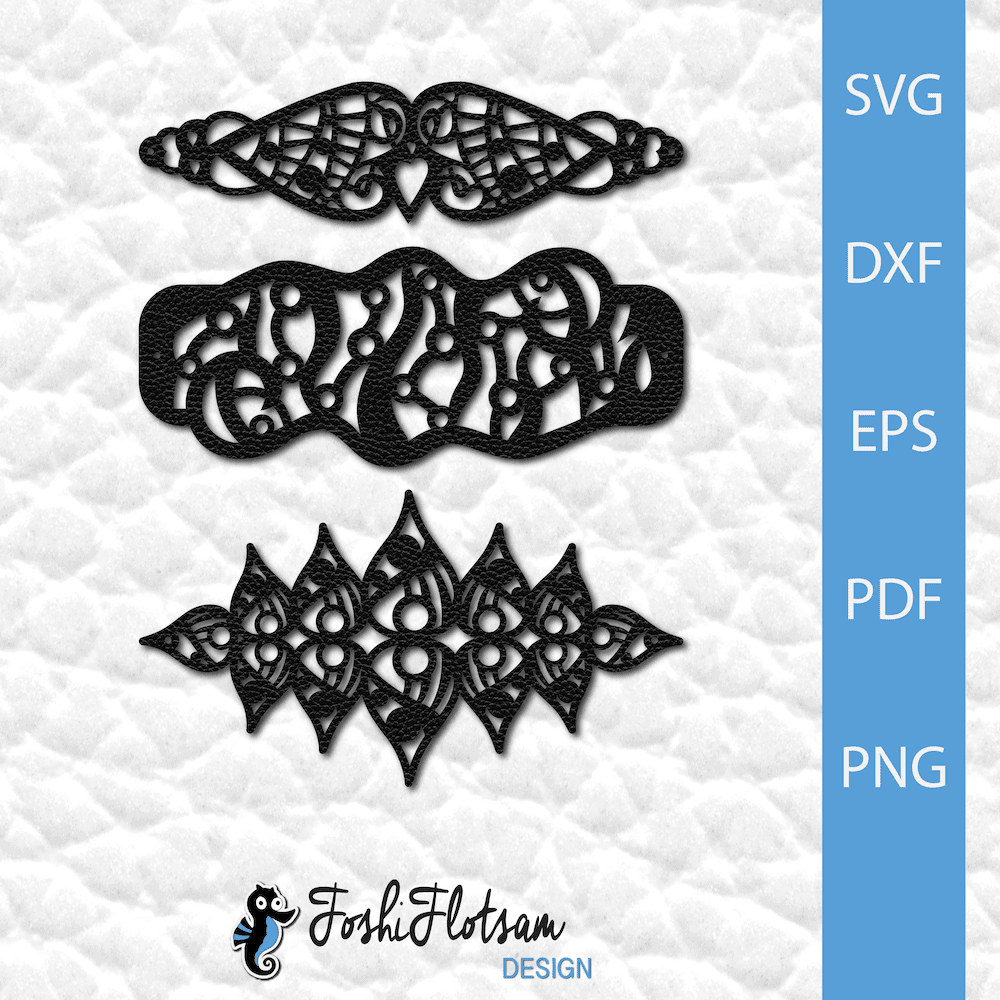
- FYI, you can purchase this design (along with three other similar designs that come in the same bundle) in my Etsy shop for a few dollars if you’d like to make it! I also have free bracelet patterns available on this site (just filter for bracelet files).

- Cutting the pattern using my Cricut Maker.
- Sealing the back of the leather with a finishing product. This helps keep the fibres nice and smooth, and prevents them from shedding. (I forgot to take pictures of this part).
- Adding snap fastener closures.
And that’s it! Here are some images of the process.
The finished result
The red leather and this design cut really well with the Cricut, and because it’s already finished I didn’t need to dye it! Although I could have gotten away without sealing the back fibres, I like the smooth, professional look of the fleshy side after it’s been sealed, so I did do a quick seal. It turned out great, and I love how vibrant the red is.