Table of contents | Dyeing leather bracelets
- Introduction
- What you’ll need
- Some pointers to avoid messy disasters
- Dyeing leather
- Step 1: Use your dropper to remove some dye from the bottle
- Step 2: Place 4 to 5 drops into a well of your mixing tray
- Step 3: Use the sponge to apply the dye
- Step 4: Repeat steps 2 and 3 until you’ve finished one side
- Step 5: Apply a second layer by repeating steps 2 to 4 on the same side
- Step 6: Buff with a rag to remove excess dye
- Step 7: Repeat steps 1 to 6 for the back of your bracelet (optional)
- Step 8: Let it dry for 24 hours
- Why I use this technique
- The finished result
- Conclusion and next steps
Introduction to dyeing leather bracelets
Depending on the type of leather you’ve used in your laser or Cricut leather bracelet project, you may want to dye your bracelet.
If you’ve used a leather that’s already finished, you should skip this step. Finished leather can’t easily be dyed without first stripping it down.
If you’ve used vegetable tanned tooling leather and would like to change the colour of your bracelet, this post applies to you.
Dyeing leather is an exciting process with tons of possibilities for fun colour combinations and designs. In this tutorial, I’ll be sticking to a pretty simple solid colour. I may create a post more advanced techniques in the future.
What you’ll need
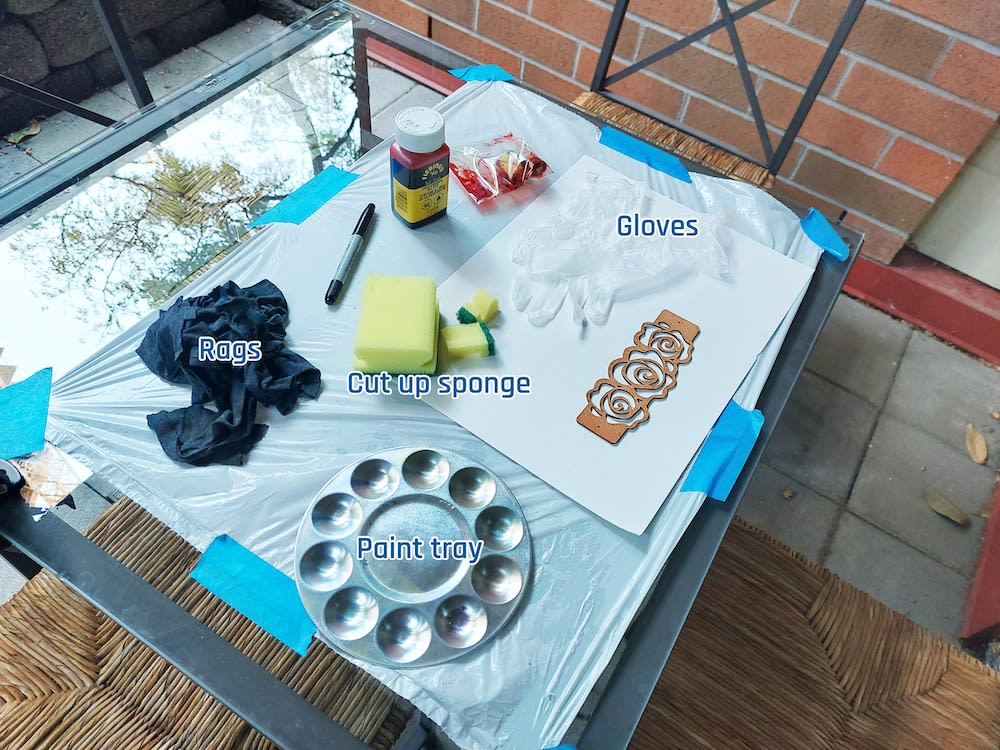
A) A well-ventilated space
Leather dyes should not be used in areas that don’t have really good ventilation. They’re toxic and nasty and you want to be really careful when working with them. When I’m at home and the weather is good, I like to work outside.
B) Your leather project
Whichever piece of leather or leather project you’ll be dyeing.
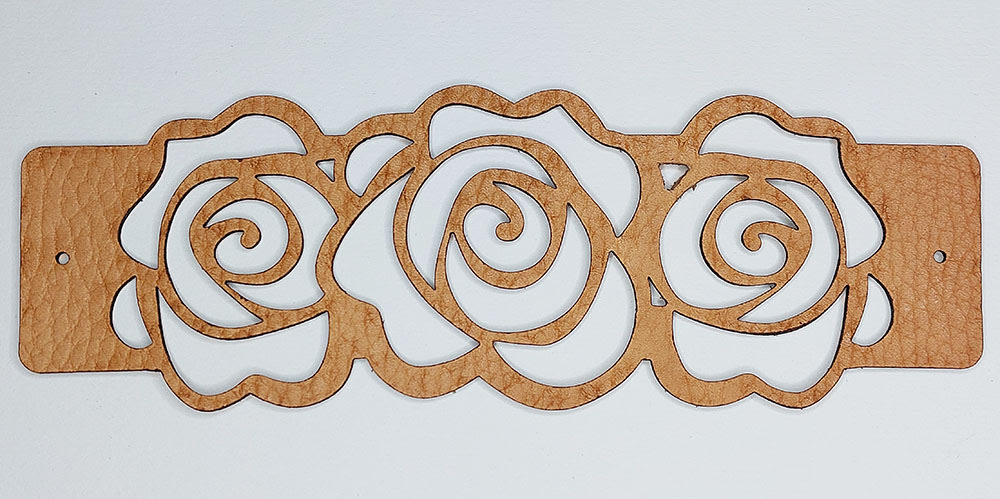
I worked on this leather bracelet I cut from a sheet of vegetable tanned leather.
C) Your leather dye(s) of choice
I’ve found Fiebing’s pro dyes for leather to be the best ones for dyeing in solid colours. They’re easy to find and the colours (with a couple of exceptions) are vibrant and rich. It also rubs off less than other types.
I’ve also used Angelus leather dyes for different dyeing techniques for which the Fiebing’s Pro dyes don’t work very well.
I won’t get too much into dyes here because it’s entirely its own topic and there is a ton to say about it. If you want something reliable, cost-effective, and easy to find, I’d recommend any of these three brands/lines:
- Fiebing’s Pro Dye (older bottles like mine say Professional Dye)
- Fiebing’s Leather Dye
- Angelus Leather Dye


D) Gear to keep yourself clean
Leather dye will ruin anything it accidentally gets on, so when I work with it I adorn myself in the following fashionable attire:
- Latex (or latex-free) gloves.
- Some kind of plastic protective layer over your clothes.
- I use a giant garbage bag with holes cut out for my head and arms. In the summer this becomes insufferable, but it is critical to avoid ruining my clothes and everything else I own.
E) Gear to keep your space clean
You can experiment with creating whatever setup works for you. Here’s what I do to minimize mess:
- Place a plastic sheet or bag on the working surface.
- I tape a white garbage bag to my patio table.
- Have several clean rags on hand (I cut up an old shirt) to wipe away dye when needed, and also to wipe excess dye off the leather after dyeing.

F) Dye applicator tools
I’ve tried a few different techniques for dyeing these intricate leather bracelets, and I’ve settled on the one I think works best. To apply the dye using this method, you’ll need:
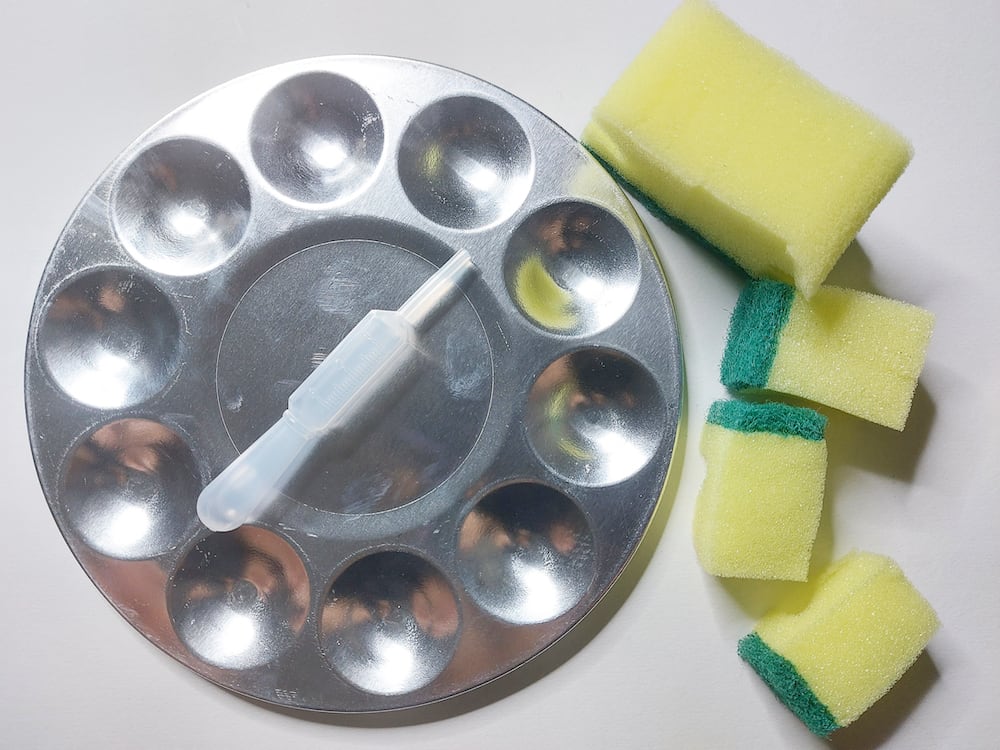
- A dropper tool to remove small amounts of dye from the bottle at a time.
- A paint mixing tray. I like to use metal ones so that they don’t take on the colour of the dye.
- A few chopped up sponge pieces. I got mine from the dollar store; any similar sponges will do.
Also, I cover why I use the technique described in the steps below near the end of this post.

Some pointers to avoid messy disasters
Leather dyes are notoriously messy. If you’ve worked with them before, you’ll be familiar with the subtle but persistent tension you feel whenever you see an open bottle of dye. Disaster is looming.
Here are some tips so that you can avoid some classic dye disasters:
- Don’t keep bottles of dye open. Take what you need and close them immediately.
- Work in a well-ventilated space. Dyeing leather is fun, but it’s not worth cancer. (Not sure if it causes cancer, but I just assume that everything bad causes cancer at this point.)
- Keep your project away from the dye bottles, and away from anywhere where you’re moving droppers filled with dye. When you’re done dyeing your project, get it away from the bottles and droppers and dirty rags.
Okay, I’m done my parental spiel. Onwards.
Dyeing leather
Step 1: Use your dropper to remove some dye from the bottle
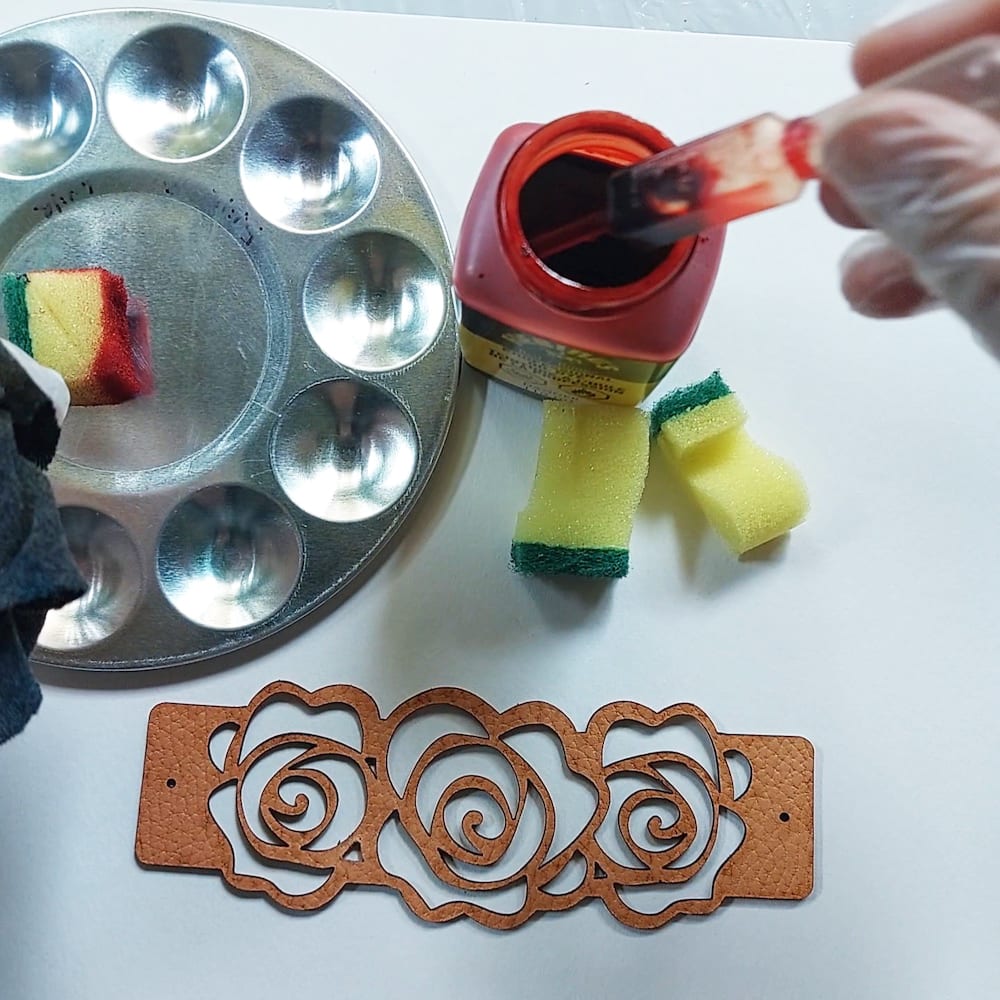

Step 2: Place 4 to 5 drops into a well of your mixing tray
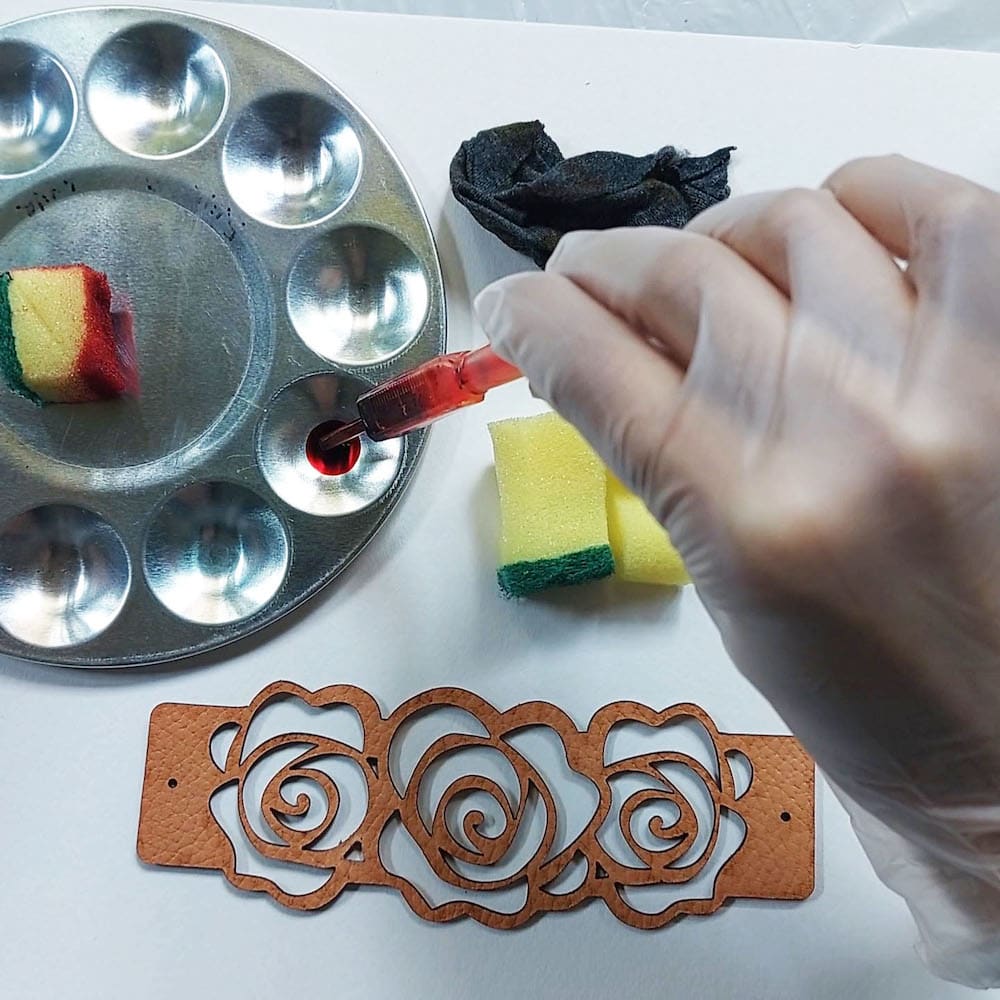

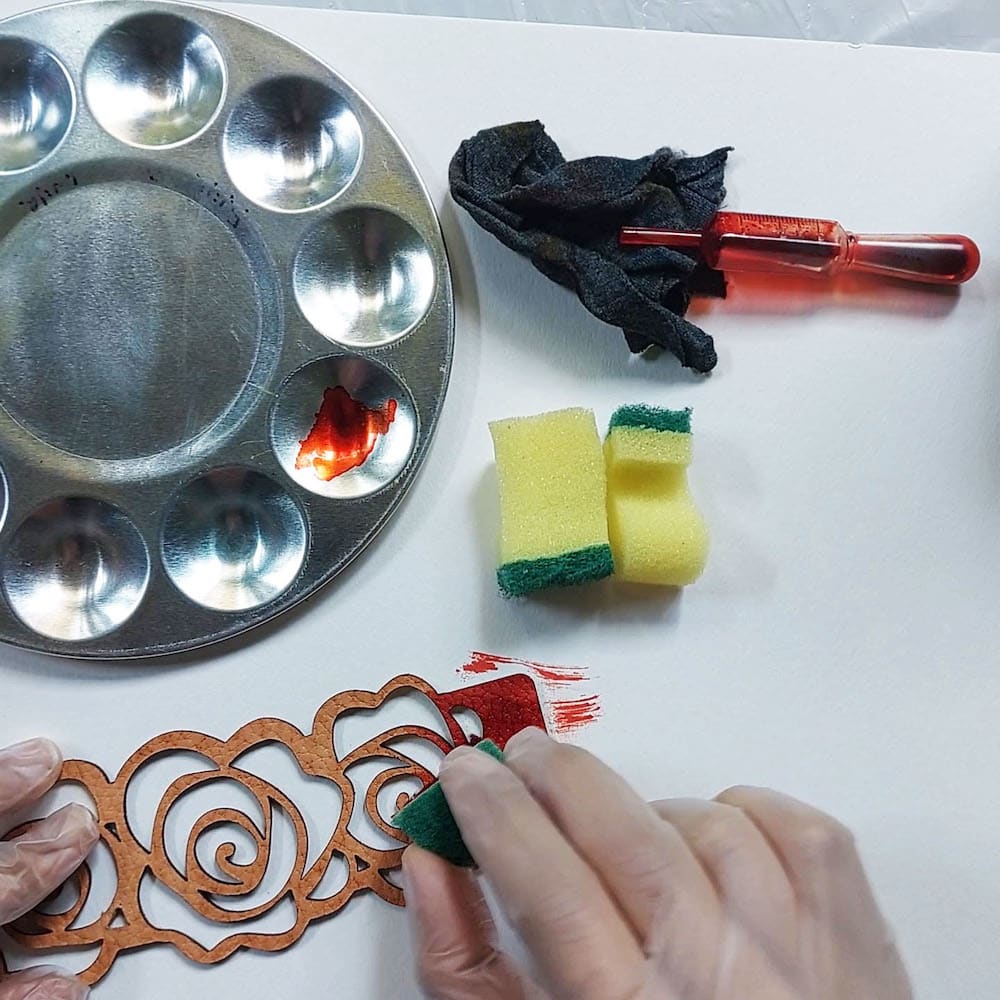
Step 3: Use the sponge to apply the dye
a) Apply half the dye to the bracelet first
Absorb about half of the dye onto your sponge and apply it to the non-fleshy side (called the grain side) of your bracelet, starting at one end. You can use strokes, either up and down or side to side (or both).

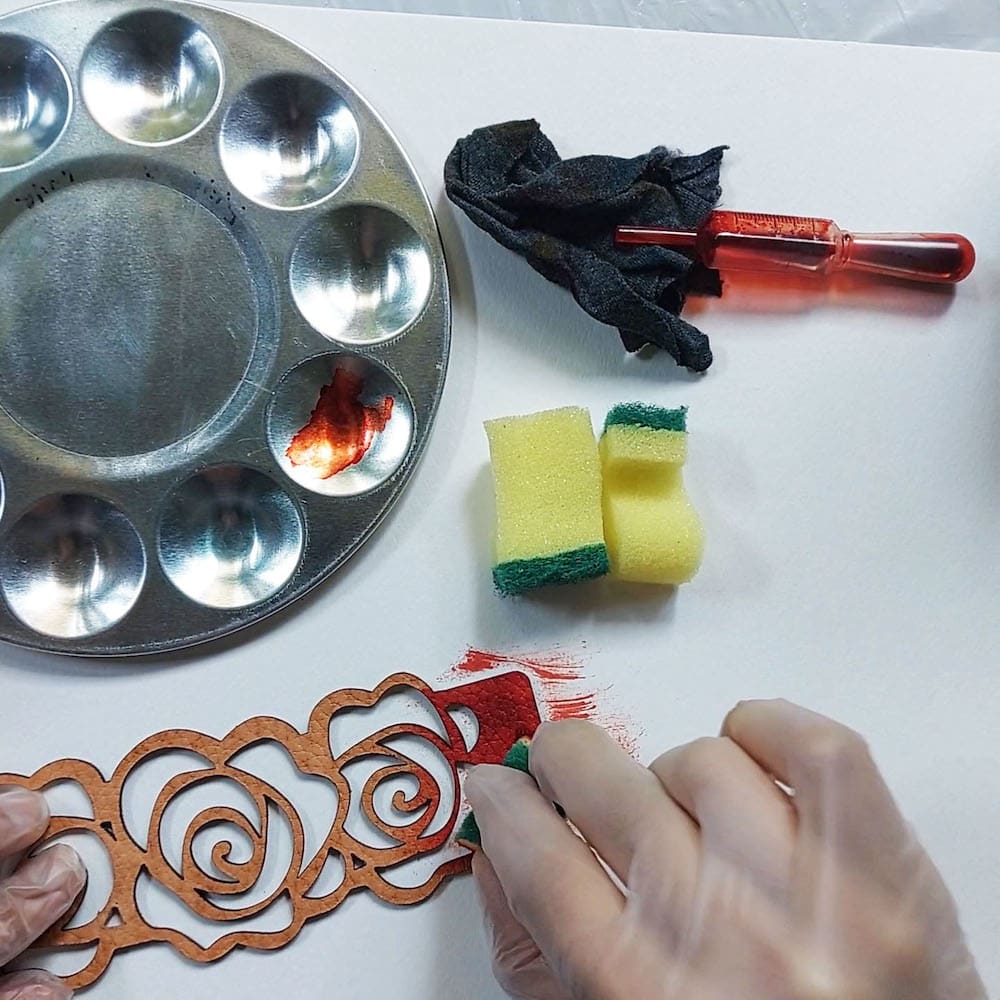
b) Apply the rest of the dye
Use the remaining dye in the well and continue applying.

Step 4: Repeat steps 2 and 3 until you’ve finished one side
Try and get a nice even coat. This takes a bit of practice, but the good thing about dye is that you don’t have to wait until it fully dries to see uneven patches. You can touch up areas that are lighter throughout the dyeing process until everything is even.
This technique takes a bit more time than some others I’ve tried, but I’ve found it to be the method that results in the least amount of wasted dye. It also results in the least amount of dye rub-off once the bracelet is fully made (of course, let me know if you know a better way!).
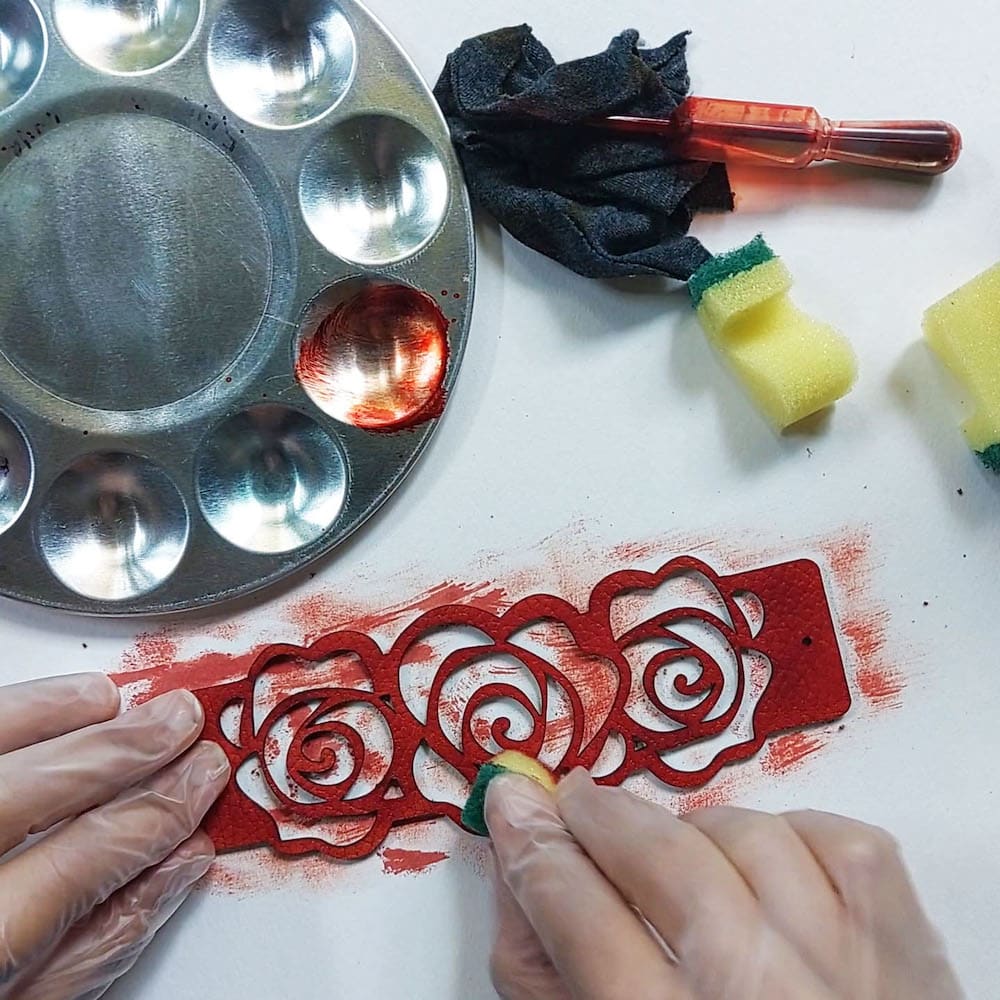

Step 5: Apply a second layer by repeating steps 2 to 4 on the same side
This will ensure you get a nice, rich coat of dye. You can also continue to layer it until you get to your desired colour, but remember that it will look slightly different once it’s dry. You don’t need to wait between coats.
Note that if there’s too much dye, you’ll run into problems later with the dye rubbing off onto clothes and other things your bracelet touches, so erring on the side of less dye is generally better (this is why I prefer this gradual method over some others).
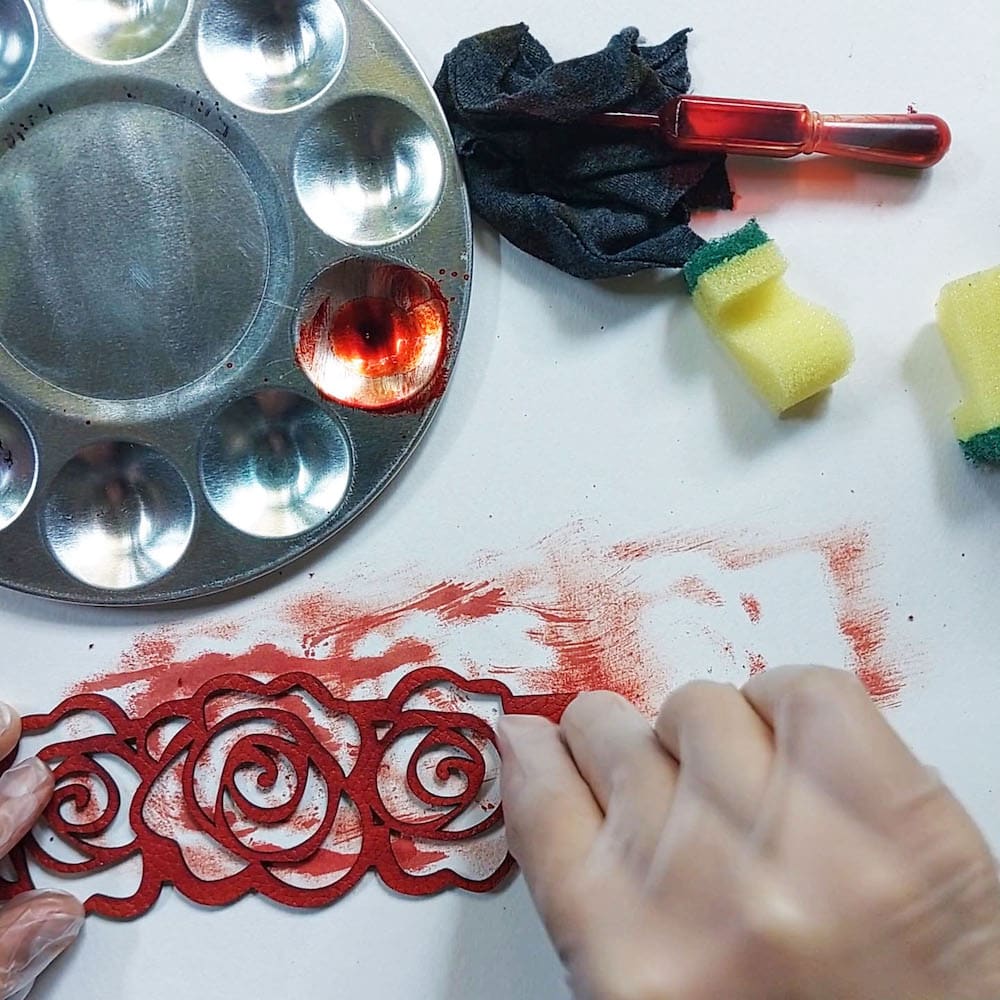

Step 6: Buff with a rag to remove excess dye
Leather dye that doesn’t get absorbed will sit on the surface of your leather. The process of finishing your bracelet by conditioning and sealing it (which you can do after dyeing) will address some of that. At this stage, it helps to buff the surface of your leather to remove any initial excess dye.
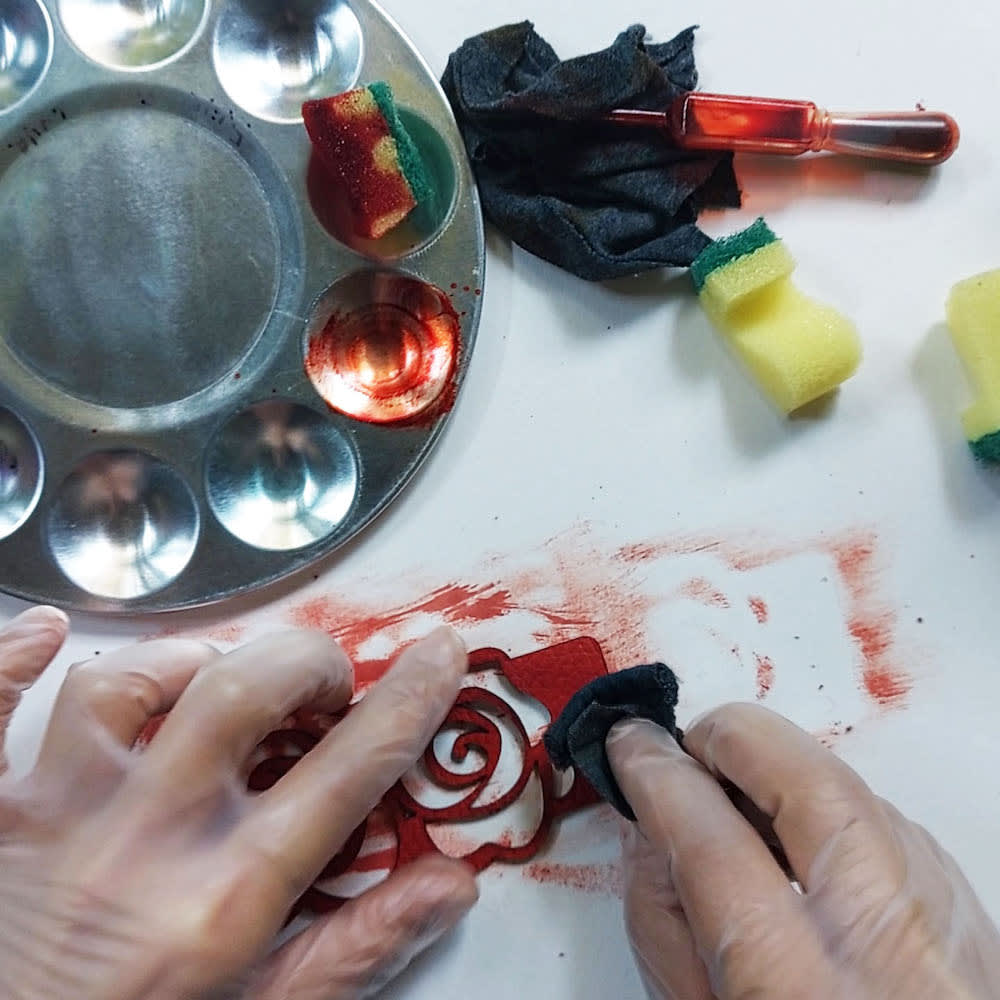

Step 7: Repeat steps 1 to 6 for the back of your bracelet (optional)
Some people like to have the back of the bracelet match the front. Personally, I prefer to leave the back natural (with no dye) for four reasons:
- Nobody is going to see it when I wear the bracelet.
- Applying more dye, especially to the back, will increase the chances that dye will rub off onto your clothes. Less dye = less rub-off.
- I’ll end up using more than twice as much dye for each bracelet, since the fleshy side will require more dye than the grain side.
- It takes twice as long to dye each bracelet doing both sides.
But for demonstration purposes, I dyed the back of the bracelet I worked on for this post.


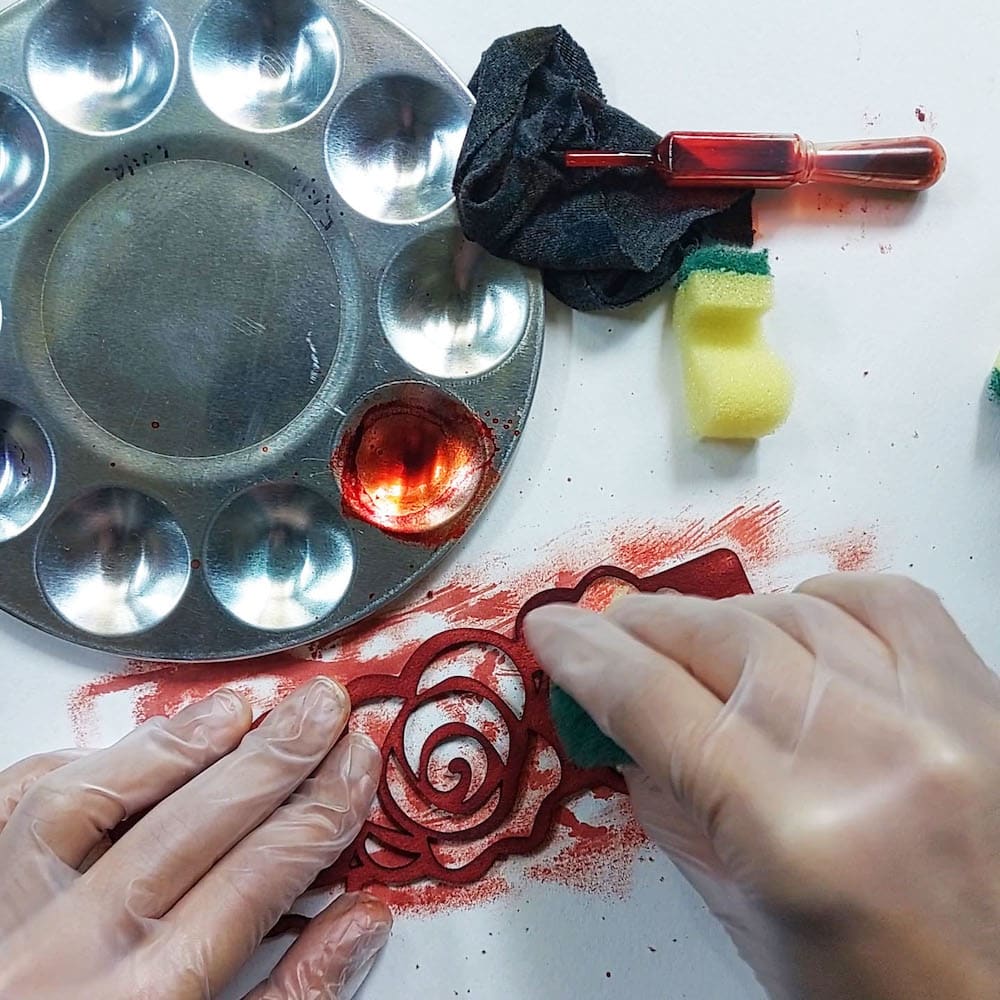

Step 8: Let it dry for 24 hours
And that’s it! You’re done dyeing your leather bracelet.


Why I use this technique
I’ve tried a few other methods. In case you’re curious, here are the techniques I either tried or researched and ultimately decided against.
Rejected technique 1: Dip dyeing
Dip dyeing involves submerging the entire bracelet into a container of dye. You can see it in action in one of Chuck’s fantastic videos here:
I loved the idea of this method because for leather bracelets with intricate cuts like the ones on this site, the dye is going to get into every crevice this way. You also get a nice even coat of dye with a consistent colour, and only use as much dye as you need because you can pour any unused dye back into its bottle. It’s also pretty quick.
Ultimately, the fact that the dye gets into all the nooks and crannies was also the reason I decided against this method. This is because your leather will absorb a lot of dye, and you won’t be able to buff or clean off the excess from the crevices and inner edges of the bracelet. This means a high risk of dye rub-off when you’re wearing the bracelet.
I realized we don’t actually want to dye all the inner edges, since they can’t easily be buffed.
Rejected technique 2: Using a wool dauber
Here, Chuck uses a wool dauber to apply the dye.
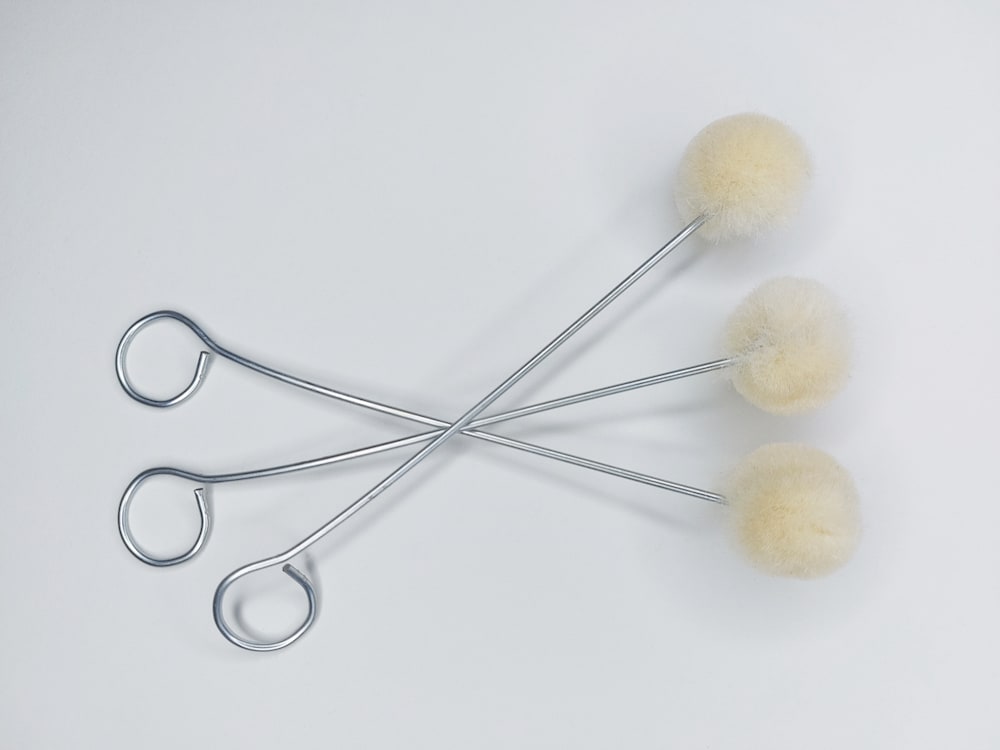

This method is quick and easy, but I found the daubers absorb a lot of dye; more than I needed to apply for a single bracelet. Once the dye is in the dauber, there’s no way to get it out. It’s also difficult to absorb just a little bit of dye into the dauber and still get good application.
Ultimately, it’s not efficient because it wastes a lot of dye for small bracelet projects like this. If I was dyeing many bracelets at once, it might make sense.
Other rejected techniques
Chuck goes over a few more techniques in the video, and there are many (many!) more I came across online.
All of these methods are great for different purposes, but ultimately they weren’t ideal for these particular bracelets. Here are a couple of them:
- Using a wide sponge to cover the whole bracelet in one pass.
- This method seems like it will use a lot of dye, and because there are lots of intricate cuts in the leather, there’s not as much surface area to dye as an uncut piece of leather. So even though this might be more convenient, I don’t want to waste dye by absorbing it into a sponge and then not using it.
- Air brushing.
- Air brushing sounds like a great option, but it has several issues:
- You need a fancy contraption, which I don’t have.
- It seems very tedious to clean.
- You can only put one colour into it at a time.
- Air brushing sounds like a great option, but it has several issues:
For now, cut up sponges are my preferred way to go. There are different types of sponge applicators I’ll probably try out at some point, but this is the easiest and most cost-effective method for now.
The finished result
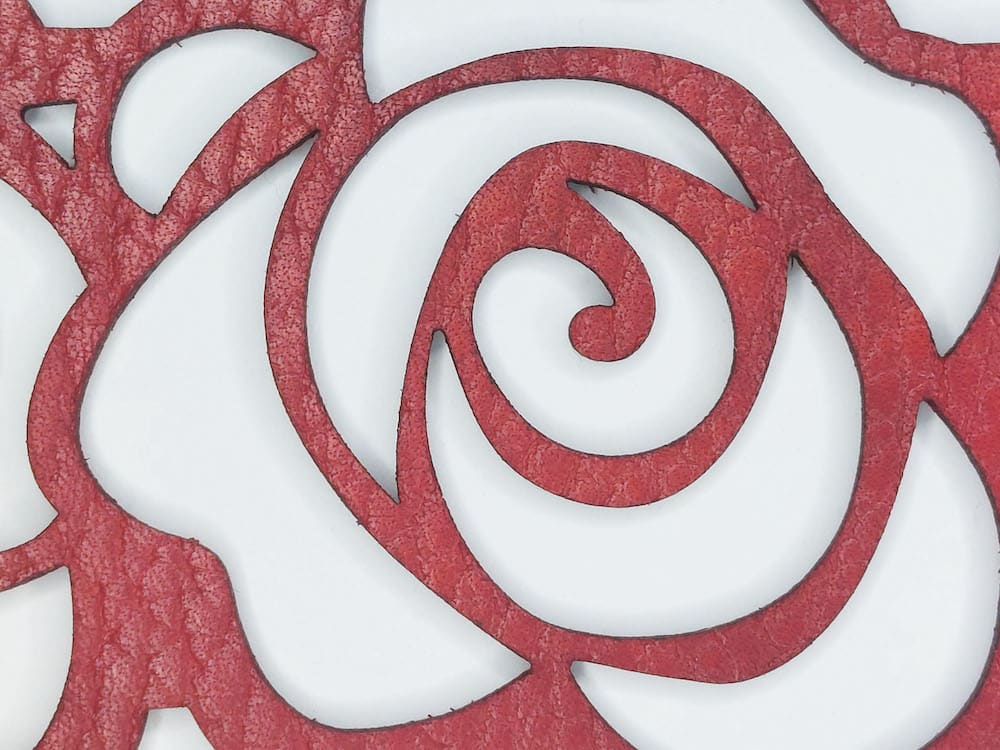
Before


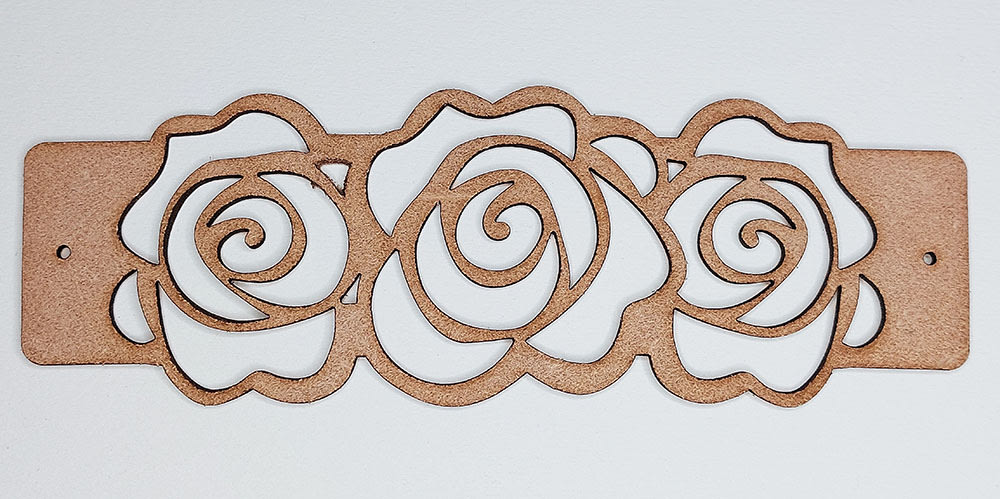

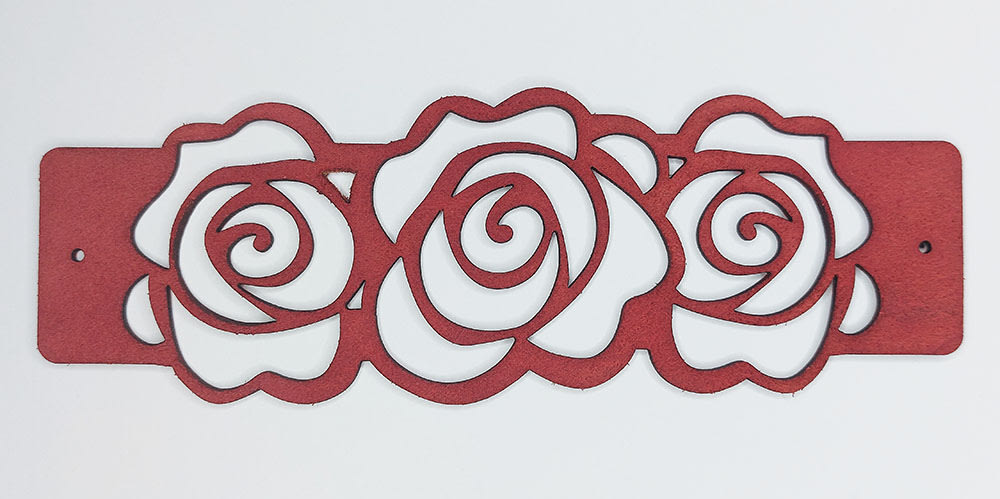
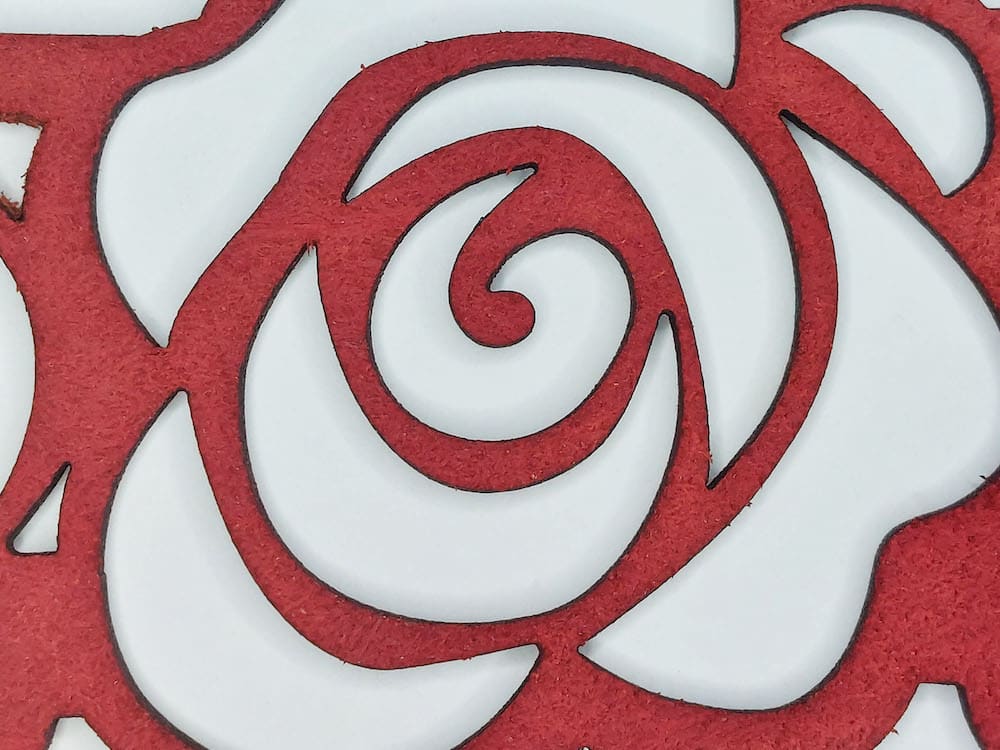
After
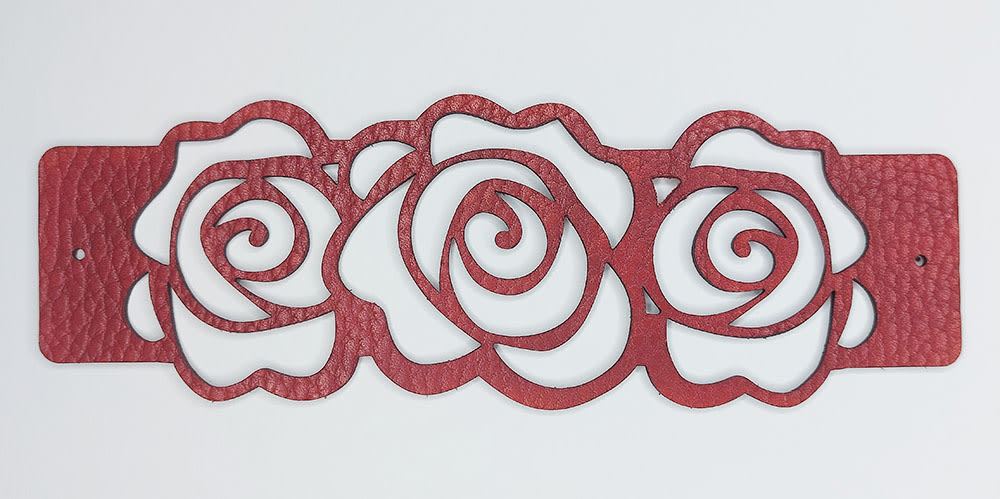
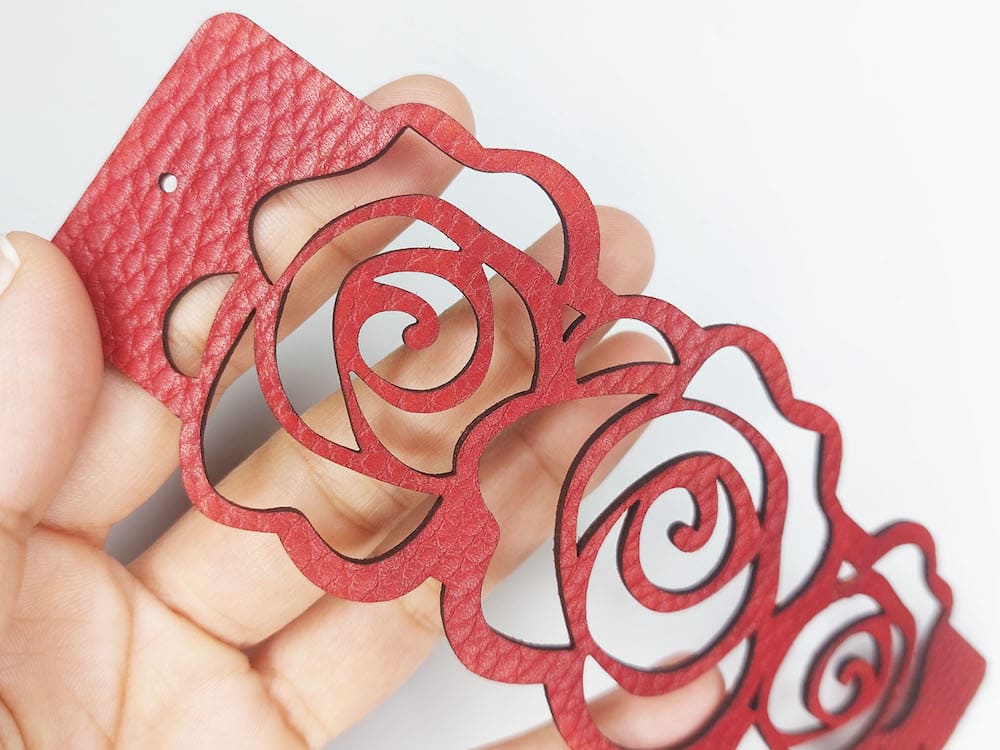
Here’s the fully dyed, fully dried leather bracelet I worked through in this tutorial. Next, I’ll be finishing and sealing it, and then adding closures.






Conclusion and next steps
You’re ready to move to the next step and finish your leather bracelet. This involves moisturizing it to bring back the suppleness after dyeing, which can dry out the leather. It also seals your bracelet so that the leather is protected and the dye stays put.


