Table of contents | How to finish leather bracelets
Introduction to finishing leather bracelets
If you’ve finished cutting your leather bracelet, and dyeing your bracelet to a different colour (if you wanted to), you’re ready for the next step. It’s time to finish the leather, which involves conditioning it with an oil and applying a sealant.
This step is optional, but has a number of benefits.
Conditioning your leather bracelet will:
- Moisturize leather that has dried out due to dyeing or laser-cutting, restoring suppleness.
You should conditioning your bracelet if you laser-cut or dyed it, as both of these processes can dry out the leather and make it stiffer and more prone to cracking.
Applying a sealant will:
- Create a sheen on the surface that makes it look more polished and professional.
- Smooth down the fibers of the fleshy side of the leather, preventing it from shedding.
- Seal in leather dye (if you dyed your bracelet) to eliminate/minimize colour transfer/rub-off.
You should apply a sealant if you dyed your leather bracelet and want to seal the dye, or if the fibers on the fleshy side shed a lot or are very furry. You can apply it only to the fleshy side if the grain side is already finished.
What you’ll need
There are lots of different products out there for finishing leather. I’m not a leather expert but I’ve tried a few. I’ll be showing you how to apply the ones that have worked best for me.
I’ll also list out a few others that I’ve tried that I think are good options.
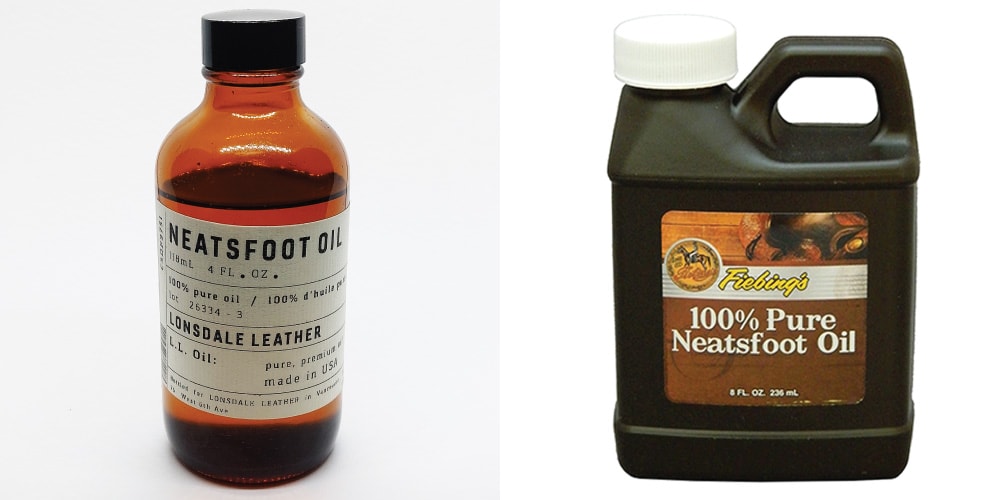
A) Neatsfoot oil
This oil will help restore moisture to the leather if you’ve dyed or laser-cut it. It’s also great to condition leather and protect it from drying and cracking, and helps keep it flexible. I used a local brand but Fiebing’s or any other popular brand will work well.
B) Fiebing’s Leather Sheen
This will seal and protect your leather bracelet.

C) Some clean rags
You’ll use a clean rag or cloth to apply both the oil and the sealant, and also to buff the leather bracelet.

D) A thin paint brush or sponge applicator
I use a very thin paint brush to apply the sealant to the edges of the bracelet, but you can use anything else that might work to get into the outer crevices.
Tip: I’ve tried Q-tips and they are not a good solution. The cotton comes off and gets stuck all over the edges.

How to finish leather
Step 1: Buff off any excess dye
Note: this step only applies if you previously dyed your leather.
Take a clean rag and gently buff off any excess dye. If you can, use a light-coloured rag so that you can see how much dye is rubbing off.
- Buff gently. Depending on your bracelet design, you may have a more delicate piece. Hold sections in place with your other hand while you buff to minimize stretching and pulling of the bracelet.
- Be sure to buff both the front and back of the bracelet (if you dyed the back), and try to get the outer edges if they may have some dye on them.
- When your cloth comes off with just a little (or no) rub-off, move to the next step. It will be impossible to get rid of all rub-off, but we’ll take care of that by sealing the leather in the next step.
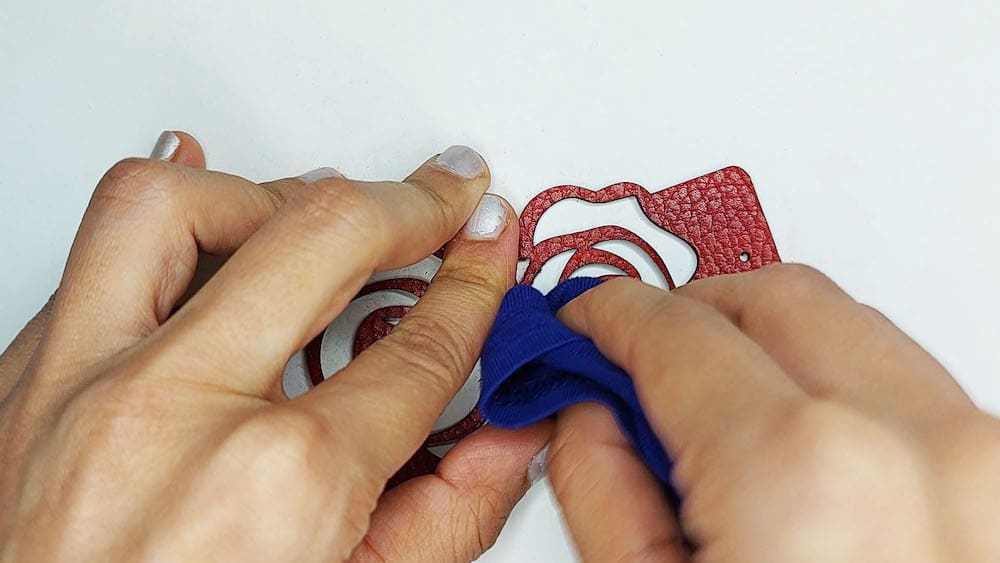
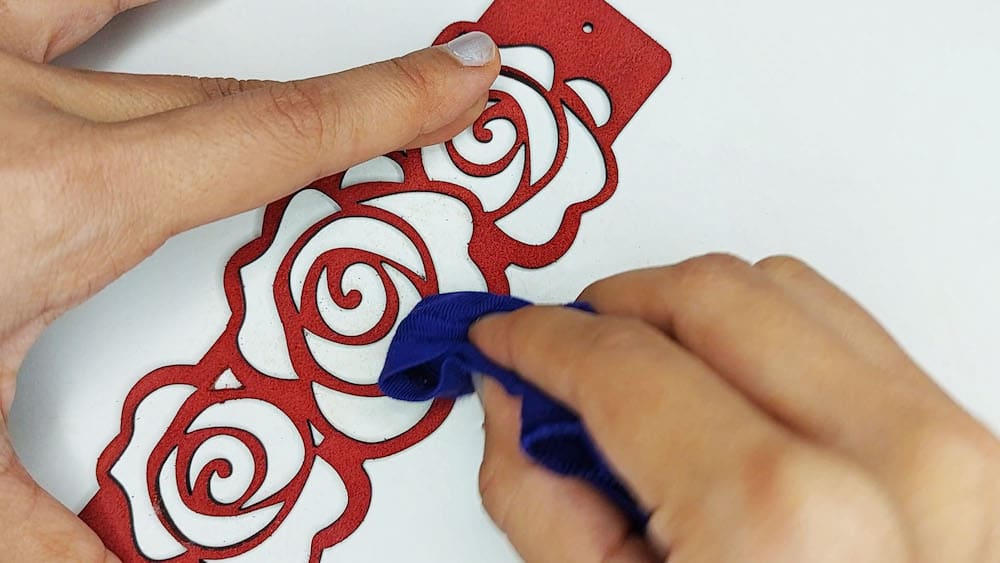
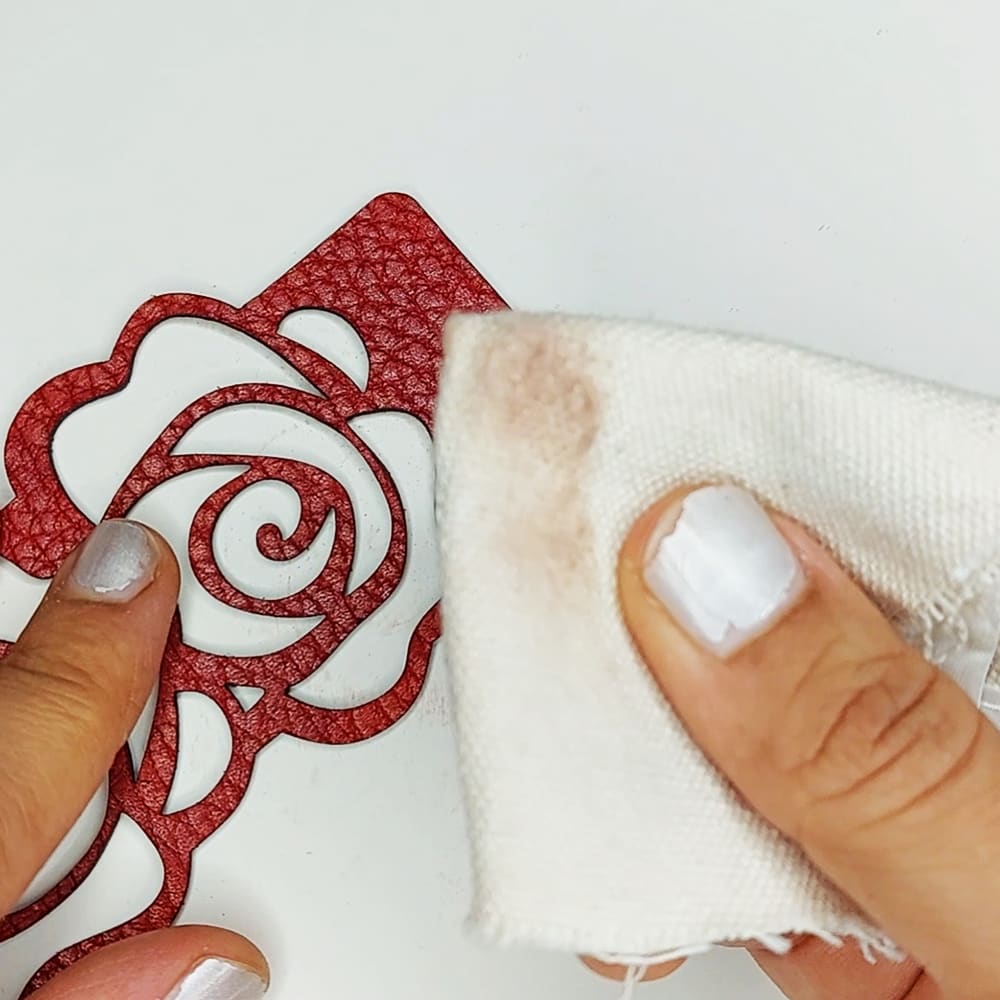
I used a piece of canvas to see how much rub-off there was left. This amount after buffing the whole bracelet is not bad, but I’d aim for a little bit less (I buffed it a couple more times).
Step 2: Apply oil with a clean rag
a) Take a clean rag and apply some neatsfoot oil to it
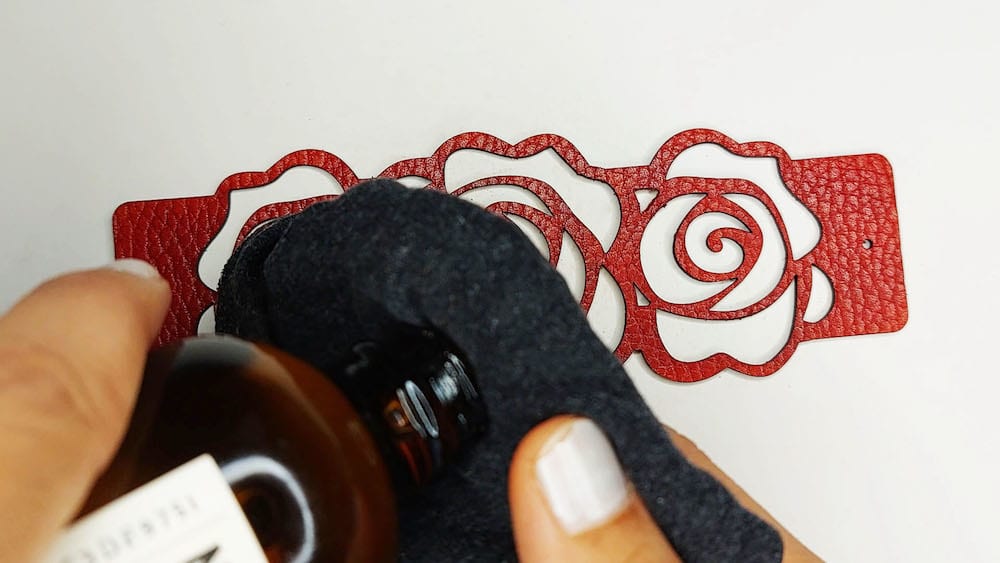
b) Buff the surface of the bracelet with the rag to apply the oil
Do this a little bit at a time, applying similar pressure as you did in the previous step when buffing. Be careful not to add too much oil or your bracelet will become overly saturated with oil, and it will be more likely to leach out the dye. A little goes a long way.

c) Flip the bracelet over and repeat on the back
Note that the fleshy side will require more oil to cover the surface as it absorbs oil more readily. Be careful not to over-apply.
Tip: For more delicate sections, I find it helps to dab these sections with some pressure to get the oil to absorb in, rather than rubbing the cloth on the bracelet from side to side.
- Dabbing avoids pulling and stretching delicate parts of the bracelet.
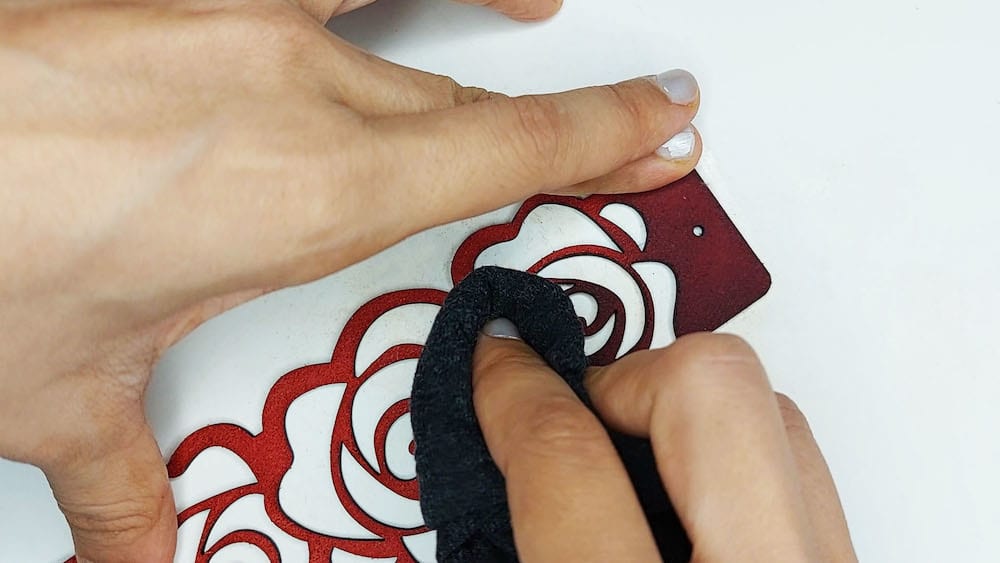
d) Let the neatsfoot oil absorb and dry for at least 8 hours
e) Buff one more time
After at least 8 hours, take another clean rag and buff out the whole bracelet again to remove any excess oil and dye rub-off. The more excess you get off now, the less rub-off your final product will be likely to have.
Now you’re ready to apply the sealant.
Step 3: Apply Leather Sheen
a) Take a clean rag and apply some leather sheen to it


b) Apply the Sheen to the leather with the rag lightly
Be gentle; you won’t rub it in the way you did with the oil. Instead, gently applying it to the surface of the leather.
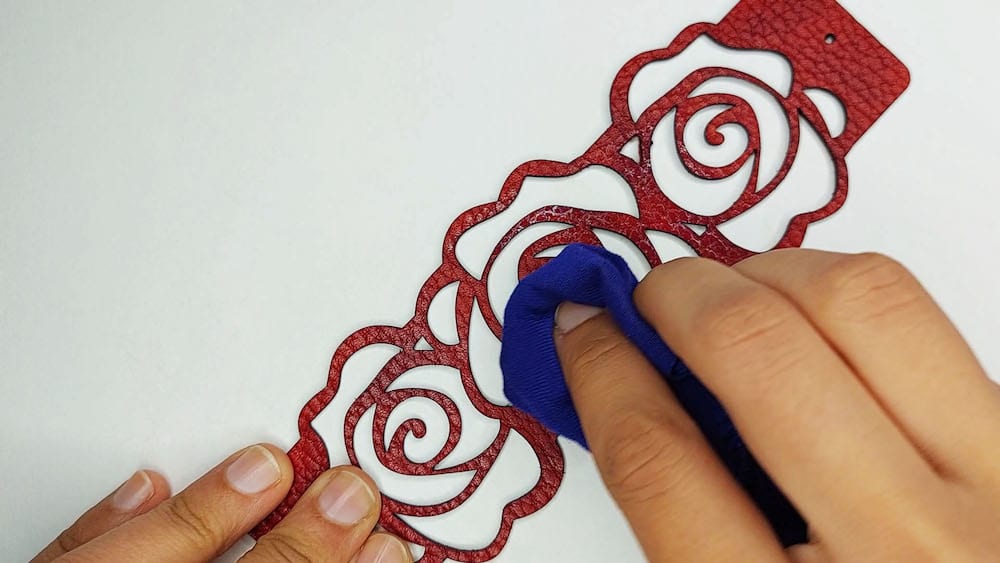
c) Apply Leather Sheen to the back
Let the front side dry for a minute, then flip the bracelet over and apply Leather Sheen to the back in the same way you did to the front.
You may need to dab some areas that are more delicate, just like you did with the neatsfoot oil.
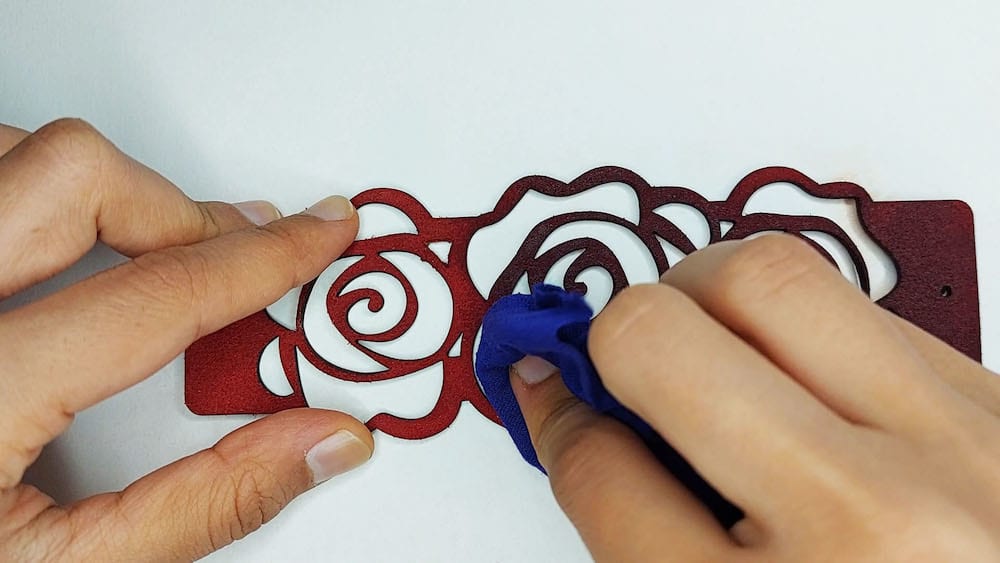
d) Apply Leather Sheen to the outer edges
Let it dry for another minute or two. Then, apply Leather Sheen along the outer edges of the entire bracelet using a thin paint brush or sponge applicator.
Tip: You can pour a tiny bit of the Leather Sheen into the lid of the bottle and dip your brush into that. This keeps the rest of the Sheen free of any dye that might tint the entire bottle.
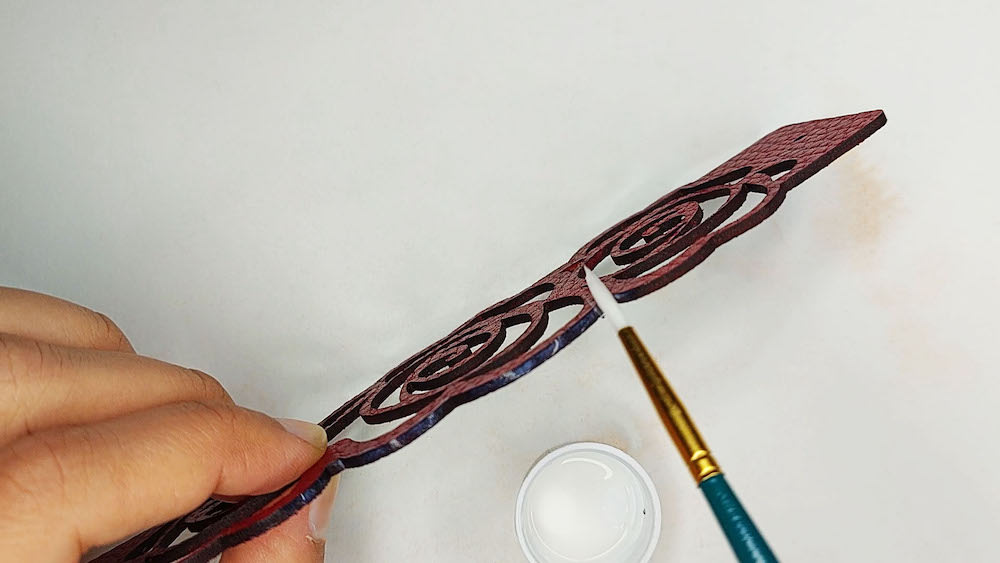
e) Repeat steps a) to d) to apply a second coat (optional)
Ideally, you should let it dry for 8 hours and then apply the second coat. If you’re in a hurry, you can let it dry for a minute or two, and then apply a second coat. It may not be as effective.
A second coat is a good idea if you are particularly concerned that the colour might rub off. You can also let the first coat fully dry and then buff it out and see if you still have rub-off, and then add a second coat if you need to.
In my case, I like to apply two coats just for added protection.
f) Let it dry for at least 8 hours
g) Buff out with a clean rag once it’s fully dry
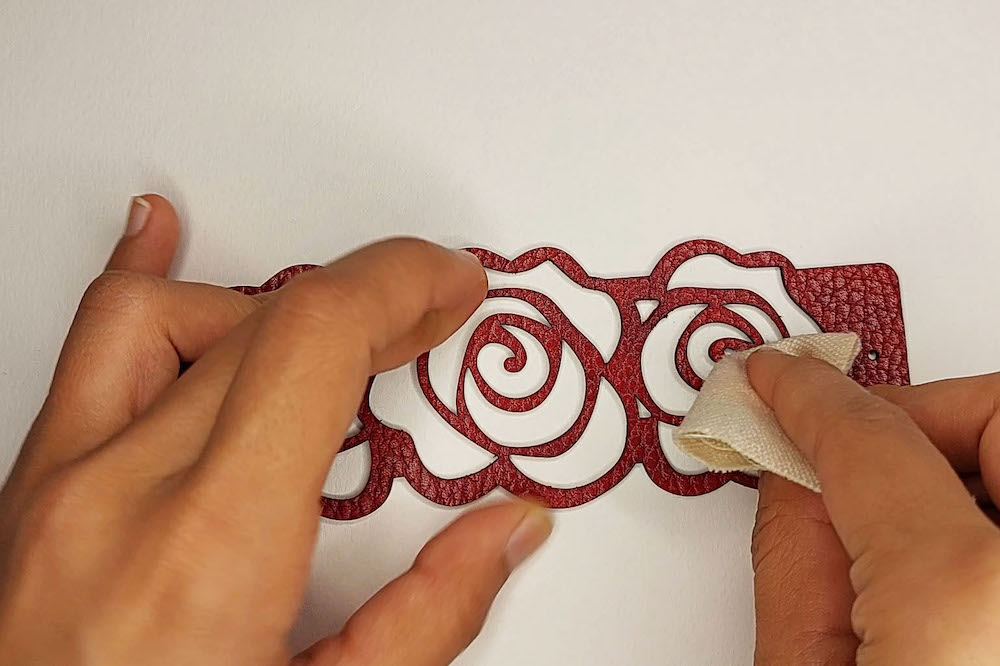
This will bring a bit of polish to the bracelet, and give it a nice professional look.
At this point, your rag should come off the bracelet almost or completely clean, with little to no rub-off. It’s difficult to get 100% no rub-off, but if you see very little it means it’s unlikely to rub off on your clothes.
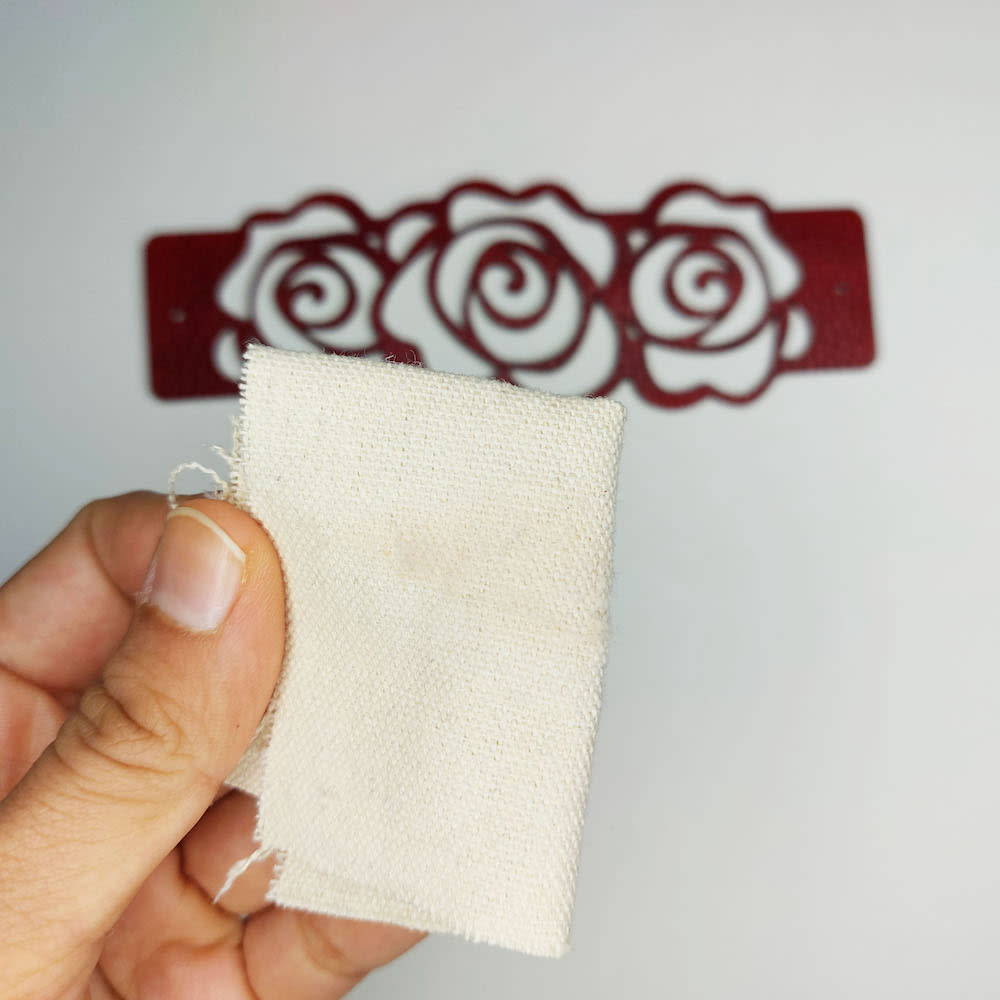
And that’s it! You’ve finished your leather and are ready to add the final touches to your bracelet.
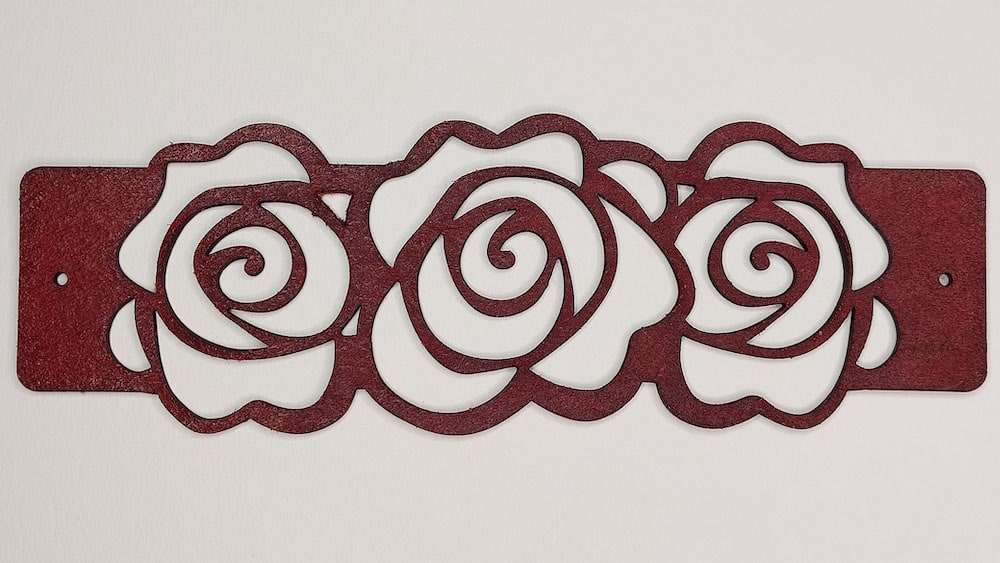
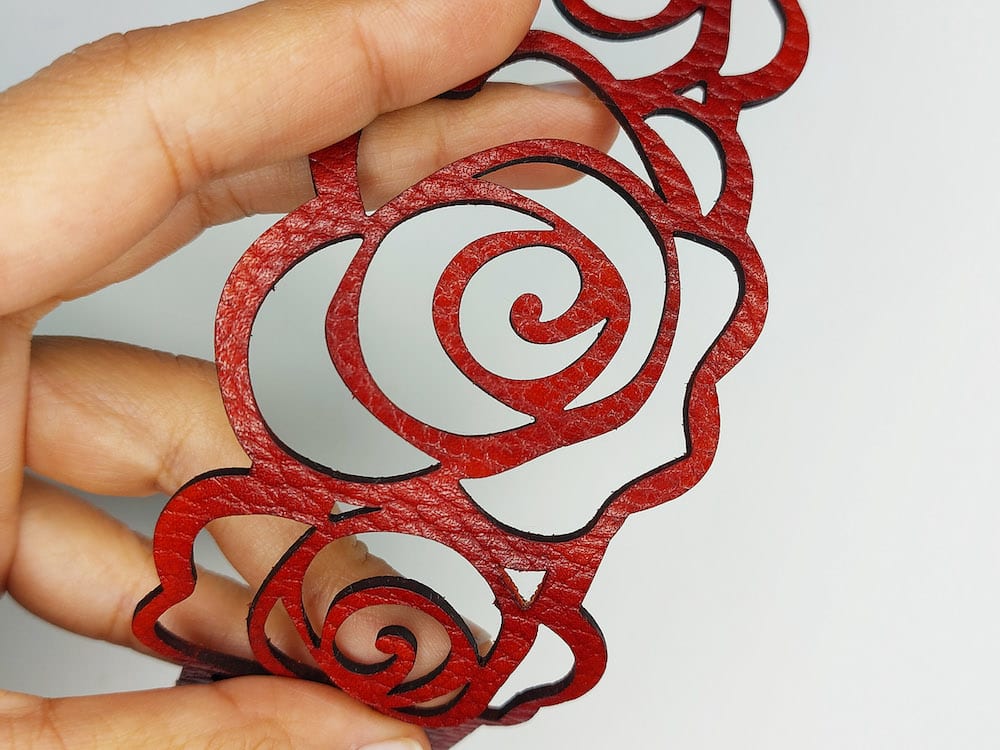
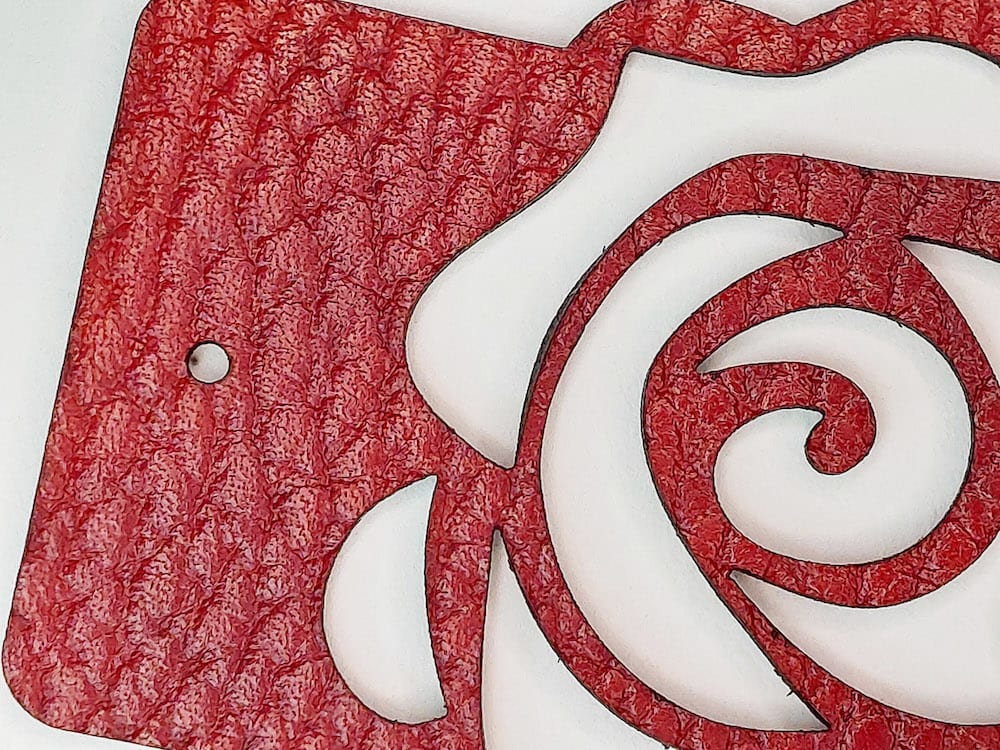
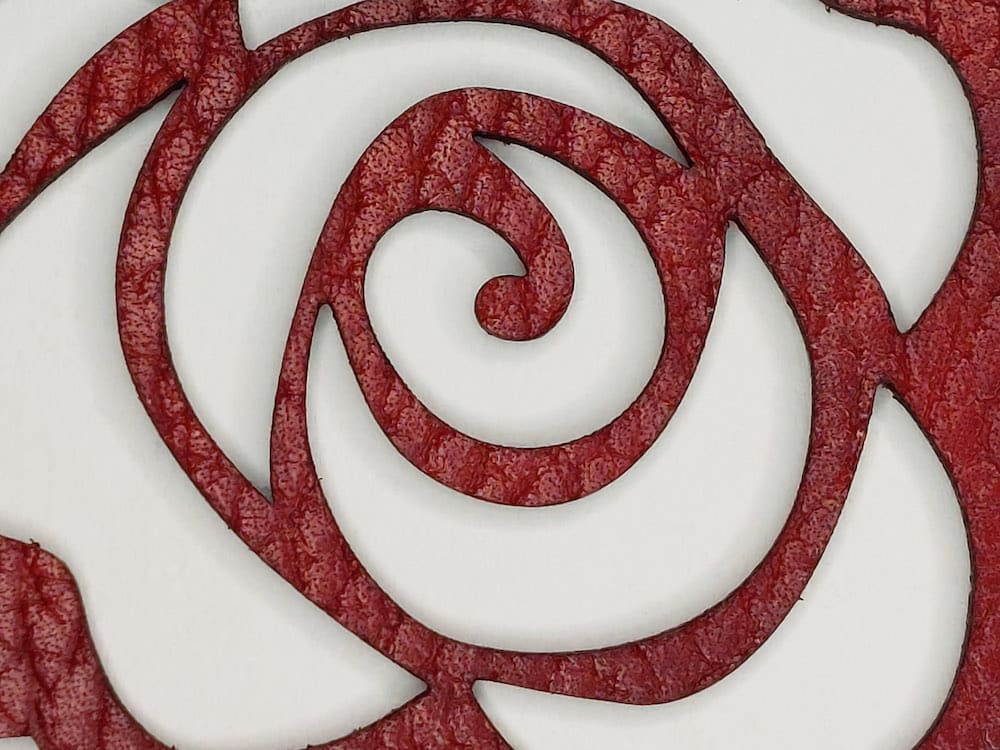
The finished result
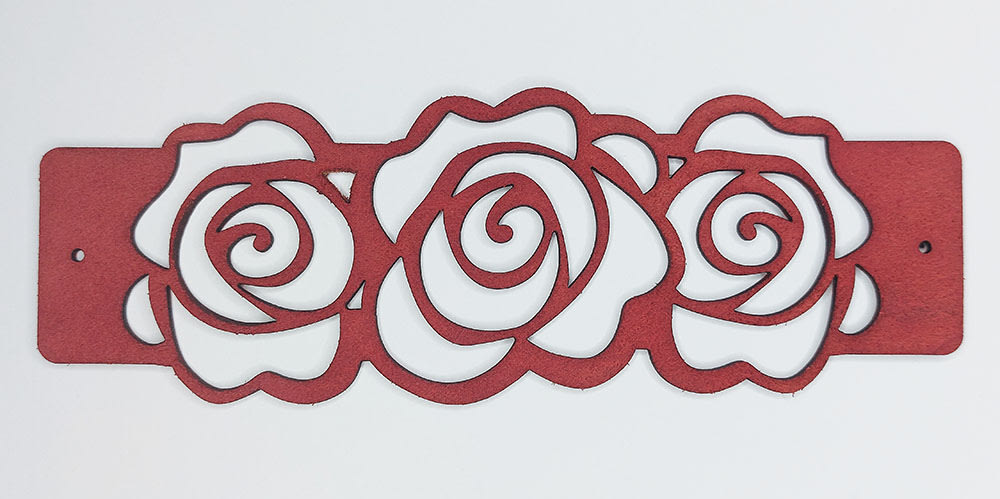
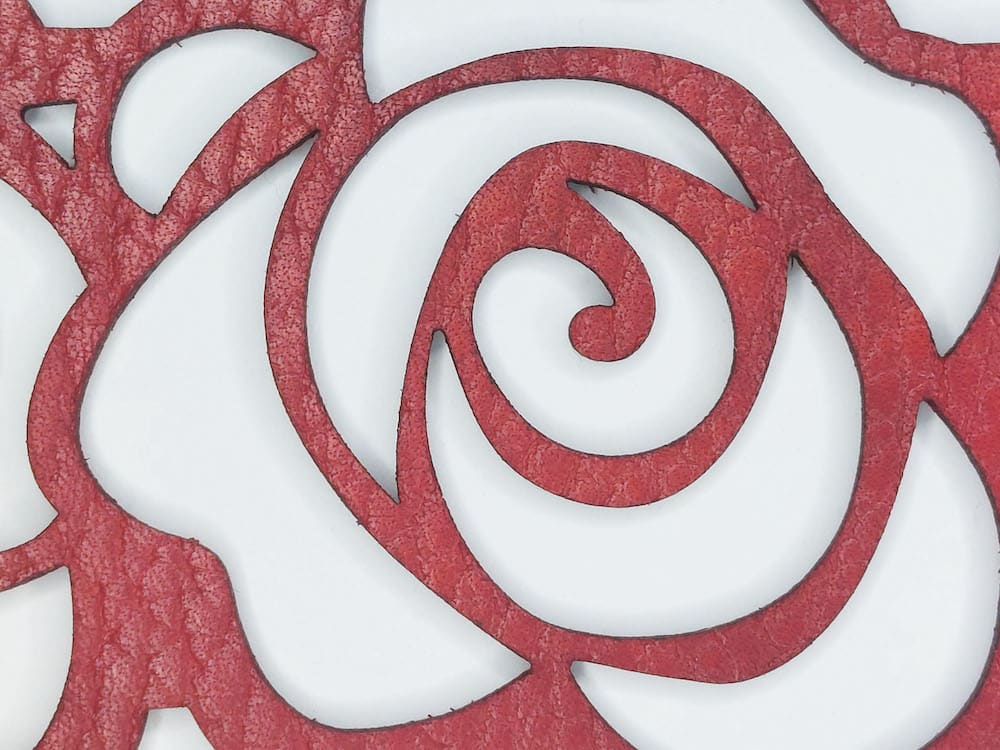
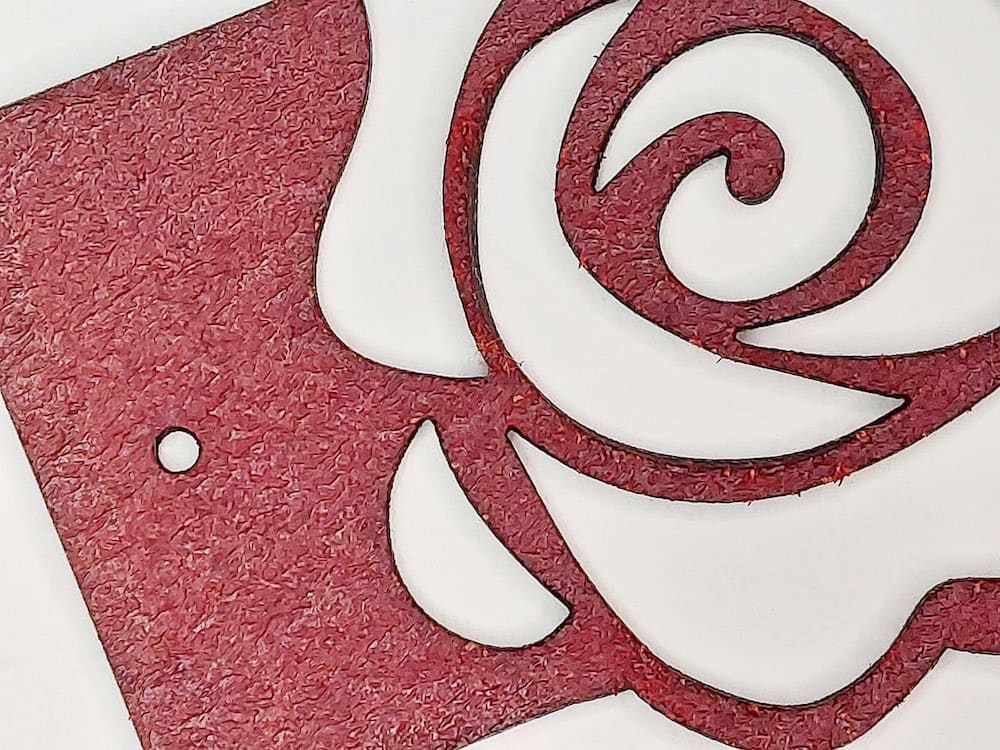
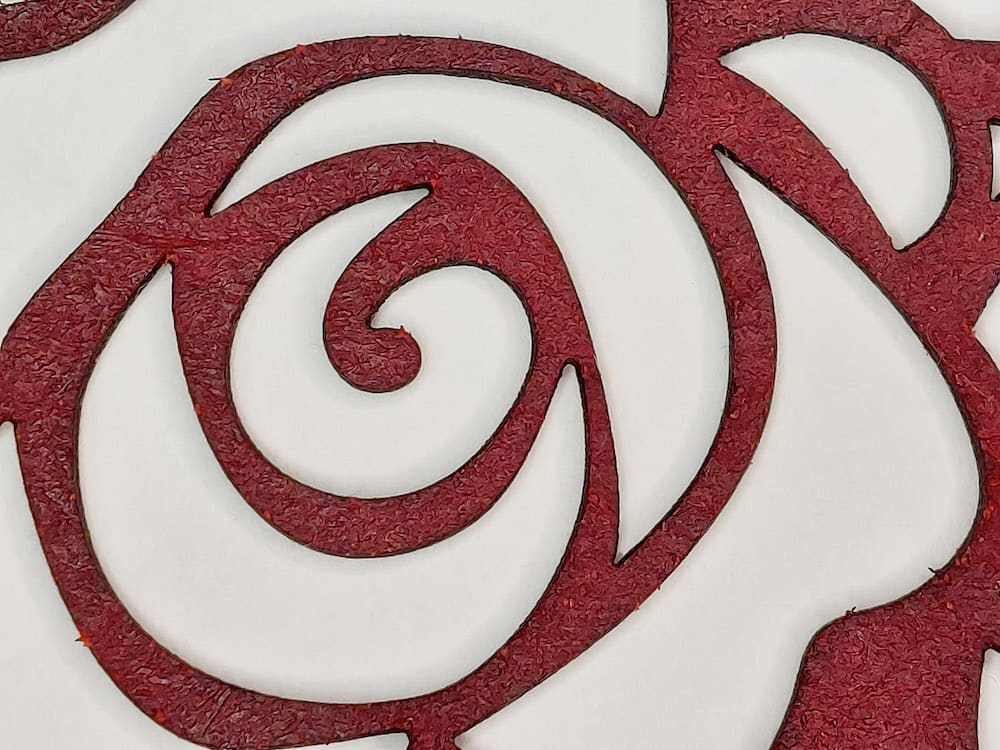
Before conditioning and sealing
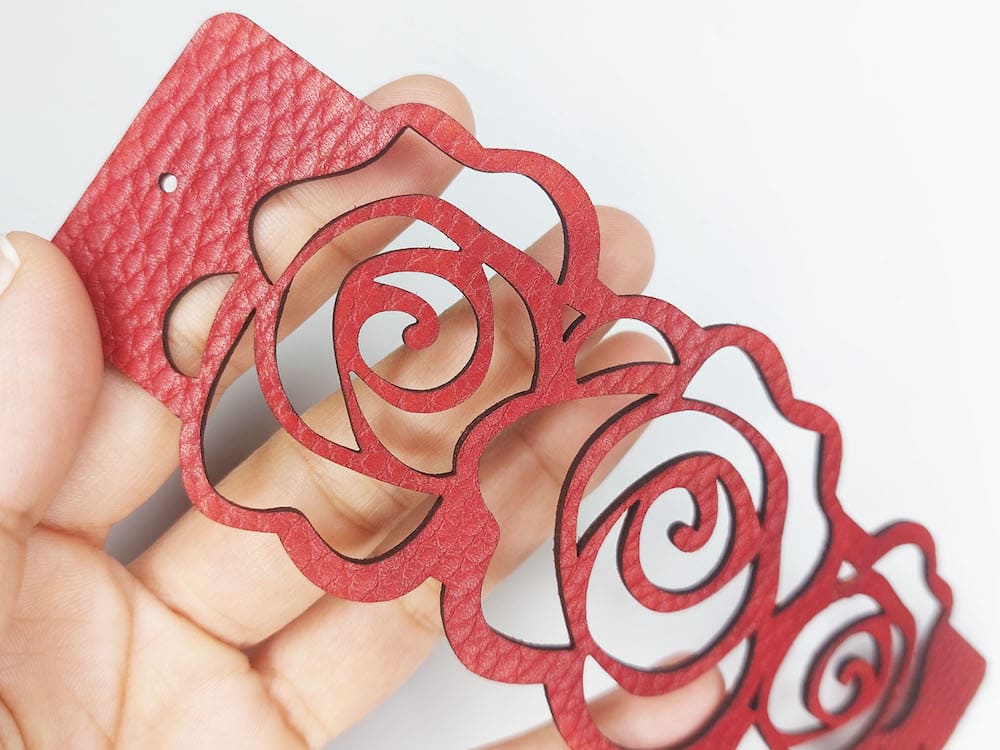
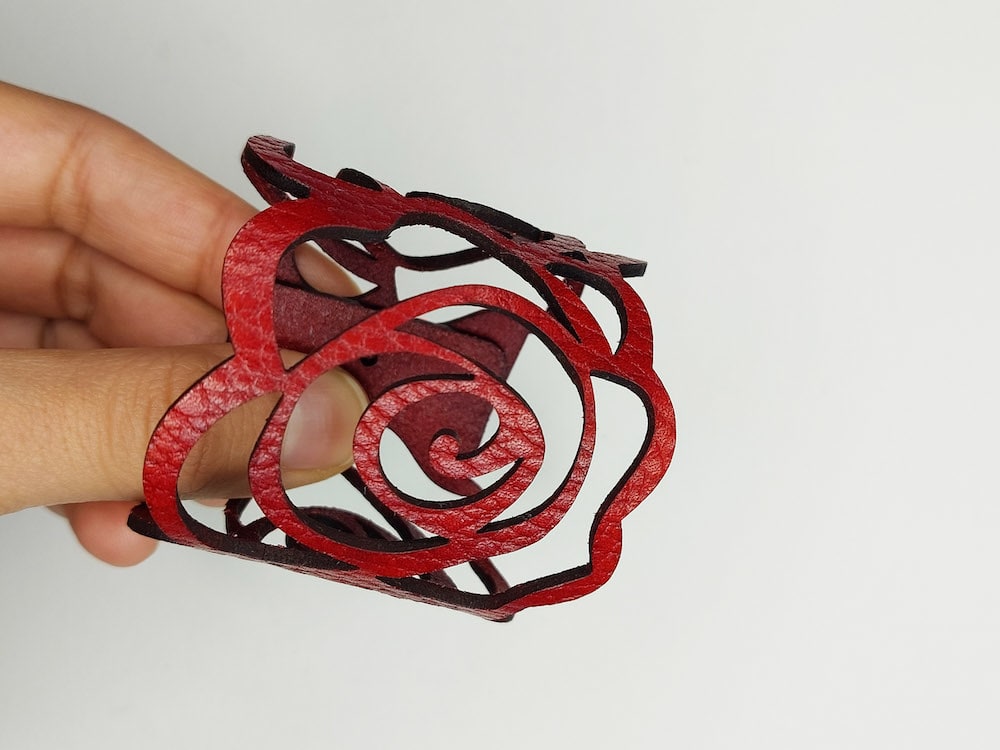
After conditioning and sealing
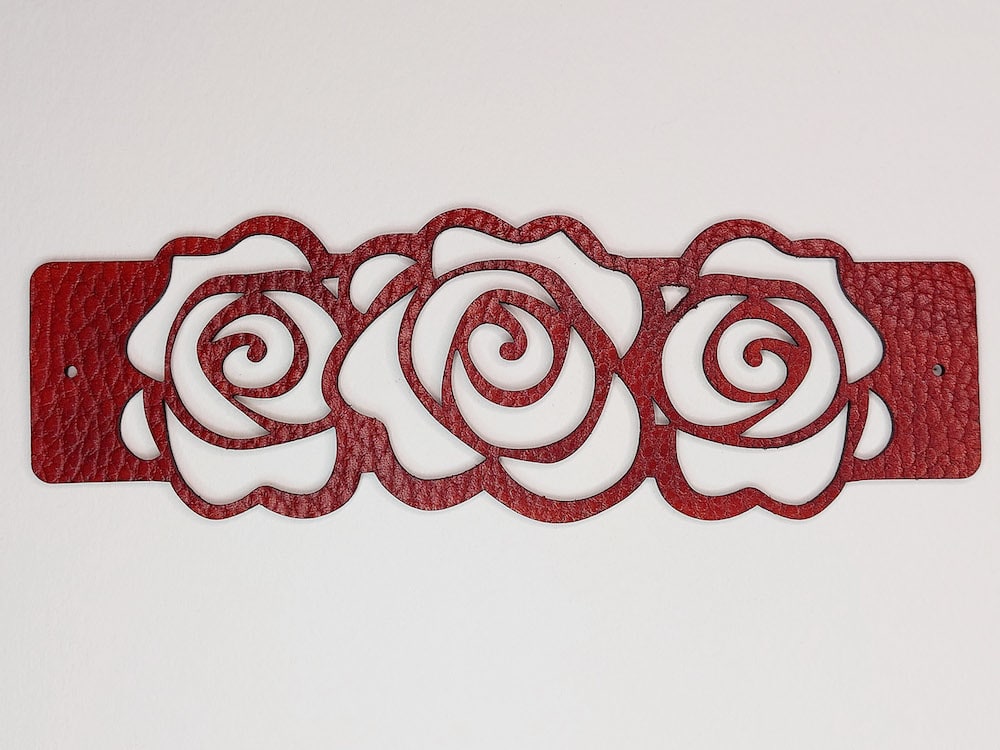
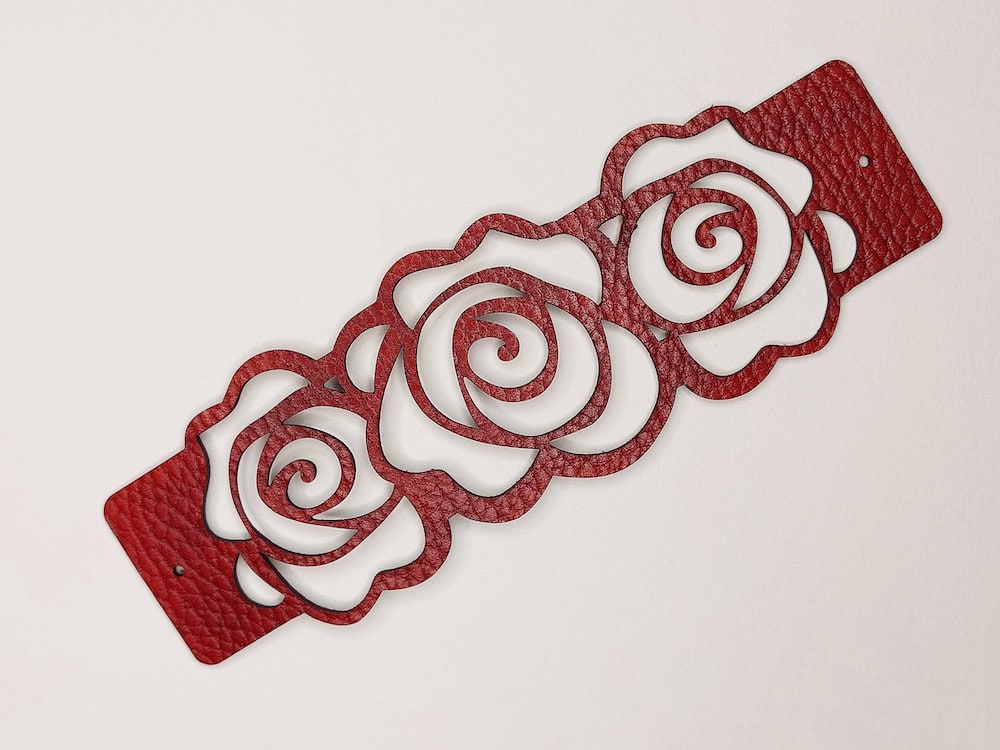
Other finishing products I’ve tried and like
As I mentioned, there is a seemingly endless number of finishing products out there for leather. I’ve tried a few that I liked, but have settled on the ones above because they give me the look I want, and also work well.
Here are some others that are popular that I’ve tried and liked:
Sealants
Fiebing’s Carnauba Creme
This is a protective wax finish.

Tokonole
This is a really popular product that I really like, but it isn’t waterproof. Other finishes provide at least some degree of water protection, but Tokonol will come right off and make your bracelet sticky.
If waterproofing is not an issue for you, this is a great product.

Conclusion and next steps
You’re almost done; there’s just one final step and your leather bracelet will be ready to wear. The last step is to add closures to your leather bracelet.
You can also explore these other topics:


