Table of contents | Cutting your Cricut leather project
Introduction to cutting your Cricut leather project
So you’ve done the work to find the right cut settings for your leather and you’ve set up a custom material for it in Cricut Design Space. Now you’re ready to actually cut your project! This article is a step-by-step tutorial for cutting your Cricut leather project.
I used a Cricut leather bracelet to show the process in this post, but you can use the same process for whatever project you’re cutting.
What you’ll need
A) Your leather of choice
This is the leather you’ll be using for your project. In this post, I assume that:
- You already know which Cricut settings you’ll need to use to cut the leather.
- You’ve set up a Custom Materials profile in Circut Design Space with the correct settings.
If you’re not sure what the settings need to be for your leather, I recommend working through parts 1 and 2 of this blog post series and then coming back:
- How to cut leather with your Cricut part 1: Cricut settings to start with
- How to cut leather with your Cricut part 2: Finding Cricut settings for leather
If you already know the settings, but haven’t added them to Cricut Design Space, learn how to add a new Custom Material in Cricut Design Space. Once you’ve completed that, you can move on to the steps below.
In this tutorial, I worked with the sheet of leather pictured below.
I had already worked through the process in Part 2 of the series to find the right settings for my leather. I had also set up a Custom Material in Design Space specific to this leather.

B) A Cricut StrongGrip mat
To cut leather, you’ll need a StrongGrip mat. This is because the leather needs to stick securely to the mat as it cuts, or it will move or bunch up and ruin your cut.

Mat cleanliness and cut marks
Mat cleanliness
The unfinished side of leather can be very fuzzy with little fibers that make a mess. Usually, the better the quality of the leather, the less fibrous it will be. Either way, cutting leather with your Cricut will make a mess on your mat. This is especially true if you stick the leather onto the mat with the fuzzy side down, but it will happen even with the smooth side down.
Learn how to use StrongGrip transfer tape between your mat and the leather to keep your mat as clean as possible.
Mat cut marks
Unfortunately, when cutting leather that isn’t Cricut-branded, it will sometimes be unavoidable that you get cut lines on your mat.
Decide if it’s worth the risk to you.
C) StrongGrip transfer tape (optional)
As I mentioned, cutting leather can make a mess of your mat. If you want to keep it as clean as possible through this process, consider using StrongGrip transfer tape. The extra layer between your mat and the leather will minimize the mess that gets stuck on your mat.
Learn how to protect your Cricut mat with transfer tape when using leather.

D) Painter’s tape
You’ll need to secure all the sides of your leather down onto the mat to ensure that it doesn’t move during cutting. Painter’s tape is great for this, but you can also use any other tape that sticks but doesn’t damage your mat.

E) A Cricut machine and a deep-point blade and housing
If you’re cutting intricate designs like the ones offered on this site, use the deep-point blade. While the knife blade can cut thicker leathers than the deep-point blade, it’s limited in how small the cuts can be. It’s not suitable for intricate projects.
The knife blade is also only available for the Cricut Maker. The deep-point blade can also be used with other models.
Tip: I’ve tested some knock-off deep-point blades from Amazon, and the ones I tried don’t perform as well as the branded Cricut ones when it comes to leather. This is because the angles and depth are different.
If you’re using a knock-off blade, be sure to carry out tests with the knock-off blade to find the right settings (or see if it will work at all). The settings may be different from the authentic Cricut deep-point blade.
For my project, I used a deep-point blade.

Cutting your Cricut leather project
Step 1: Open your project file in Cricut Design Space and size it correctly
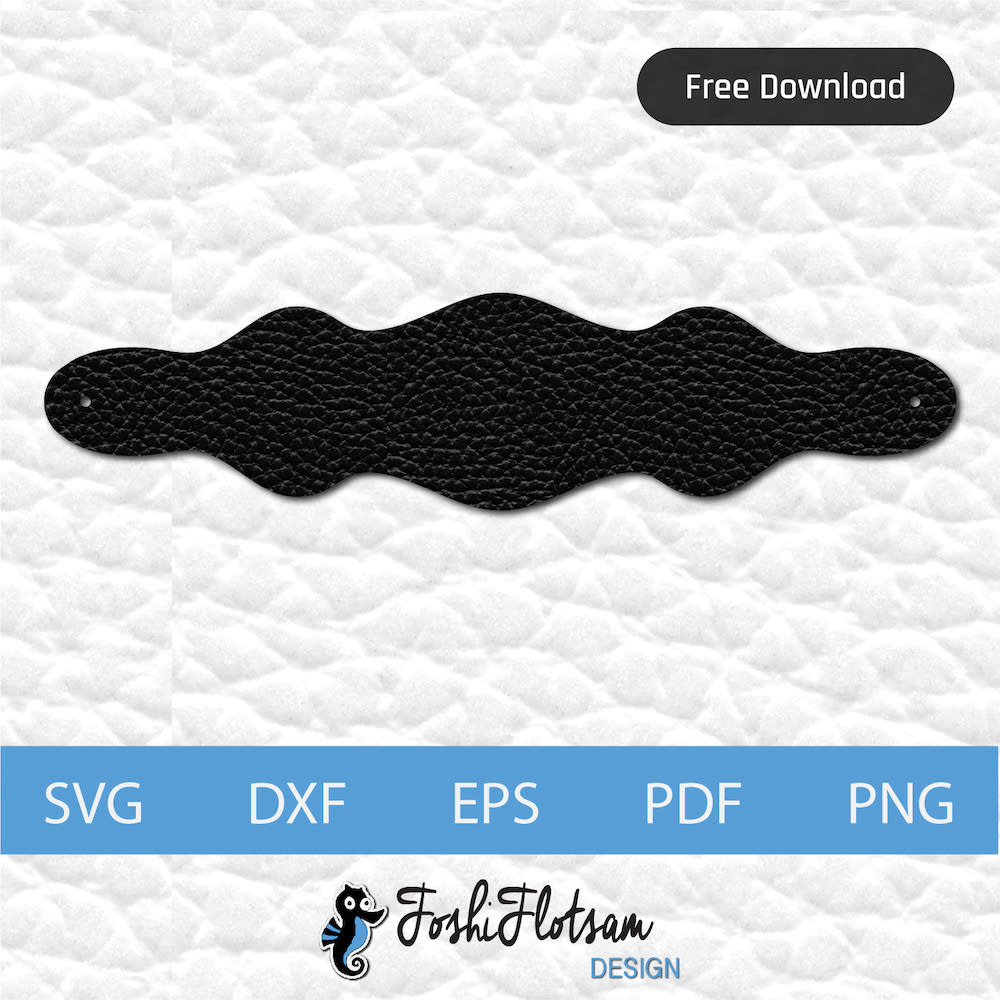
For this tutorial, I used the bracelet file below as my Cricut leather project. Download this design for free if you’d like to make the same bracelet!


a) Go to Cricut Design Space and select New Project

b) Select the option to upload a new file from the left-side menu

c) Select Upload Image

d) Open your design file
You can either browse to your file or drag it into the space marked “Drag & drop file here”.

e) Choose the appropriate option
For my project, I chose “Simple” because my design is a black cut file. If you’re cutting a leather project, you’ll probably use the same option.

f) Remove the background if there is one
If you have a background colour in your image file, remove it here.
My file had a transparent background so I skipped this step.
Select Apply & Continue.

g) Select the Cut Image option and upload
Make sure you don’t select Print Then Cut Image.
You can also change the name of the file if you like. Select Upload.

h) Choose Add to Canvas
The cut file will now appear in your Recent Uploads. Select the file and choose Add to Canvas.
i) Adjust the size of the file
The easiest way is to close the little lock icon, and then adjust the width (W). It will automatically adjust the height.
If you’re cutting a bracelet file, learn how to correctly size your bracelet to get a perfect fit.
For my leather bracelet, I sized it to 6.5 inches in width since this ensures that the part of the bracelet between the closure holes fits around my wrist.

Step 2: Prepare the leather
Here’s how my mat looked after I prepared my leather for cutting:

Step 3: Select your custom material setting and prepare the cut
See detailed instructions on how to add a new Custom Material in Cricut Design Space if you haven’t done this yet. If you’re not sure what your cut settings should be for the sample of leather you have, learn how to find the right settings for your leather sample.
If you’ve already added your new Custom Material to Cricut Design Space, you can move ahead with the next step.
a) Turn on your Cricut and connect it to your device
b) In Cricut Design Space, select Make It
You’ll find this option in the top right corner.

c) Position your file and select Continue
Your design will appear on the mat grid. You can now move it around or rotate it so that it cuts on the section of your mat/material that you specify. Position it where you want it and select Continue.
Tip: Avoid cutting on the area with painter’s tape. The glue on the tape can get on the blade, and this can reduce the quality of the cut.
d) Select Browse All Materials

e) Select your Custom Material
You’ll now get a list of all the materials for which you have defined settings in Cricut Design Space. Scroll down to the Custom Material you added for your leather sample. You can also search for it in the search bar.
Select your material and then select Done.
I selected the Custom Material I had previously entered for my leather.
Learn how to set up a Custom Material in Cricut Design Space.

f) Specify whether you want Less, Default, or More pressure for your cut
Select the appropriate option based on your test cuts.
If you haven’t made any test cuts, I highly recommend doing so with a small-sized file. Learn how to run test cuts on your leather efficiently.
I left it on Default for my cut.

Step 4: Cut your leather
a) Move the star wheels
Move the white star wheels to one side so that they don’t go over your leather and create imprints.

b) Feed your mat into the Cricut and press the arrow button
The double arrow button (for loading/unloading) will be flashing. Press this button as you hold the mat through the feeder. The Cricut will pull the mat in.

c) Press the Cricut button to run the cut
The Cricut button will flash. Press it and the cut will begin. Let the machine complete the cut.

d) When complete, do a quick manual check
Once the machine has finished cutting, I like to do a quick check on the leather before I remove the mat to make sure it has cut through.
Tip: If it hasn’t cut all the way through, you can press the C button (before removing the mat) and it will repeat the cut!
I checked my cut with a pair of tweezers to make sure it had cut through.

e) Press the arrow button to release the mat
Press the blinking load/unload button to release the mat.
Here’s how my cut turned out:

You should now (hopefully) have a perfectly cut Cricut leather project.
The finished result


Conclusion and next steps
Now that you’ve cut your leather project, you may want to dye your leather or finish your leather to give it a professional touch.
You can also explore these other topics: