Table of contents | How to cut leather with your Cricut part 1
Introduction to how to cut leather with your Cricut
Cricut sells leather that you can cut using your Explore or Maker machines. But if you’re interested in cutting non-Cricut leather, it can be tricky to find the best settings, or to know if certain leathers will cut at all. I tested 12 different leather samples of varying finishes, thicknesses, and stiffnesses, to see how well they cut.
I used the deep-point blade only. This is because I’m most interested in making intricate cuts that can’t be done using the knife blade. The knife blade can cut thicker leathers, but the cuts need to be larger than 3/4 inch.
If you’re interested in larger cuts on thicker leathers, leave a comment and let me know! I may cover the knife blade in a future post.
Summary: Approximate Cricut settings for leather based on thickness
If you’re really just here to learn what settings you should use to cut your leather, I’ve summarized my results below for quick reference.
Just keep in mind that every leather sample is different, and you’ll have to find the exact settings by trial and error for your particular sample. The table below can serve as a starting point for your testing.
How to use the table below
The table below is a great starting point so you can quickly see where your sample falls based on thickness, and have some settings to start testing with. When you’ve found your estimated settings based on leather thickness, see these step-by-step instructions on how you can most efficiently find exact Cricut settings for your leather.
- Figure out the thickness of your leather. You can either:
- Measure it in millimetres (mm) (or inches, and then convert) if you have callipers or a precise ruler.
- Ask an expert at your local leather shop to estimate/measure how thick a sample is.
- Look at the thickness ranges below and find the one your leather falls into.
- Use the settings for that thickness range as an approximate starting point, and do some testing of your own to find the perfect Cricut settings for your leather.
- Read the “Things to consider” section right below the table to better understand how the Cricut settings are effected by the characteristics of your particular leather.
- This will help you choose the best settings to start with.
- See these step-by-step instructions on how you can most efficiently find exact Cricut settings for your leather.
Things to consider: Leather characteristics that will impact your settings
I should start with a disclaimer that I am not a leatherworking expert. There are proper terms for things in the world of leathercraft, and then there are the terms I use here (like “floppy”, “flimsy”, and “furry”).
I apologize if you’re a leather expert and cringing at these amateur descriptions!
Flimsier/floppier leather:
The flimsier the leather is, the more likely it will cut poorly with the deep-point blade. Avoid leathers that behave more like fabric, as these will not cut well with the deep-point blade. You may be able to use the rotary blade, but I haven’t tried this.
In general, the stiffer the leather, the more success I’ve had. But some projects, such as leather bracelets, don’t look or feel good to wear if the leather is very stiff. I’ve found that I can get away with some degree of flimsiness while still getting good cuts.
For flimsier leathers, increase the cut pressure. More passes may also be required.
“Furriness” of the fleshy side
High-quality leathers have fleshy sides that are less messy and “furry”. I’ve found that very furry leathers don’t cut as well, and also make a huge mess on the mat. This could be more related to the fact that poorer-quality leathers sometimes have very thick, uneven finishes that are challenging for the Circut to cut. I’m not sure how much of a role the furriness plays, but something to keep in mind.
For furrier leathers, increase the cut pressure. More passes may also be required.
Uneven, thick, and textured finishes
Some leather finishes are more difficult for the Cricut to cut than others. I’ve found that thicker and textured finishes tend to stick more in the corners of the design, and I either have to cut them out carefully with an exacto knife or fine scissors, or pull them and risk tearing the finish.
Also, poor-quality leathers sometimes have uneven finishes that cut inconsistently. Places where the finish is thicker may not cut at all, while areas where the finish is thinner may cut perfectly.
For leathers that have an uneven, thicker, or more textured finish, increase the cut pressure. More passes may also be required.
Other considerations
- Each time you take another pass at the leather, there is an increased risk that the leather will be pulled or dragged during the cut, ruining the cut. Use extra passes wisely!
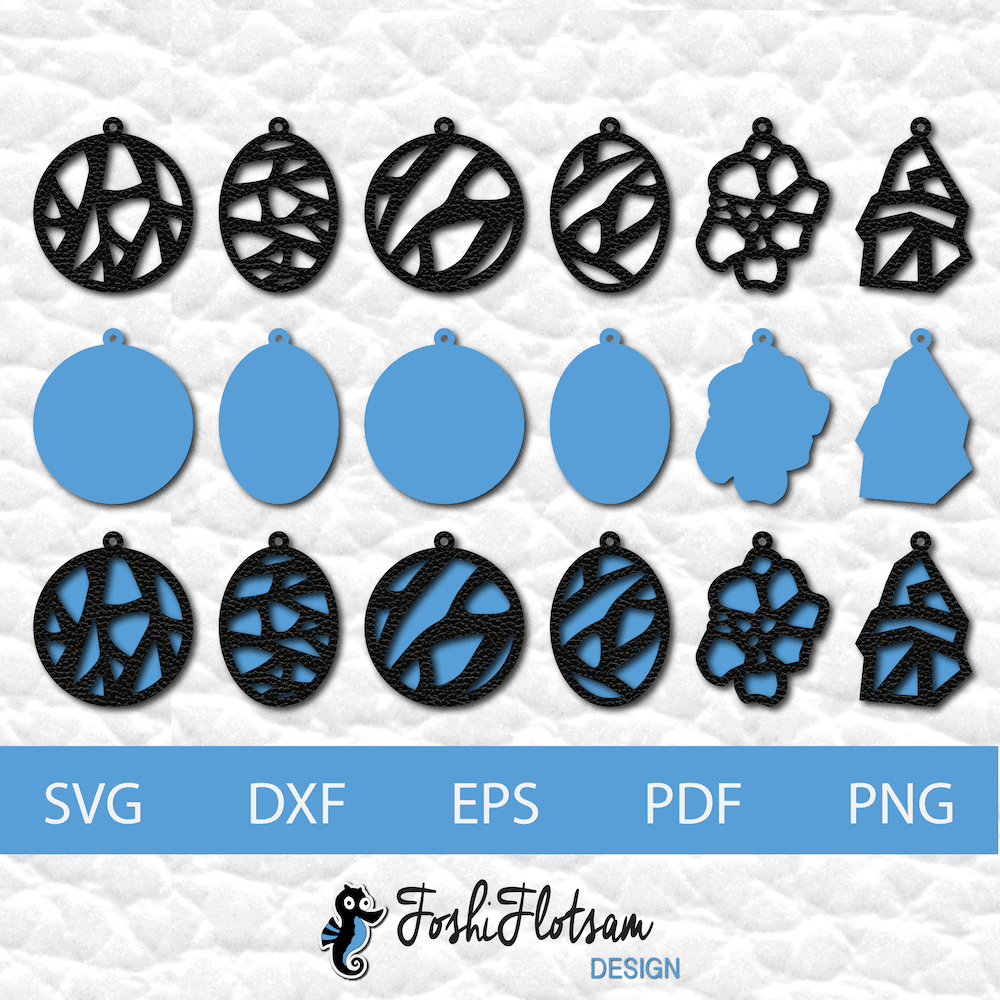
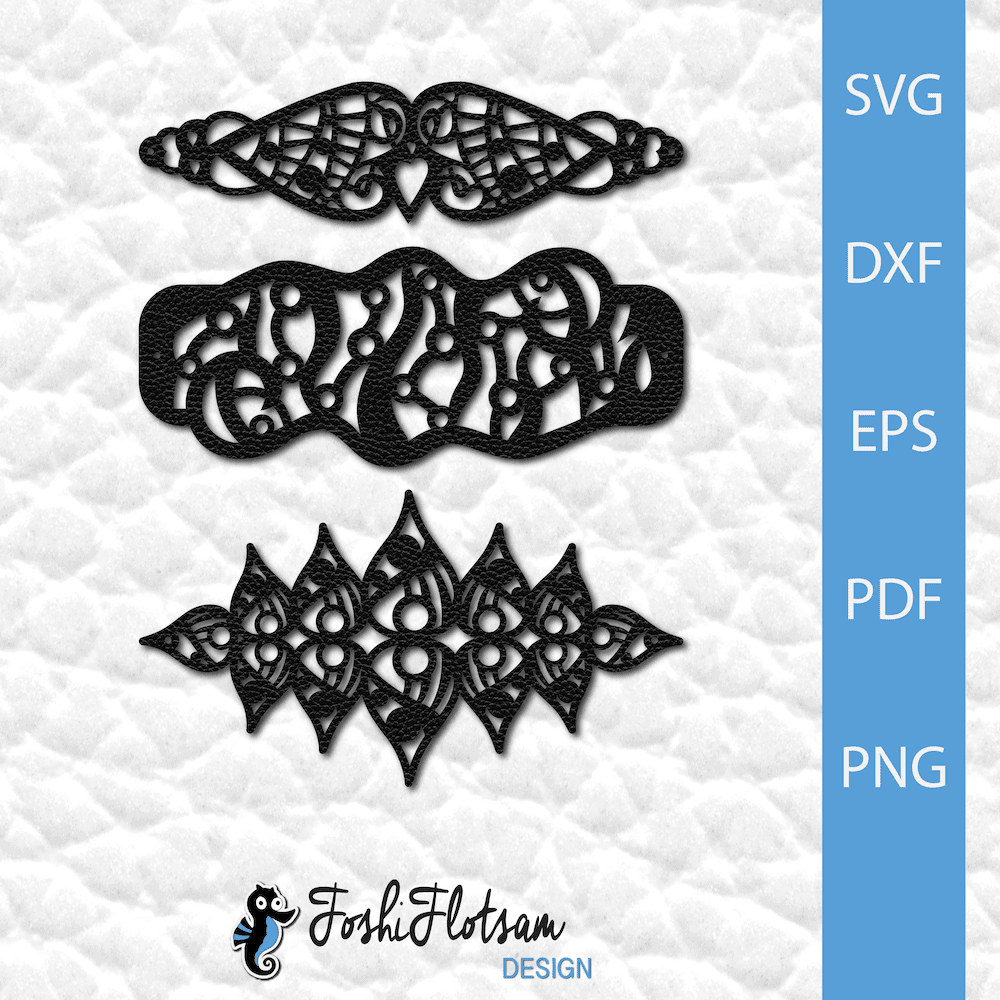
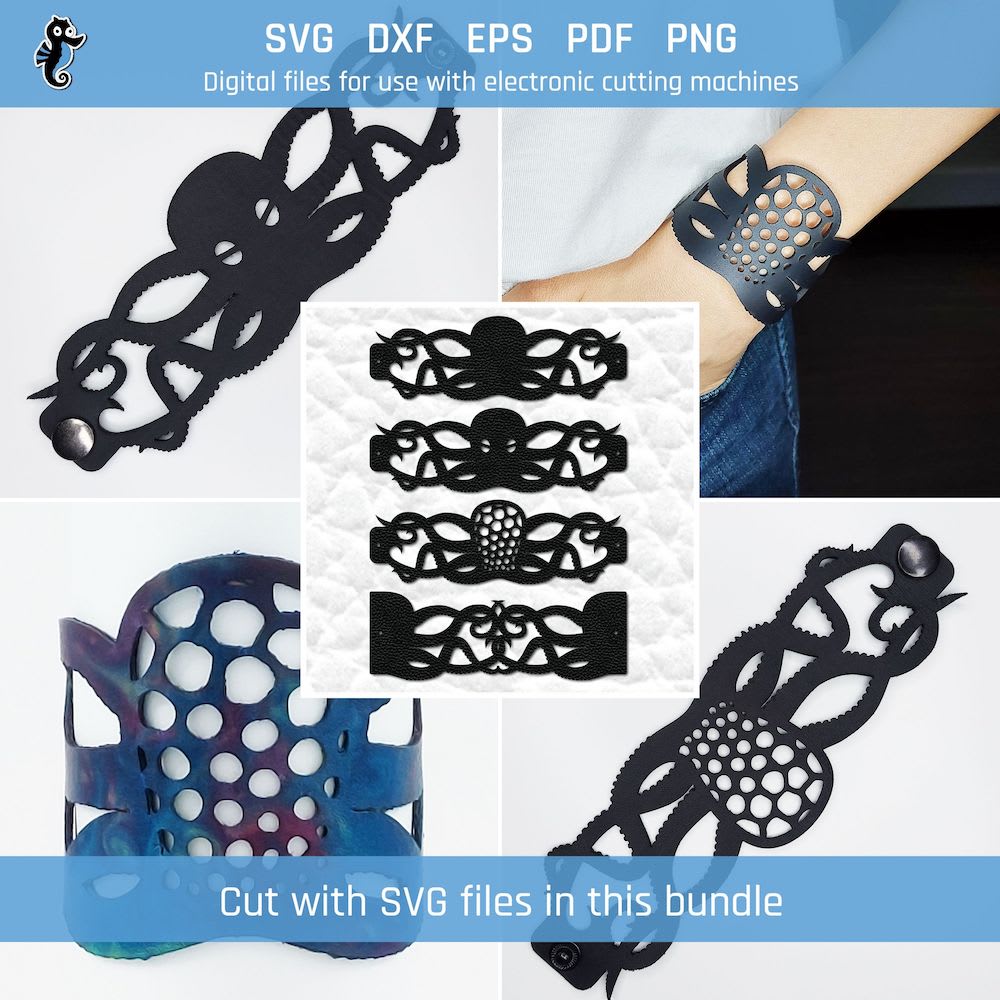
- This is especially important when your cuts need to be very intricate, like for some of the designs pictured below for leather bracelets. Doing many passes on very small cuts will increase the chances of messing up the entire cut.
- A dull cutting blade will significantly reduce your chances of a successful cut. I learned this the hard way; after a failed cut I swapped out the old blade for a new one, and I got a perfect cut using the same settings.
- Knockoff deep-point blades purchased from 3rd parties may not work like the Cricut deep-point blade. I tried this, and repeatedly got failed cuts. After more closely examining my knock-off blade and comparing it to the original, I found the depth and angle of the knock-off blade to be shallower. I’ll write more about this in a future post, but keep it in mind if you’re using knock-offs.
- I’d recommend not going thicker than 1.3 mm with your leather. If you’ve had success with thicker leathers that are not Cricut-brand for intricate cuts, let me know in the comments!
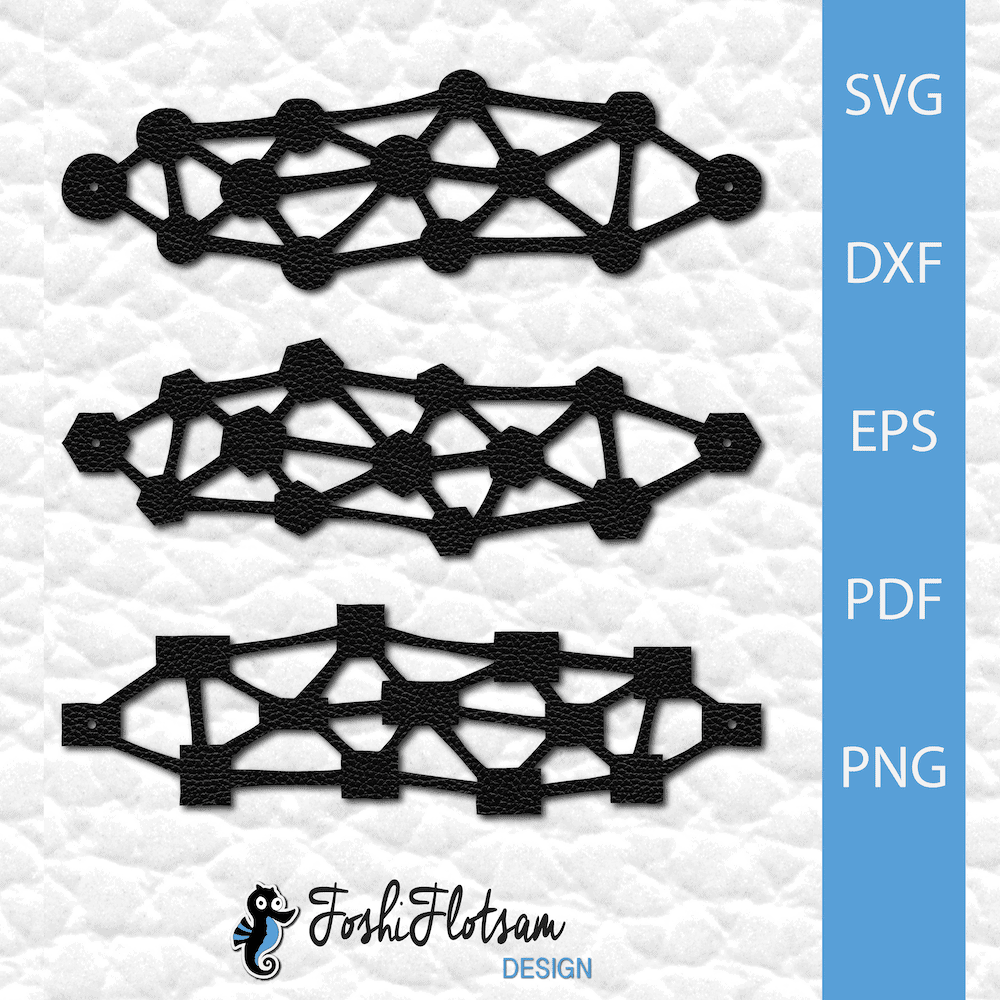
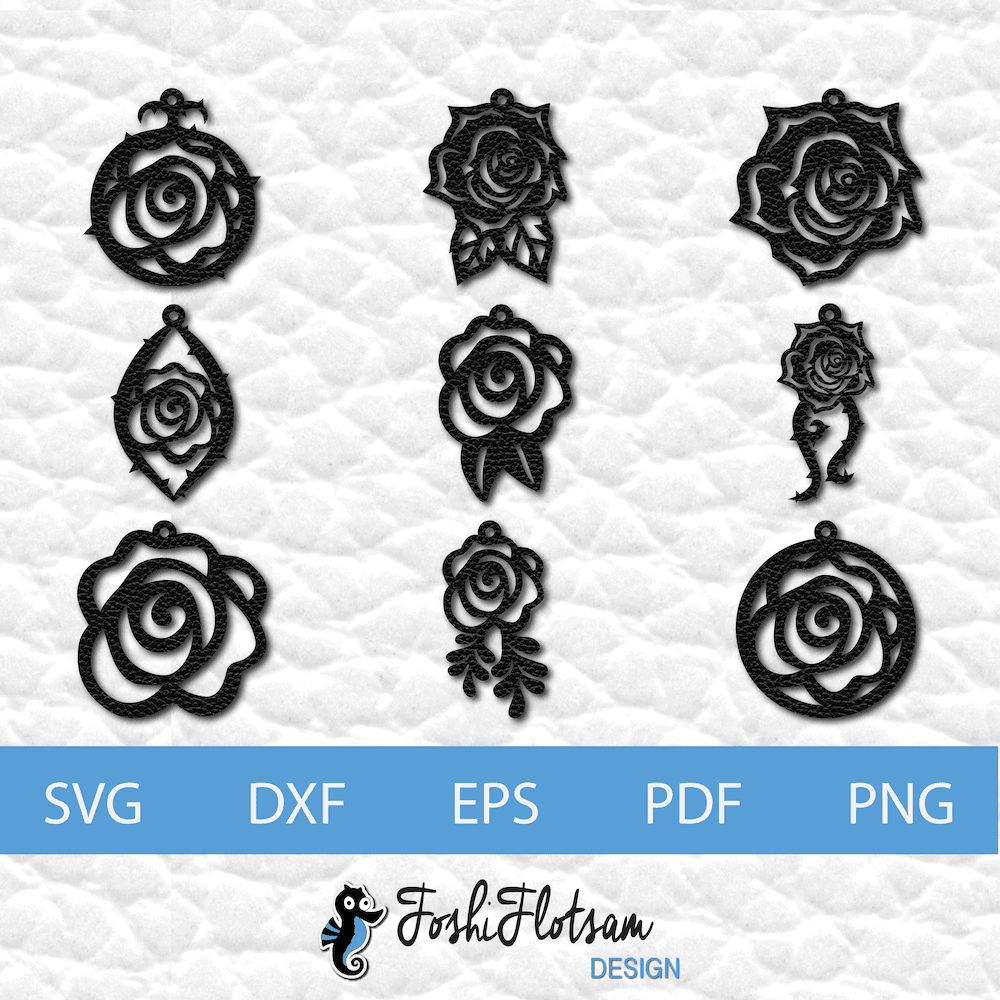
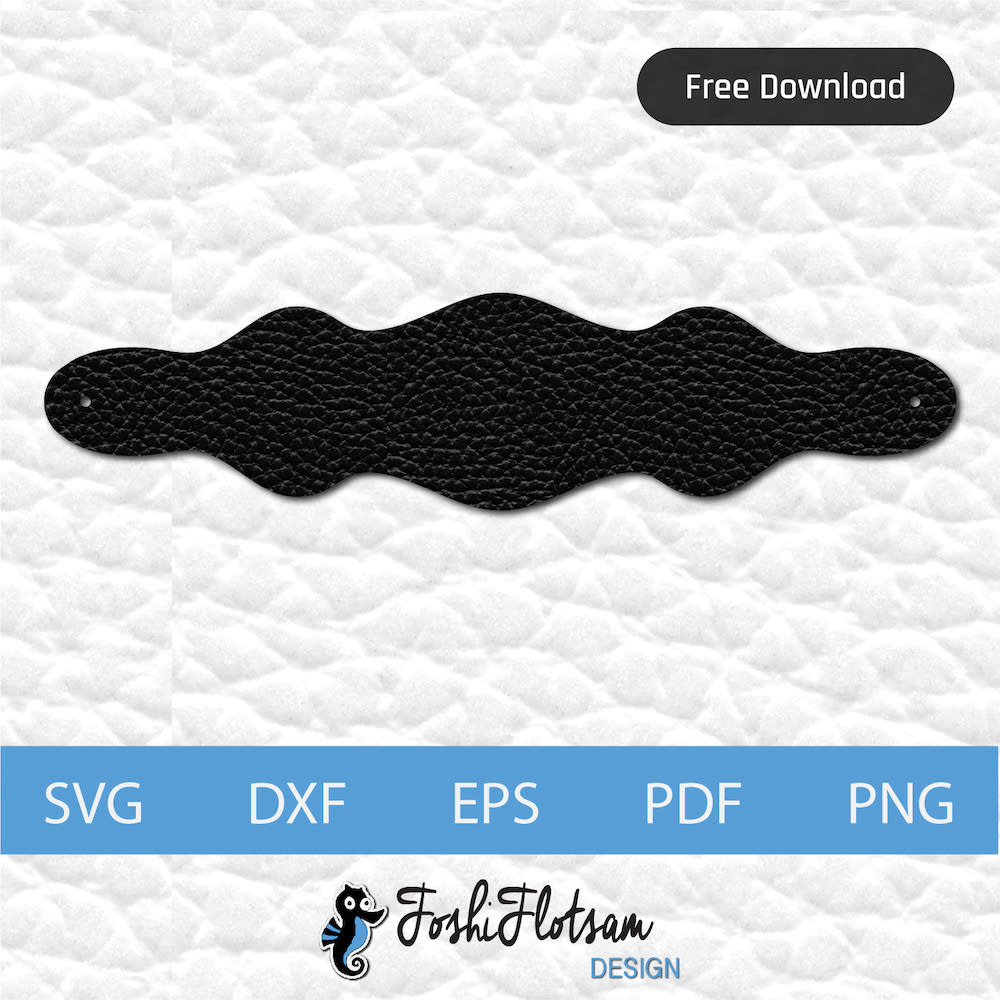
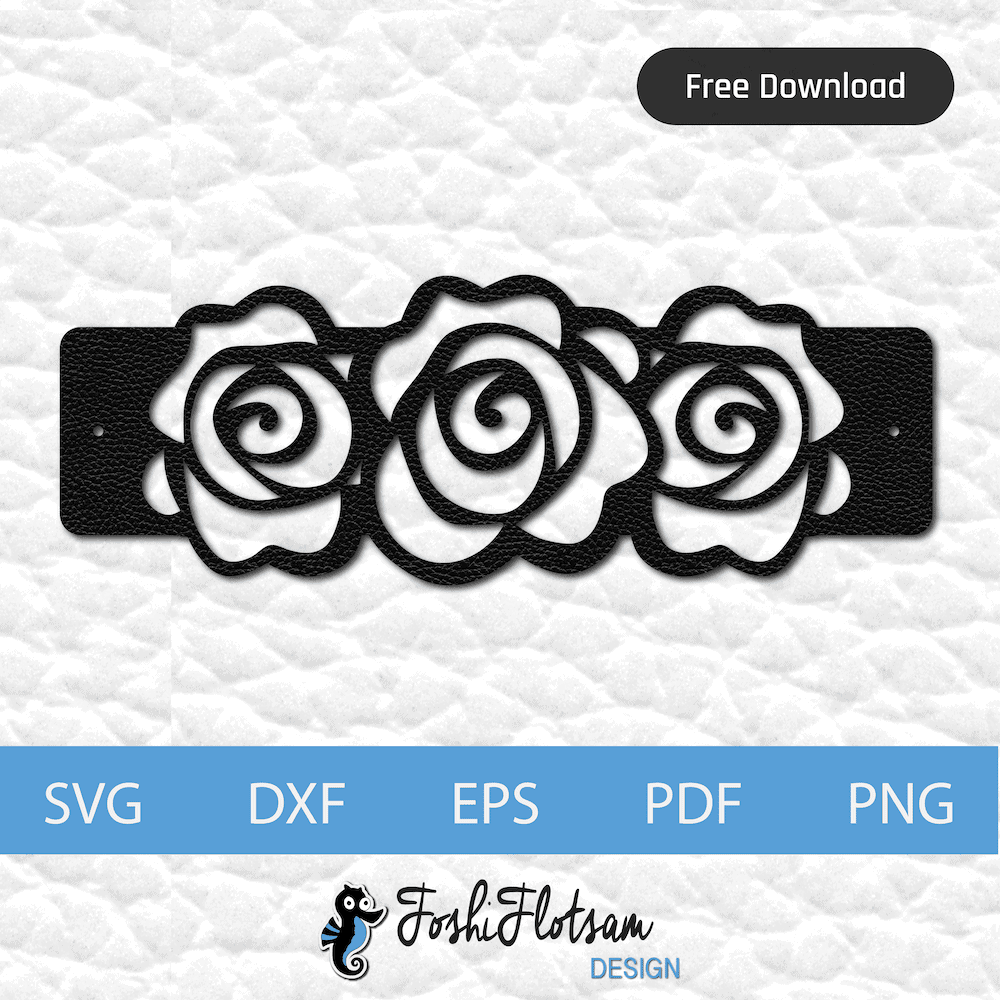
Examples of cut patterns with intricate cuts


Detailed testing process and results (with pictures)
Everything that follows gives more information on the details. The tests I ran, the specific findings for each, and the things I learned from them. You’ve already got the main points summarized above, but if you’re a nerd like me and you want data (and visuals), read on! 🙂
Testing process and method
To better understand how to cut leather with the Cricut, I decided to run a bunch of tests on different types of leathers.
About the leathers that I tested
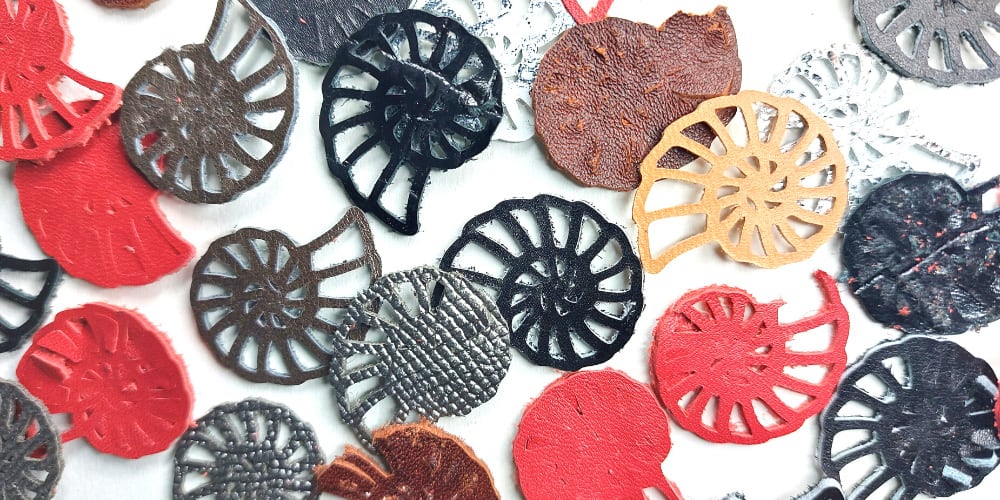
Leather shops will often sell “scraps” of leather at reduced prices, and these scraps can vary in size and thickness (some can be quite large). I went digging at my local leather shop and found a few I wanted to test, along with some others I had in a scrap box at home.
There were 15 samples of various thicknesses, and I labeled them L1 to L15 from thinnest to thickest, so that I could keep track of them throughout the testing process. My measurement tool is pictured below.

For each of the 15 samples, I’ve provided visuals so that you can see the finish and thickness of the leather. You’ll also find the Cricut settings for each test for that leather, what I found, and the settings that ended up working best (if there were any).

The design I used for testing
I used the same design for all tests to ensure consistency throughout the tests. An image of the design file is below, as well as measurements. Because I wanted to test how intricately I could cut, the file I chose has a range of cut sizes. This allowed me to get a good sense of how intricate my projects can be with each type of leather.

A note about mat stickiness, cleanliness, and cut marks
- I used a strong grip mat, and taped down the leather sample using painter’s tape to keep it in place.
- I put the fuzzy side of the leather facing up, because otherwise it makes a huge mess on the mat.
- I’m pretty reckless with my mat, and cutting leather (especially testing to find the right settings) will cut the top layers of the mat and leave cut marks.
Learn how to minimize mess to your mat when cutting leather with the Cricut.
The testing process
For each leather sample, I carried out the following steps:
- I measured each sample and recorded its thickness in millimetres, and then converted that into an ounce range using a reference guide from Tandy leather. I labelled the samples L1 to L15 in order of increasing thickness, with L1 being the thinnest leather, and L15 being the thickest.
- I started testing with sample L1, the thinnest leather, and worked my way through to L15, the thickest sample (although I ended up stopping at L12).
- For each sample, I first estimated the Cricut settings to use as a starting point.
- I started with the lowest pressure and number of cuts I thought I could get away with.
- My estimate was based on the previous sample’s optimal settings, and then adjusted for the additional thickness of the sample. I also considered the finish and stiffness as well.
- I carried out a series of tests for each sample, increasing the pressure and/or number of passes as many times as needed until I got the best cut I thought I was going to get.
- I recorded those settings and any insights, and moved on to the next sample.
Tests and results for each leather sample
Sample L1: 2 oz, 0.8 mm thickness


- These settings worked perfectly, and no further testing was needed.
Sample L2: 2-3 oz, 1.1 mm thickness


- The cut was pretty good, but I found that I needed to pull out the pieces because they were a bit stuck (removing the stuck bits is called weeding). I decided to increase the cut pressure a bit.

- The heavier pressure worked better and the pieces came out much more easily.
Sample L3: 2-3 oz, 1.1 mm thickness


- The cut was pretty good but required some weeding. I would have increased the pressure but my mat was pretty heavily indented from the cut, so I didn’t want to go harder.
- The blue arrow shows the most intricate cut in this design. In this case, it did not cut as well as in the previous sample, L2, but it did cut.
- It’s interesting to note that even though the thickness of samples L2 and L3 are the same, they didn’t cut the same. L2 cut more easily than L3. I talk more about this in the Insights section below.
- Because the cut required a lot of cleaning up (even though it came out nice in the end), I’d reserve this leather for less intricate cuts.
Sample L4: 2-3 oz, 1.1 mm thickness


- Most of the cuts were okay, but one larger section didn’t cut.
- If you look at the edges of the cuts, they aren’t as clean as they could be.
- The middle section of the shell had started to come up from the mat by the end of the cut, and I wasn’t sure that if I did a third pass it would continue to stick, but I decided to try it to see if I could get a cleaner cut.

- This cut perfectly, but did still have some sticking in the corners and required a bit of pulling.
- Overall, this cut worked out better than I expected.
- That being said, I think it would be a waste to use this texture for an item that doesn’t have solid areas (for example, very intricate bracelets or earrings), since you wouldn’t be able to appreciate the textured pattern on the finished side that way.
- I started out suspecting that the finish of this sample wouldn’t cut very well, as it looked a bit thicker and textured. This didn’t necessarily turn out to be true. but I did find that the cut pieces stuck in the corners more than other samples of the same thickness.
Sample L5: 3 oz, 1.2 mm thickness


- I went as high on the settings as I was willing to go for a couple of reasons I discuss in the Insights section.
- Given that, this leather can be cut, but not for very intricate cuts.
Sample L6: 3 oz, 1.2 mm thickness


- I had to repeat the first test because the first time, the corner of the sample came off the mat and crumpled the whole design during cutting. A reminder to make sure you’re taping down all edges of your sample! The second attempt (pictured here) was fine, although the more intricate cuts failed.

- *Chef’s kiss* Perfection!
Sample L7: 3 oz, 1.2 mm thickness


- My first attempt at test 1 was unsuccessful because I was working with a dull blade. I swapped out to the new blade and it cut perfectly using the same settings. Never underestimate the power of a sharp blade.
- I did find that the cut marks on the mat were quite severe, so I wanted to test one more time with less pressure to see if I could get a perfect cut without using so much pressure.

- A perfect cut with “Default” pressure instead of “More” pressure.
Sample L8: 3 oz, 1.2 mm thickness


- Cut perfectly!
Sample L9: 3-4 oz, 1.3 mm thickness


- This cut was a bit of a disaster. The sample I had was small to begin with, and I wasted three failed cut attempts because I had a knock-off blade I was using. As a result, I’ve learned that knock-off blades are not sufficient replacements for true Cricut-brand deep-point blades when cutting thicker leathers.
- As a result, I only had enough room left for one good test with a true blade, and that’s the one you see here. I would have tested further, but had no sample left.
- The cut itself is okay, but the finish on this leather didn’t cut consistently. You can see that a couple of the larger sections that should have cut well did not. Some leather finishes are more challenging to cut than others.
Sample L10: 3-4 oz, 1.4 mm thickness


- Tests 1 and 2 did not cut all the way through, so I didn’t include images.
- This one (test 3) cut through the sample for the outline, but none of the inner cuts.

- This one actually turned out worse than test 3 because the outline didn’t cut cleanly.

- This one was a disaster. The extra pass through destroyed the outline, so I considered this sample a fail.
- I thought I may have reached the limit of how thick of a leather sample the Cricut can cut with the deep-point blade, but I kept going to confirm.
Sample L11: 4-5 oz, 1.7 mm thickness


- Right from the start, I could hear that the Cricut struggled with this one. There was a lot of dragging and pulling throughout the cut.
- Near the end of the cut when it was cutting the outline, the dragging resulted in the leather getting pulled to the point where it would have distorted the cuts. Since I had taped down the sides of the sample, the sample didn’t actually move, but the section being cut was being pulled and distorted.
- I stopped the cut after 1 passover of the outline, but it did cut through some of the outline even with just that one pass, which was surprising.
- If the cut pattern was not intricate at all, this leather might have cut okay, but with all the dragging and pulling I wouldn’t recommend it.
Sample L12: 4-5 oz, 1.8 mm thickness

- I decided to try this one because sample L12 is a little bit stiffer than L11, and stiffer leathers seem to cut better.
- There was a lot of dragging and pulling right from the start, so I stopped the cut pretty quickly.
Samples L13-L15: The samples I didn’t attempt to cut
Since samples L10 to L12 were all problematic, I decided not to go any further testing thicker leathers. I could tell the Cricut was struggling with those last few.
Based on my tests, I’m concluding that with the deep-point blade, cutting leathers that are more than 1.3 mm in thickness is not recommended, especially for intricate cuts.
If you want to go thicker, your best bet is to use the knife blade. Just remember that you’ll be limited to less intricate cuts.

Insights from testing
- Even though L2 and L3 samples had the same thickness, they didn’t cut the same. Upon closer inspection, L3 is a “floppier” leather. It’s not as stiff, and behaves just a bit more like a fabric than L2 does. It was also more difficult to cut, so that’s something to keep in mind. Err on the side of stiffer leathers for the deep-point blade.
- That being said, I haven’t experimented with leathers that are more like fabrics. It’s possible these can be cut with the rotary blade, but I haven’t tried that. L3 wasn’t quite fabric-like enough for the rotary blade.
- Deciding how heavy you want to go with pressure is a bit of a judgment call. You don’t want to damage your mat by applying too much pressure.
- Deciding how many passes you want to take is also a bit of a judgment call. the more passes you take, the more you risk your leather moving around and ruining your entire cut. In general, I find four passes risky, and it’s as high as I’m willing to go.
- Some leathers are “furrier” on the fleshy side, and this is usually an indication or poorer quality leather. It makes a bigger mess on the mat (even with the flesh side facing up), and will also shed more in the final product unless you “finish” it.
- Some leathers have finishes that are thicker and more difficult to cut. Sample L4, for example, had a crocodile-like pattern on the finished side, which made the cuts stick more in the corners. It required an extra pass compared to samples of similar thickness with thinner, less textured finishes.
- My first attempt at test 1 for L7 was a failure because I was using a dull cutting blade that pulled at the leather as it tried to cut. Using a dull blade will result in poorer cuts, but it will also pull at the leather and increase the chances that it will move and mess up your entire cut. Be sure to use a sharp blade!
- The first three (failed) tests I ran for L9 were done using a knock-off Cricut blade I purchased off Amazon. While these blades work well for papers and other thinner materials that are easier to cut, they don’t work well for leather. At least not the knock-offs I purchased.
- Sample L10 (1.4 mm, 3-4 ounces) is where I started to have trouble that I think was related to the samples being too thick. The Cricut seemed to struggle to cut leathers thicker than 1.4 mm with the deep-point blade.
- Although the cuts for Sample L9 weren’t perfect, they were decent. L9 was 1.3 mm thick (3 to 4 ounces), and I’d say that’s the thickest you can cut when it comes to unofficial (non-Cricut brand) leathers.
- Let me know in the comments if you’ve had success with thicker leathers.
Final thoughts on how to cut leather with the Cricut
I’m sure it’s clear by now that there are lots of different variables that can impact how well different leathers will cut with the Cricut, and which settings are required.
Now that you have a starting point for your own testing, learn how to find the right settings for your particular leather sample in a systematic and efficient way.
If you’ve done any testing of your own, I’d love to hear from you in the comments, especially if you’ve got tips that others can benefit from.
Good luck!
You may want to explore these topics: